
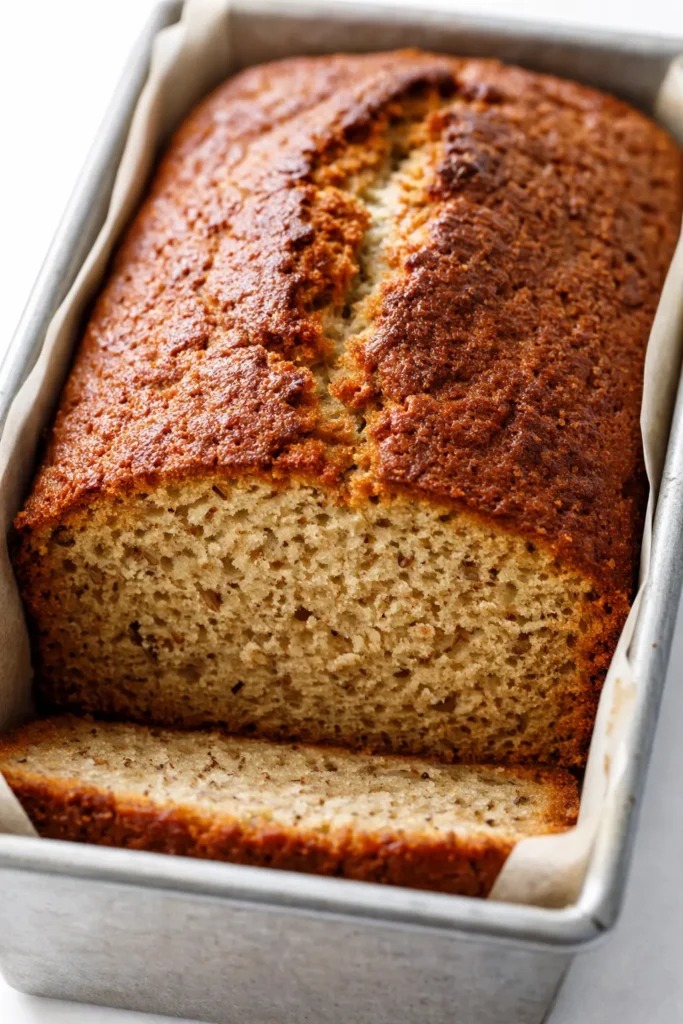
Every version of banana bread I made for years was just… fine. The first slice was always great — warm, tender, exactly what you want. But by the next morning it was dry and crumbly, and by day three it was basically a doorstop. I blamed my oven, the humidity, my luck. Turns out, it was the recipe. And one specific mistake I was making that I didn’t even realize was a mistake until I sat down and tested five different versions side by side.
The short version: This is the one I’ve made over forty times. It’s never dry. It’s always tall. And I’ve sent it to more people than any other recipe I’ve ever developed.
I designed this for the home cook who wants bakery-level results without pulling out a stand mixer or hunting for specialty ingredients. It comes together in one bowl in about fifteen minutes of active time. My husband has eaten an entire mini loaf in one sitting. I am not exaggerating.
- Serves: 8-10 slices
- Hands-On Time: 15 min | Total Time: 1 hr 20 min
- Difficulty: Easy enough for a Tuesday night craving
- Cost per serving: ~$0.85
- Calories: ~310 per slice
- Dietary Notes: Easily adapted for dairy-free or gluten-free
(Photo above: a close-up overhead shot of the banana bread loaf on a simple wooden cutting board, slightly angled so you can see the golden-brown crackled top and a few small crumb pieces scattered naturally. The lighting is warm morning sun from a nearby window.)
The One Step Everyone Skips (Don’t Skip It)
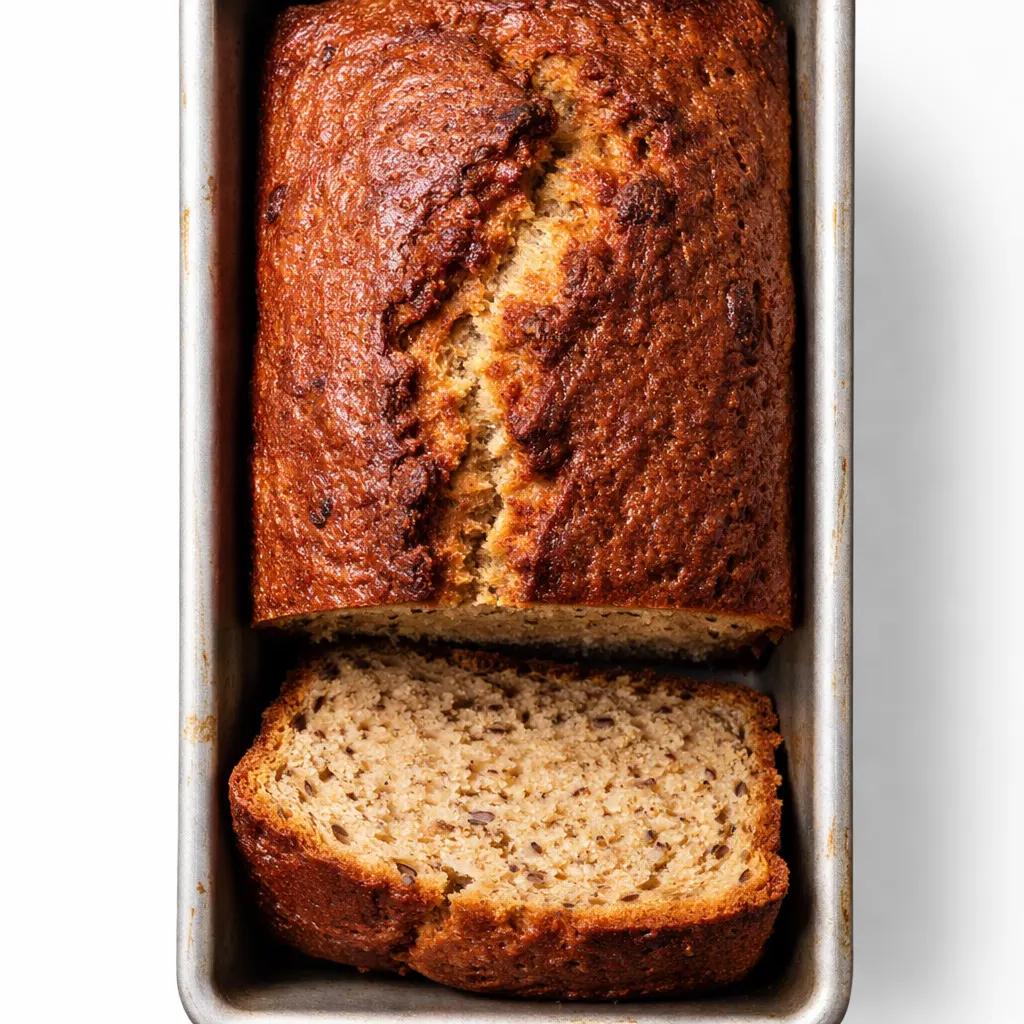
There are two things that make this banana bread different from every other “best” recipe you’ve seen floating around. First, the resting period. You pour the batter into the pan and let it sit on the counter for ten minutes before it goes into the oven. This gives the leavening a head start, which produces that high, dramatically domed top that looks so professional.
Second, the sour cream. It adds fat and moisture without thinning out the batter the way milk or water would. It is the single best ingredient for locking moisture into quick breads, and it’s why this loaf is genuinely still good on day four.
Skip either of these and you’ll end up with a perfectly fine loaf of banana bread. Do both and you’ll get the one that people text you about asking for the recipe.
The Ingredient Breakdown (With Real Talk)
- 4 large very ripe bananas (about 1 ½ cups mashed): The darker the peels, the better. Spotty brown is ideal — that’s peak sweetness and softness. If yours aren’t ripe enough, roast them in their peels at 300°F for 15 minutes. It works like magic.
- ½ cup unsalted butter, melted and cooled: Melted butter gives a richer flavor than oil and creates a more tender crumb. Let it cool for a few minutes so it doesn’t scramble the egg when you mix it in.
- ¼ cup sour cream (or plain full-fat yogurt): This is the moisture secret. Don’t skip it. I’ve tried Greek yogurt in a pinch and it works, but full-fat sour cream gives the softest, most tender texture. My grocery store brand works perfectly.
- ¾ cup packed light brown sugar: Brown sugar adds moisture and a subtle caramel depth that granulated sugar just can’t match. My husband literally asked if there was caramel in this. That’s the brown sugar doing the work.
- 1 ½ cups all-purpose flour, 1 tsp baking soda, ½ tsp salt: The standard base. Spoon and level the flour — don’t scoop straight from the bag or you might end up with a dry loaf.
What to Pull Out Before You Start
- 9×5-inch loaf pan (standard size — anything larger will make a flat, sad loaf)
- Large mixing bowl and a fork for mashing
- Whisk for the dry ingredients
- Rubber spatula for folding
- Wire rack for cooling (patience, I know)
Making the Best Banana Bread: My Exact Process
The whole thing takes about 15 minutes of active work. Most of that is mashing bananas. Read through the steps once so you understand the rhythm before you start.
- Preheat and prep: Set the oven to 350°F. Spray a 9×5-inch loaf pan with non-stick spray and line it with parchment paper, leaving a slight overhang on the long sides. This makes lifting the loaf out effortless and keeps the bottom from sticking.
- Mash the bananas: In a large bowl, mash the bananas with a fork until mostly smooth with a few small lumps left for texture. (📸 Photo tip: You want it about this consistency — a little chunky, not a liquid puree. See the photo above for reference.)
- Mix the wet ingredients: Add the melted butter, brown sugar, egg, vanilla, and sour cream to the mashed bananas. Whisk until smooth and fully combined. It should look like a thick, glossy batter.
- Whisk the dry ingredients: In a separate small bowl, whisk together the flour, baking soda, and salt. This ensures the baking soda is evenly distributed so you don’t get a weird bitter pocket in your bread.
- Fold together: Pour the dry ingredients into the wet. Use a rubber spatula to fold gently until just combined. A few streaks of flour are fine. Do NOT overmix. (📸 Photo tip: This is what under-mixed looks like — a few floury streaks. That’s your goal. Overmixing activates the gluten and makes the bread tough and squat. I’ve done it. It’s a sad loaf. Trust me.)
- Rest the batter: Pour the batter into the prepared pan and let it sit on the counter for 10 minutes. This is the secret to the high dome. Do not skip this step.
- Bake: Bake for 55-65 minutes, until a toothpick inserted into the center comes out clean or with just a few moist crumbs attached. If the top is browning too fast at minute 40, tent it loosely with foil.
- Cool: Let the bread cool in the pan for 15 minutes, then lift it out using the parchment overhang and transfer it to a wire rack to cool completely. If you slice into it while it’s warm, it will crumble. I know it’s hard to wait. I still eat the ugly end piece straight away while telling myself not to. No judgment.
How I Meal Prep This for the Week
I make a double batch on Sundays more often than I’d like to admit. One loaf for immediate snacking and one to freeze for the week ahead. It saves me from spending $5 on a mediocre bakery slice on a busy Wednesday.
- Fridge: Wrapped tightly in plastic wrap, it stays moist for up to 5 days. I pop it in the fridge on day three if it’s still around.
- Freezer: Yes! Wrap the cooled loaf in plastic wrap, then a layer of foil. Freeze for up to 3 months. Thaw overnight in the fridge or on the counter for a few hours.
- Reheat: A single slice in the microwave for 10 seconds tastes just-baked. A whole loaf warms up beautifully in a 300°F oven for 10 minutes if you want that fresh-from-the-oven experience.
Things I Wish I’d Known the First Time
- Don’t overmix the batter: I know I said it above, but it’s worth repeating. Overmixed banana bread is dense and tough. Mix until the flour disappears and stop immediately. A few lumps are a good sign, not a mistake.
- Use room-temperature eggs and sour cream: They incorporate more smoothly into the melted butter, which creates a more even crumb. If you forgot to take them out, put the egg in a bowl of warm water for 5 minutes and let the sour cream sit on the counter while you preheat.
- Check for doneness at 55 minutes: All ovens run differently. Start checking at 55 minutes. If the center jiggles at all, it needs more time. The toothpick test is your most reliable friend here.
- Let it cool completely: I know you want warm banana bread. So do I. But slicing into it while it’s still warm will give you a gummy, crumbly texture that simply isn’t as good. Wait at least an hour. My trick: I make it in the evening so it’s perfectly cooled by morning coffee time.
Swaps That Actually Work
- Dairy-Free: Substitute the butter with melted coconut oil or a neutral oil like avocado. Use a dairy-free yogurt or the same amount of canned coconut cream. It’s not quite as rich, but it’s still very good.
- Gluten-Free: Use a 1:1 gluten-free flour blend. I’ve tested this with King Arthur Measure for Measure and it works beautifully. Add an extra tablespoon of sour cream to help with moisture.
- Add-Ins: Fold in ½ cup of chocolate chips, walnuts, or toasted pecans when you add the dry ingredients. My personal favorite: dark chocolate chips and a generous sprinkle of flaky salt on top right before baking.
- Kid-Friendly Mini Loaves: Divide the batter into mini loaf pans (makes about 4). Bake for 25-30 minutes. Perfect for lunchboxes or school snacks. My friends with kids swear by this version for portion control.
Questions I Get About This Recipe All the Time
Q: Why did my banana bread turn out dry?
A: Ugh, I’ve been there. The most common culprit is overmixing, which develops the gluten and squeezes out moisture. The second is overbaking. Check it at 55 minutes and pull it out the second a toothpick comes out clean. Even five extra minutes in the oven can make a difference.
Q: Can I make this vegan?
A: Yes! I’ve tested it with a flax egg (1 tbsp flaxseed meal + 3 tbsp water) and melted coconut oil instead of butter. Use a dairy-free yogurt. It works well, though the texture is slightly denser than the original. I actually really love the vegan version with coconut oil — it has a uniquely moist, tender crumb.
Q: How long does this last? Can I freeze it?
A: Wrapped tightly at room temperature, it stays moist for 4 days. In the fridge, it lasts a full week. To freeze, wrap the cooled loaf in plastic wrap and then foil — it’s perfect for up to 3 months. Thaw overnight on the counter for the best texture.
Q: What do you serve with banana bread?
A: Honestly? A cup of strong coffee and a little butter on a warm slice is my ideal breakfast. If I’m feeling fancy, I make a quick honey butter by mixing softened butter with a drizzle of honey. My husband loves it with a smear of almond butter for a filling afternoon snack.
More Recipes My Family Makes on Repeat
If you liked this banana bread, here are a few others that get the same enthusiastic reaction at my table:
- Blueberry Crumble Cheesecake — Bursting with berries and that perfect bakery-style dome.
- Moist Zucchini Bread — The same sour cream trick, but with garden zucchini and warm spices.
- Sheet Pan Chocolate Chip Cookie Cake — For when you want something chewy, not cakey, with your afternoon coffee.
This is the kind of recipe that makes you feel like you really nailed it. The crackly top, the tender center, the way the whole kitchen smells like a proper bakery for hours afterward. Whether it’s for a lazy Sunday morning or a random Wednesday afternoon when you need a win, this loaf delivers every single time.
If you try it, drop a comment below — I love hearing about your baking wins and the occasional banana bread mishap (we’ve all been there). And tag me on Pinterest so I can see your beautiful loaf!
📌 Best banana bread recipe that stays moist for days — save this for your next Sunday baking session.
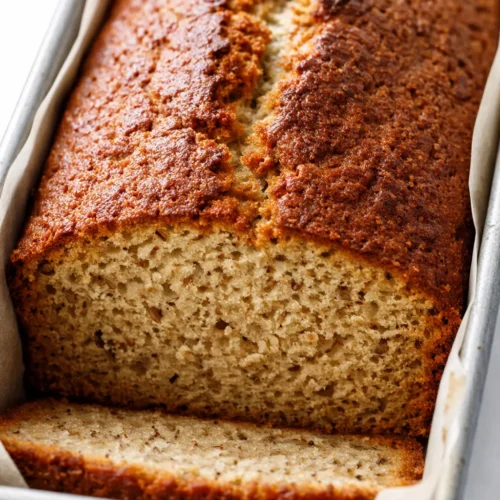
Best Banana Bread That Doesn’t Get Dry on Day Two – Finally
Equipment
- 9×5-inch loaf pan
- Large Mixing Bowl
- Whisk
- Rubber Spatula
- Wire cooling rack
Ingredients
Banana Mixture
- 4 large very ripe bananas (about 1.5 cups mashed)
- 1/2 cup unsalted butter, melted and cooled
- 1/4 cup sour cream (or plain full-fat yogurt)
- 3/4 cup packed light brown sugar
- 1 large egg
- 1 tsp vanilla extract
Dry Ingredients
- 1.5 cups all-purpose flour (spoon and leveled)
- 1 tsp baking soda
- 1/2 tsp salt
Optional Add-Ins
- 1/2 cup chocolate chips, walnuts, or toasted pecans
Instructions
- Preheat the oven to 350°F. Spray a 9×5-inch loaf pan with non-stick spray and line it with parchment paper, leaving a slight overhang on the long sides.
- In a large bowl, mash the bananas with a fork until mostly smooth with a few small lumps remaining.
- Add the melted butter, brown sugar, egg, vanilla, and sour cream to the mashed bananas. Whisk until smooth and fully combined.
- In a separate small bowl, whisk together the flour, baking soda, and salt.
- Pour the dry ingredients into the wet mixture. Use a rubber spatula to fold gently until just combined. A few streaks of flour are fine — do not overmix.
- Pour the batter into the prepared pan and let it sit on the counter for 10 minutes. This rest is essential for the high dome.
- Bake for 55-65 minutes, until a toothpick inserted into the center comes out clean or with a few moist crumbs. If the top browns too quickly, tent loosely with foil at minute 40.
- Let the bread cool in the pan for 15 minutes, then lift it out using the parchment overhang and transfer to a wire rack to cool completely before slicing.
Notes
Related Recipes:
 The Perfectly Pillowy Chocolate Chip Milk Buns (Tangzhong Method)
 Cheesy Hamburger Casserole Bake That’s Ready in 40 Minutes (No Canned Soup Here)
 Texas Roadhouse Style Baked Salmon with Sweet and Savory Glaze — Ready in Under 30 Minutes
 Moist Lemon Zucchini Bread with a Crunchy Lemon Sugar Top
 Strawberry Shortcake Rice Krispie Treats That Actually Taste Like Shortcake — Ready in 15 Minutes
 Blueberry Oatmeal Cookies That Stay Soft for Days — in Under 30 Minutes