
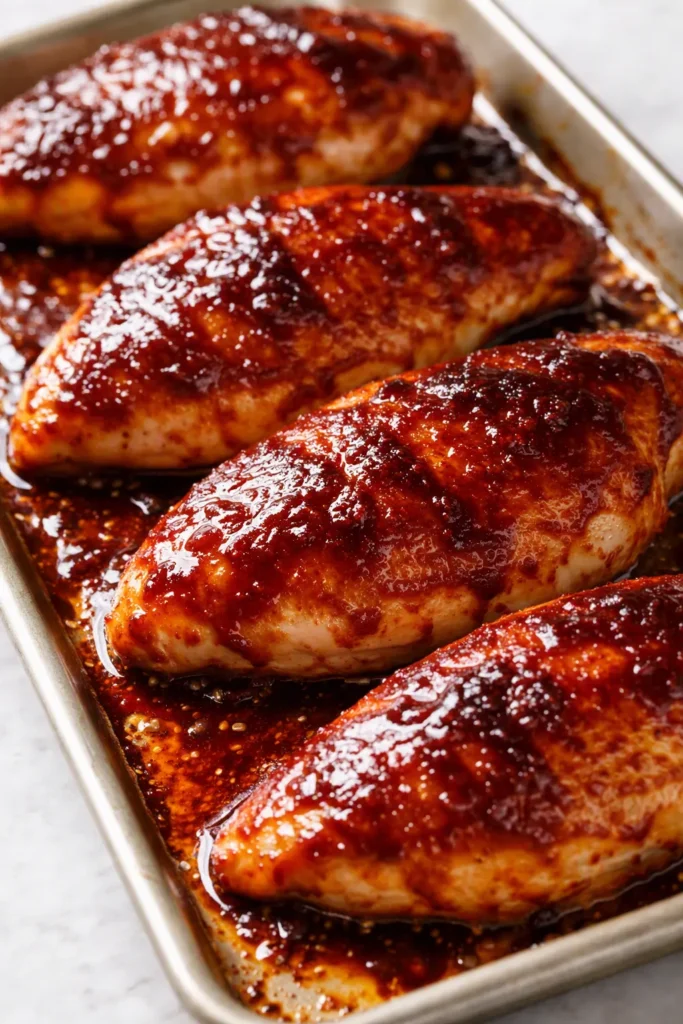
Every baked BBQ chicken breast I made for the first few years of my cooking life was fine. Not bad. Just fine — dry at the edges, the sauce somewhere between gummy and scorched, and the whole plate feeling like a compromise I’d made with a weeknight. Then I figured out the two actual problems, and this version became the one I’ve made roughly forty times since. It’s the most reliably juicy baked BBQ chicken breasts recipe in my rotation, and it looks like you fanned about three times more effort into it than you actually did.
I bring that energy to this recipe because it deserves it: a 45-minute dinner that reads as something deliberate on the table. The short version: a quick brine, a hot pan sear, sauce brushed on at the end so it lacquers instead of burning, and a proper five-minute rest before slicing. I’ve made it for a small dinner party and had two different people text me for the recipe before the plates were cleared. One of them was a friend who insists she can’t cook. She’s made it three times since.
- Serves: 4 as a main
- Hands-On Time: 15 min | Total Time: 45 min
- Difficulty: Easy — the only real rule is don’t slather the sauce on early
- Cost per serving: ~$2.50
- Calories: ~320 per serving
- Dietary Notes: Naturally dairy-free and nut-free; gluten-free if you check your BBQ sauce
(Photo above: overhead shot of sliced BBQ chicken breasts fanned across a white ceramic platter, a thin lacquered layer of sauce catching the light, scallions sliced on a sharp bias and a small pile of pickled red onions placed with intention, flaky salt scattered near the edge, natural window light from the left.)
The Sauce Goes On Last. That’s the Whole Secret.
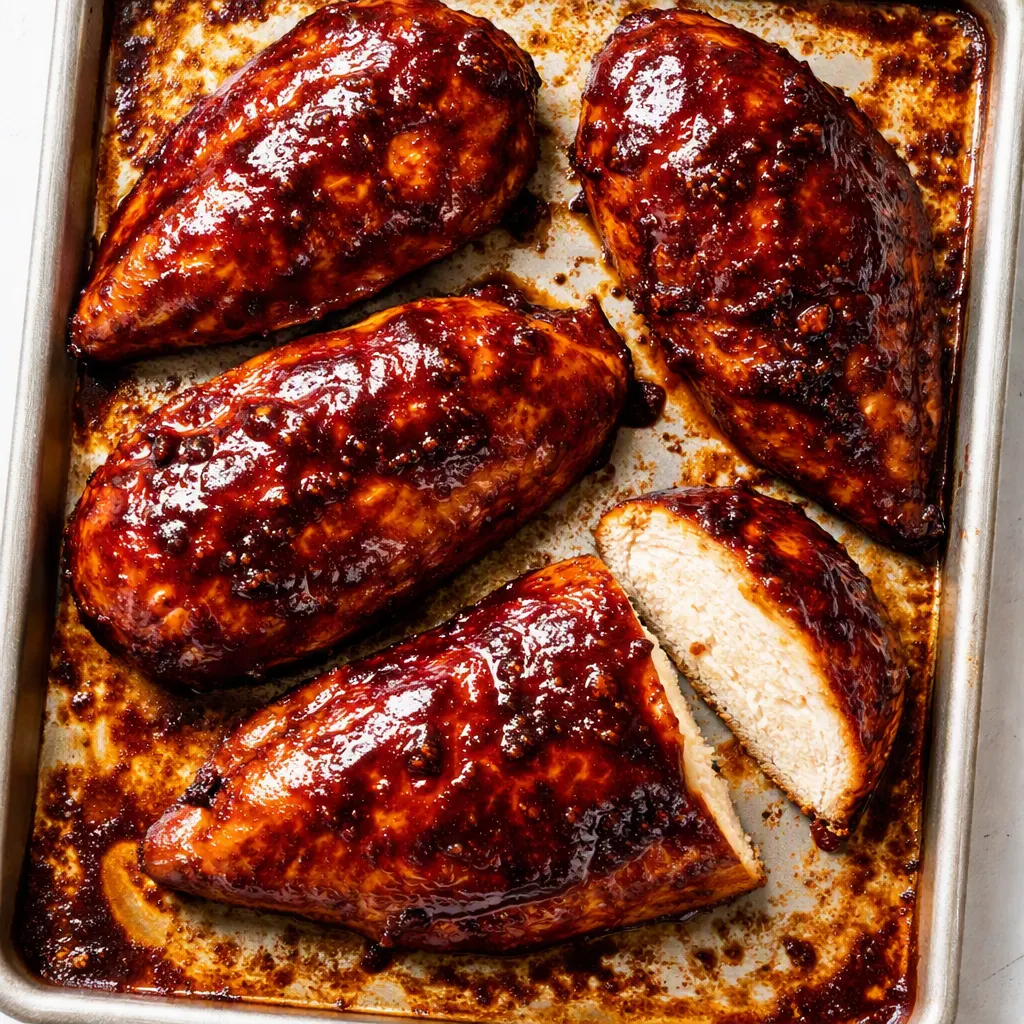
Most baked BBQ chicken recipes fail in the same two places. First, they skip the brine, which is the cheapest insurance policy against dry chicken you will ever buy. Fifteen minutes in salted water — that’s it. It changes the texture of the meat from the inside out, and it costs about twelve cents. The second failure is the sauce timing. BBQ sauce is full of sugar, and sugar burns at oven temperatures. Slather it on before the chicken goes in and you get a crust that tastes bitter and looks like regret.
So the method here is: seal the chicken in a hot pan, bake it mostly naked, and brush the sauce on in the final stretch. That last application gets a few minutes in the heat to set into a lacquer instead of a sludge. Then you brush one more coat on after it rests — because the sauce you add at the table is the sauce that actually tastes like sauce. The first two coats are about building color and tack. The last coat is about flavor.
What this produces is a chicken breast that slices cleanly, holds its juice, and reads as intentional. You didn’t overcook it, you didn’t burn the glaze, and you didn’t need a single special ingredient. That’s the whole point of this recipe — it’s a technique upgrade, not a shopping list upgrade.
What Goes In (Plus the Real Talk You Need)
- 4 boneless skinless chicken breasts (about 1.5 to 2 pounds total): Buy them roughly even in thickness — or be ready to pound them — because uneven chicken is the fastest route to uneven cooking. My honest note: if the pack has one thick one and one thin one, I butterfly the thick one rather than pound anything, because pounding makes me feel like I’m doing violence to dinner.
- 1/4 cup kosher salt + 2 tablespoons brown sugar: For the quick brine. The sugar is there to balance the salt and help the meat hold onto a little sweetness. The brine is the difference between “juicy chicken” and “chicken that tastes like it needs a sauce to survive.” Do the fifteen minutes.
- 1 tablespoon neutral oil (grapeseed or avocado): For the sear. Olive oil’s smoke point is too low for a hot pan, and nobody needs their kitchen filled with smoke on a weeknight. I use grapeseed because it lives on my counter and works for about eleven other things.
- 1 cup BBQ sauce: Your favorite store-bought brand is genuinely fine here. You’re going to doctor it, so start with something you already like. My kids have strong opinions about the mild version, so I keep a regular bottle and add the heat only to the adult portions.
- 1 tablespoon apple cider vinegar + 1/2 teaspoon smoked paprika: This is the quick fix that makes store-bought sauce taste like you thought about it. The vinegar wakes it up, the paprika adds depth. This little upgrade costs pennies and does an absurd amount of work — it’s the kind of move that makes people ask what brand you bought.
- 2 scallions, sliced thin on a sharp bias: This is the garnish that actually belongs here — a fresh bite, a visual pop, and it costs nothing. Not curly parsley. Never curly parsley.
- Flaky sea salt (Maldon or similar), for the finish: Flaky salt does three things: it adds texture, it pulls a little moisture to the surface so the chicken looks lacquered, and it gives every bite a slightly different salt hit. Sprinkle it from a height so it lands evenly — and don’t skip it, because it’s the difference between “good” and “why does this taste like a restaurant.”
- Optional: pickled red onions: If you have a jar in the fridge, this is their moment. Acid, color, and crunch that makes the whole plate look styled. I keep one in the door of my fridge at all times; I feel weirdly naked without it.
What to Pull Out Before You Start
- A 12-inch oven-safe skillet — cast iron or heavy stainless. If you don’t have one, sear in whatever you’ve got and transfer to a baking dish for the oven.
- Tongs — for flipping, because you are not stabbing your meat with a fork.
- A meat thermometer. I don’t care how many times you’ve made chicken — this is the tool that makes “don’t dry it out” an actual guarantee instead of a prayer.
- A cutting board with a well to catch the juice — because there will be juice, and that’s the whole goal.
Start to Finish — My Exact Process
This goes fast once the oven’s on, so read through once before you start. The brine happens while the oven preheats, so there’s no wasted time and no extra wait.
- Make the brine: In a large bowl, whisk 1/4 cup kosher salt and 2 tablespoons brown sugar into 2 cups warm water until dissolved. Add 2 cups cold water. If your chicken breasts are uneven in thickness, butterfly or pound them to an even 1-inch thickness before submerging. Let the chicken sit for 15 minutes — set a timer, it matters. Meanwhile, preheat the oven to 400°F with a rack in the upper third.
- Dry the chicken: Remove the chicken from the brine and pat it very dry with paper towels. This is the step that determines whether you get a golden sear or pale, steamed-looking skin. I pat it dry, then pat it dry again when I think I’m done. Fuss over this.
- Heat the skillet: Place your oven-safe skillet over medium-high heat and add 1 tablespoon of neutral oil. Wait until it’s shimmering — you should see the faintest wisp of smoke — then lay the chicken in the pan, away from you so the oil doesn’t pop. Sear for 2 to 3 minutes per side, just until golden brown. It will not be cooked through — that’s fine, the oven finishes the job. (📸 Photo tip: the chicken should have deep golden-brown patches, not pale — that’s your signal the sear worked.)
- Doctor the sauce: While the chicken sears, whisk 1 cup BBQ sauce with 1 tablespoon apple cider vinegar and 1/2 teaspoon smoked paprika in a small bowl. Taste it. This is the moment you decide if you want it spicier — if so, add a pinch of cayenne or chipotle powder now. (📸 Photo tip: the sauce should be glossy and pourable, not thick paste — if it’s too thick, a teaspoon of water loosens it beautifully.)
- First brush of sauce: Turn the heat off and brush a thin, even coat of the doctored sauce over the top of each breast. Thin is important — you’re giving it a head start, not trying to create a crust yet.
- Into the oven: Transfer the skillet to the oven — if your skillet isn’t oven-safe, transfer the chicken to a baking dish. Bake for 15 minutes, then pull the pan out and brush on another layer of sauce. (📸 Photo tip: at this point the sauce should look like it’s starting to set and turn glossy — that’s the lacquer forming, not burning.)
- Finish to temperature: Return to the oven for 5 to 8 more minutes, until the thickest part of the thickest breast reads 160°F on a thermometer. It carries over — it’ll climb to 165°F while it rests. If you don’t have a thermometer, pierce the thickest part and check the juices run clear and the meat feels firm with a little give.
- Rest: Transfer the chicken to a cutting board and let it rest for 5 full minutes. I know you want to cut into it. Set a timer. This is where the juice that would’ve ended up on your cutting board gets reabsorbed back into the meat — and it’s the step everyone skips and then wonders why their chicken is dry.
- Sauce, slice, garnish: Brush one final coat of sauce over each breast — the sauce you add now is the sauce you actually taste. Slice each breast against the grain on a bias, about 1/2-inch thick. Fan the slices out on a platter, scatter the scallions, add a pinch of flaky salt, and drop a small pile of pickled red onions on the side. (📸 Photo tip: the slices should show a faint rosy ring around the edge and look shiny — that’s the money shot, and it’s worth taking a photo before you serve.)
How I Meal Prep These for the Week
This is genuinely one of my favorite Sunday prep recipes because it reheats better than most chicken — the sauce keeps the meat from drying out, which is the thing that normally goes wrong with leftover poultry. I make a double batch and we’ve got two meals handled before the week even starts. On busy nights, I just slice and reheat and it feels like a real dinner instead of a compromise.
- Fridge: Store sliced or whole in an airtight container with a little extra sauce on the side — a small ramekin inside the container works perfectly. Keeps 3 to 4 days.
- Freezer: Yes — let it cool completely, wrap each breast individually in plastic wrap then foil, and freeze up to 2 months. Thaw in the fridge overnight before reheating.
- Reheat: The oven at 350°F for 8 to 10 minutes works best and keeps the sauce glossy. The microwave works in a pinch but it makes the sauce a little sticky — which, honestly, is a texture I’ve learned to accept on a Tuesday.
Things I Learned the Hard Way So You Don’t Have To
- The brine is not negotiable: I know it feels like an extra step and a bowl to wash. But it’s the difference between “chicken breast” and “chicken breast you’d actually order at a restaurant.” Even 10 minutes helps. I’ve done the experiment. There is no going back.
- Dry the chicken like you mean it: Pat it dry, then pat it dry again. Wet chicken doesn’t sear — it steams. The paper towels are worth the fuss, and I promise nobody ever regretted a better sear.
- Don’t brush the sauce on at the beginning: This is the most common mistake I see in every comment section. Sauce from minute one equals burnt sugar that tastes bitter. Sauce at the end equals a glossy lacquer that tastes like BBQ. Yes, it’s really that simple, and yes, it really matters that much.
- Use a thermometer, not a timer: Ovens lie, chicken breasts vary, and your time is too valuable to gamble on guessing. Pull it at 160°F and let carryover do the rest. This is the single piece of advice that would have saved me years of dry chicken.
- Even if you mess this up a little, it’s still good: I’ve forgotten the brine, I’ve seared too hard, and I’ve sliced too early — every single one of those batches was still edible and, frankly, still quite good with extra sauce. This recipe has a high floor. That’s the beauty of it.
Swaps That Actually Work
- Gluten-free: Use a gluten-free BBQ sauce — most are, but check the label. Everything else in this recipe is naturally gluten-free. This is the version I make for my friend with celiac, and she’s never once felt like she got the sad substitute.
- Spicy: Add 1/2 teaspoon chipotle powder or one minced chipotle in adobo to the sauce when you doctor it. My husband likes the heat, my kids don’t — so I split the sauce and brush the spicy version only on the adult batch. One pan, two outcomes, everyone’s happy.
- Kid-friendly: Use a mild or slightly sweet sauce — anything honey-forward works. Hold the scallions on their portion and skip the pickled onions for the little ones. My nine-year-old eats these with exactly zero commentary, which in our house is a standing ovation.
- No oven-safe skillet? Sear in a regular pan, then transfer the chicken to a baking dish for the oven. Same result, one extra dish. I’ve done it more times than I’d like to admit.
- Homemade sauce version: If you have 10 extra minutes, whisk 1 cup ketchup, 2 tablespoons molasses, 1 tablespoon brown sugar, 1 tablespoon apple cider vinegar, 1 teaspoon smoked paprika, and a pinch of cayenne. It’s brighter, a little more complex, and it costs about nothing.
- Boneless chicken thighs: Even more forgiving than breasts — brine them the same way, sear the same way, but bake them until they hit 175°F and season the sauce a bit more boldly since thighs like a stronger flavor.
The Questions I Get About This All the Time
Q: Why did my chicken breast turn out dry?
A: Ugh, I’ve been there — it’s the most heartbreaking thing in cooking, honestly. Nine times out of ten, it’s either skipping the brine or cooking past 160°F. The brine holds moisture in, and the thermometer stops you from pulling it out already overcooked. Pull it at 160°F, rest it for 5 minutes, and I promise you’ll notice the difference. Also — double-check that your breasts are even in thickness. A thin breast at 400°F will be dry by the time the thick one is done.
Q: Can I make this with chicken thighs instead?
A: Yes, and honestly, thighs are even more forgiving. Boneless skinless thighs need the same brining and searing treatment, but they can go to 175°F without drying out — that extra fat keeps them tender. Bake them about 18 to 20 minutes at the same temperature and season the sauce a little more aggressively. Thighs like bolder flavor, and they will not argue with you.
Q: How long does this last in the fridge? Can I freeze it?
A: Three to four days in an airtight container in the fridge. I store sliced chicken with a little extra sauce in a separate ramekin so nothing gets soggy. Freezing works too — up to 2 months. Wrap individual portions, thaw overnight in the fridge, and reheat in the oven at 350°F for about 8 to 10 minutes. This is my favorite meal-prep chicken for a reason.
Q: What do you serve with this?
A: My standard move is a crunchy slaw with lime and cilantro — the acid cuts the BBQ sweetness perfectly. A sheet pan of roasted broccoli or sweet potatoes works great since they can cook in the same oven. And on weekends, I do these with a wedge salad and a cold beer, which is my definition of a proper dinner. My kids love it with mac and cheese, which I fully endorse because I’m not a monster.
More Recipes My Family Makes on Repeat
If this one lands in your rotation — and I have a feeling it will — here are a few others that get the same reaction at our table:
- Sheet Pan Chicken Fajitas — The one that got me through about a thousand weeknights; everything cooks on one pan and the leftovers are somehow even better.
- My Best Roasted Chicken Thighs — Shatteringly crisp skin, juicy meat, and about ten minutes of actual effort involved.
- Crunchy Slaw with Lime and Cilantro — The exact side I serve with these; it’s the acid that makes the BBQ sauce taste brighter and the whole plate look complete.
Set the platter down without announcing anything. Let the sauce catch the light and the scallions do the talking — that’s the moment that makes a baked chicken breast feel like something you’d order at a restaurant on purpose.
If you make it, drop a comment below — I love hearing which variation your family lands on. And tag me on Pinterest or Instagram so I can see your plate.
📌 This baked BBQ chicken breasts recipe that stays juicy and never burns its sauce — save it for your next busy weeknight dinner
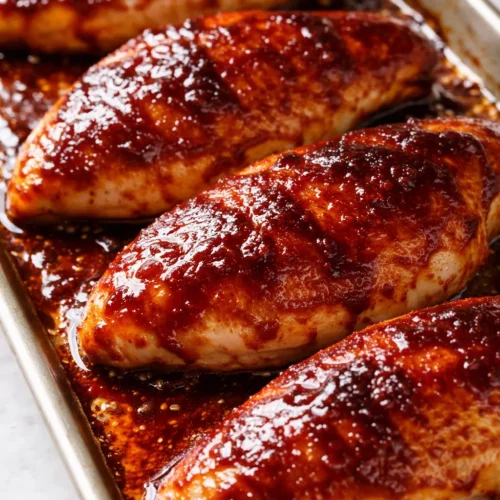
Baked BBQ Chicken Breasts That Don’t Dry Out
Equipment
- 12-inch oven-safe skillet
- Tongs
- Meat Thermometer
- Cutting Board with a Well
- Large Mixing Bowl
- Small Bowl
- Pastry brush
Ingredients
For the Brine
- 1/4 cup kosher salt
- 2 tablespoons brown sugar
- 4 cups water, divided (2 cups warm and 2 cups cold)
For the Chicken
- 4 boneless skinless chicken breasts, about 1.5 to 2 pounds total
- 1 tablespoon neutral oil (grapeseed or avocado)
For the Sauce
- 1 cup BBQ sauce
- 1 tablespoon apple cider vinegar
- 1/2 teaspoon smoked paprika
For the Finish
- 2 scallions, sliced thin on a sharp bias
- flaky sea salt, such as Maldon
- pickled red onions (optional)
Instructions
- Make the brine: In a large bowl, whisk 1/4 cup kosher salt and 2 tablespoons brown sugar into 2 cups warm water until dissolved. Add 2 cups cold water. If the chicken breasts are uneven in thickness, butterfly or pound them to an even 1-inch thickness before submerging. Let the chicken sit for 15 minutes — set a timer. Meanwhile, preheat the oven to 400°F with a rack in the upper third.
- Dry the chicken: Remove the chicken from the brine and pat it very dry with paper towels. Then pat it dry again. This step determines whether you get a golden sear or pale, steamed-looking chicken.
- Heat the skillet: Place an oven-safe skillet over medium-high heat and add 1 tablespoon of neutral oil. Wait until shimmering, then lay the chicken in the pan away from you. Sear for 2 to 3 minutes per side until golden brown — it won’t be cooked through, and that’s fine.
- Doctor the sauce: While the chicken sears, whisk 1 cup BBQ sauce with 1 tablespoon apple cider vinegar and 1/2 teaspoon smoked paprika in a small bowl. Taste it, and add a pinch of cayenne or chipotle powder if you want heat.
- First brush of sauce: Turn the heat off and brush a thin, even coat of the doctored sauce over the top of each breast. Thin matters here — you’re giving it a head start, not building a crust yet.
- Into the oven: Transfer the skillet to the oven — if your skillet isn’t oven-safe, transfer the chicken to a baking dish. Bake for 15 minutes, then pull the pan out and brush on another layer of sauce.
- Finish to temperature: Return to the oven for 5 to 8 more minutes until the thickest part of the thickest breast reads 160°F on a thermometer. It will carry over to 165°F while resting.
- Rest: Transfer the chicken to a cutting board and rest for 5 full minutes. Set a timer. This is where the juice reabsorbs into the meat instead of ending up on your cutting board.
- Sauce, slice, garnish: Brush one final coat of sauce over each breast — the sauce you add now is the sauce you actually taste. Slice against the grain on a bias, about 1/2-inch thick. Fan the slices on a platter, scatter the scallions, add a pinch of flaky salt, and drop a small pile of pickled red onions on the side.
Notes
Related Recipes:
 Cheesy Hamburger Casserole Bake That’s Ready in 40 Minutes (No Canned Soup Here)
 Creamy Garlic Tagliatelle That Looks Like a Restaurant Dish in 20 Minutes
 Texas Roadhouse Style Baked Salmon with Sweet and Savory Glaze — Ready in Under 30 Minutes
 Easy Italian Meatloaf That’s Actually Juicy (Not Dry) — in 1 Hour
 The Biscuits and Gravy Casserole That’s Actually Crispy on Top (And Ready in 40 Minutes)
 Air Fryer Chicken and Vegetables That Don’t Taste Like a Regret (30 Minutes, One Pan)