
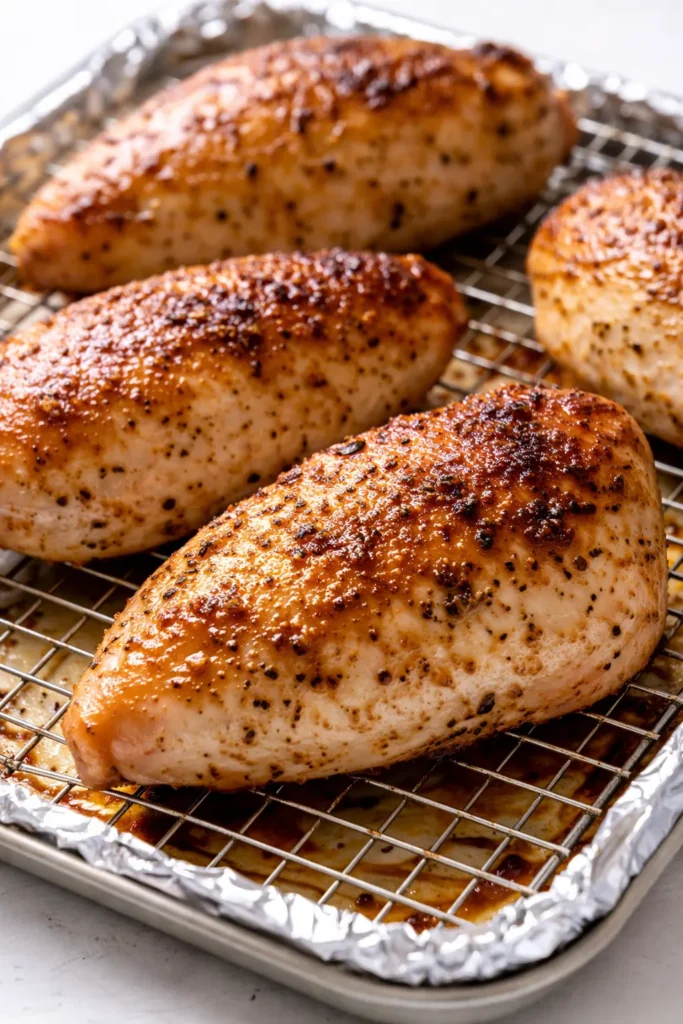
The first dozen times I made ranch chicken, I just dusted the seasoning on top and called it dinner. It was edible. It was not the kind of thing you’d text your sister a photo of. This version? I sent her the recipe before I finished eating. The coating stays on — it doesn’t slide off in one sad, salty sheet — and the chicken stays impossibly juicy. The whole thing is one bowl, one sheet pan, and about 35 minutes. My kids now request it on the regular, and I don’t even try to hide how easy it is.
The short version: Juicy chicken with a golden, salty crust that actually sticks. No flipping. No soggy bottoms. One pan.
I’ve made this roughly forty times over the last two years. It’s the recipe I bring out when I need a guarantee — and it has never let me down.
- Serves: 4 as a main
- Hands-On Time: 10 min | Total Time: 35 min
- Difficulty: Easy enough for a Wednesday
- Cost per serving: ~$2.50
- Calories: ~420 per serving
- Dietary Notes: Naturally low-carb. Easily adaptable for gluten-free.
(Photo above: Golden-brown chicken thighs arranged on a wire rack over a sheet pan, the crust looks like it could shatter, a tiny handful of chives scattered on top, natural light from a side window.)
The Trick That Changed Everything for Me
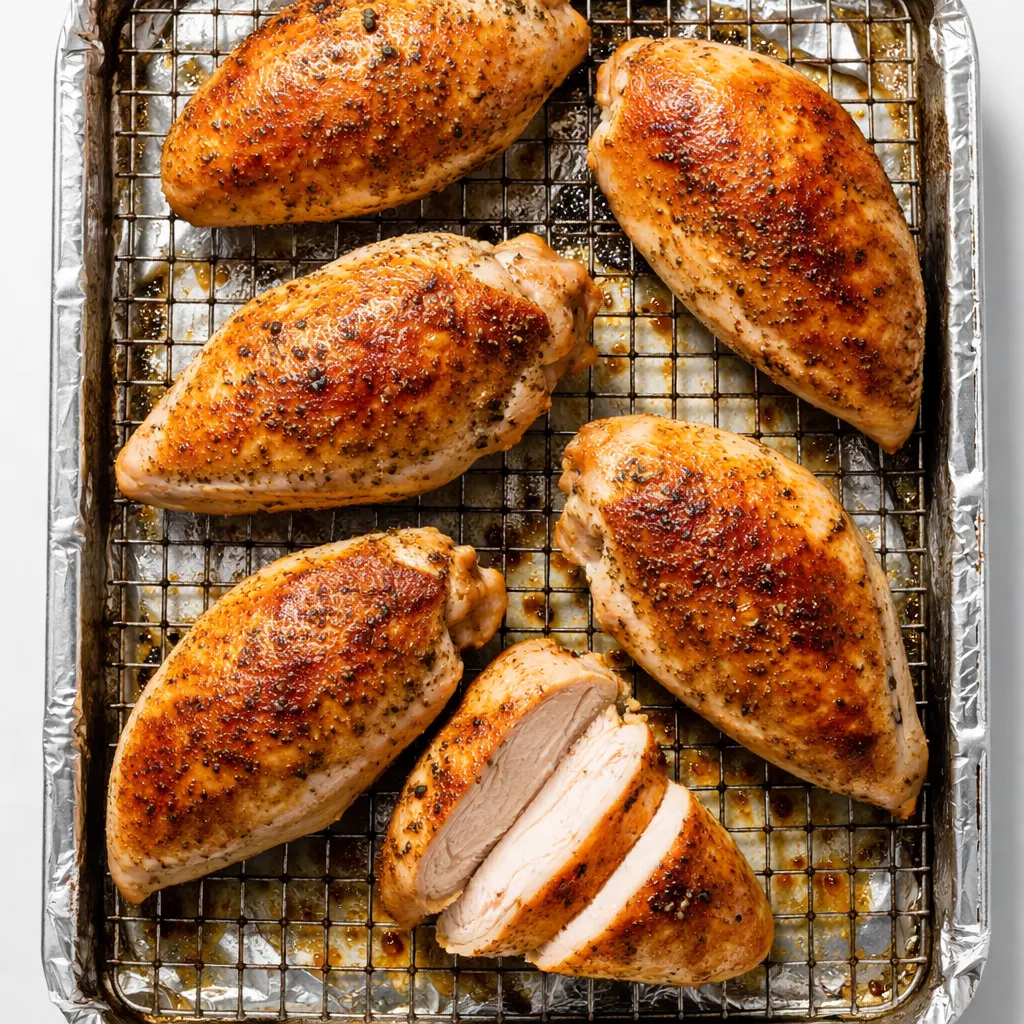
Sticking a dry seasoning packet directly onto chicken is a rookie move — and I made it for years. The problem is, dry seasoning burns in the oven or just slides off into the pan. The fix is a binder. Mayo, a little dairy, and a proper breadcrumb coating turn that packet into a real crust that sticks to the chicken and stays golden.
The second trick is the wire rack. Hot air needs to circulate underneath the chicken, or the bottom gets soggy. If you don’t have a wire rack, get one — they’re cheap and they make any sheet pan dinner significantly better. This one-two punch of a binder and a rack is the difference between “fine” and “can I have the recipe.”
Everything You Need (And a Few Notes From Me)
- 2 lbs boneless, skinless chicken thighs (or breasts): Thighs are more forgiving. Breasts work, just watch the internal temp. My kids prefer thighs — they’re harder to dry out, which is basically my whole cooking philosophy.
- 1 (1-oz) packet ranch seasoning: Hidden Valley is standard but any brand works. Save one tablespoon for the breadcrumbs — this makes the crust actually taste like something.
- 1/4 cup mayonnaise: Full-fat. It emulsifies the coating. Don’t swap for Greek yogurt here unless you like a very tangy crust. Mayo is neutral and rich.
- 1/4 cup buttermilk (or 4 tsp milk + 1 tsp lemon juice): The acid tenderizes the chicken and keeps the interior moist. I always have buttermilk powder on hand for exactly this reason.
- 1 cup panko breadcrumbs: They stay crispier than regular breadcrumbs. Regular ones get sandy. Panko is the move.
- 2 tbsp olive oil: For the breadcrumbs. Helps them brown evenly.
- Fresh chives or dill (for serving, optional): Green contrast makes the dish look intentional. Not parsley. Parsley is for garnish emergencies only.
What to Pull Out Before You Start
- Sheet pan — rimmed, standard 13×18.
- Wire rack — fits inside the sheet pan. Critical for crispiness.
- Large bowl — for the mayo-buttermilk-ranch coating.
- Shallow dish — for the breadcrumbs.
- Instant-read thermometer — if you have one. If you don’t, cut into the thickest piece to check.
Let’s Make It (Step by Step)
Preheat to 400F. Rack in the middle. Let’s get this crust going.
- Prep the rack: Line the sheet pan with foil (optional, easier cleanup). Place the wire rack on top. Spray with nonstick spray. (📸 Photo tip: The rack should be shiny from the oil — this is what keeps the chicken from welding itself to the pan.)
- Mix the wet coating: In a large bowl, whisk together the mayo, buttermilk, and most of the ranch seasoning (save about 1 tbsp). It should look like a thin, herby ranch dressing.
- Season the breadcrumbs: In a shallow dish, toss the panko with the reserved ranch seasoning and the olive oil. Pinch it with your fingers to coat the crumbs evenly.
- Coat the chicken: Pat the chicken dry with paper towels. Season lightly with salt. Toss each piece in the wet mixture, letting the excess drip off. Then press into the panko mixture, getting a good even layer. (📸 Photo tip: Place the breaded chicken on the rack — you want a nice even layer of crumbs, not mountain ranges.)
- Bake: Bake for 25-30 minutes, until the crust is deeply golden and the internal temp hits 165F (thighs can go to 175F, they stay juicy). Don’t flip. Flipping ruins the crust.
- Rest and serve: Let it rest on the rack for 5 minutes. This sets the crust. Transfer to a platter, scatter chives/dill over the top if you’re feeling fancy, and serve immediately.
Sunday Prep = Stress-Free Weeknights
This is one of those rare recipes that tastes almost as good reheated as it does fresh, thanks to the panko coating staying mostly intact. I make a double batch on Sundays and we pick at it through Wednesday. It’s great on salads, in wraps, or just eaten cold over the sink while standing up.
- Fridge: Store cooked chicken in an airtight container for up to 4 days. Keep the sauce separate if you made one.
- Freezer: Yes! Freeze the breaded, uncooked chicken on a sheet pan, then transfer to a freezer bag. Bake from frozen, adding 5-8 minutes at 400F.
- Reheat: Air fryer or a 350F oven for 5-7 minutes is way better than a microwave for crispiness. The microwave will steam it, and the crust will go from crispy to floppy.
Things I Wish I’d Known the First Time
- Pat the chicken dry first: Wet chicken makes the coating slide off. Dry it well with paper towels before it hits the mayo mixture. This is the single most important step.
- Don’t crowd the rack: Air needs to flow. Leave at least an inch between pieces. If you crowd them, the bottoms steam instead of crisp.
- Spray the rack: This one tiny step prevents 90% of the sticking. A quick hit of nonstick spray is all it takes. Yes, even on a nonstick rack.
- Use a thermometer: Chicken is done at 165F. But thighs actually taste better at 175F-180F — the collagen breaks down more and the meat gets buttery. I aim for 170F and pull it. Perfect every time, and the crust stays golden without burning.
Make It Yours: Easy Variations
- Spicy version: Add 1 tsp of smoked paprika and a pinch of cayenne to the wet mixture. My husband likes his with a drizzle of hot honey at the end.
- Dairy-Free: Use a dairy-free ranch packet (they exist! Or make your own with dill, garlic powder, onion powder) and swap the buttermilk for unsweetened almond milk + lemon juice and the mayo for vegan mayo. Works beautifully.
- Gluten-Free: Swap panko for gluten-free panko. They work exactly the same way, just check the packet for fillers.
- Kid-Friendly: My kids prefer this with little ranch dipping cups on the side. We call them “ranch dippers” and they eat every single one. I don’t question it.
Questions I Get About This Recipe All the Time
Q: Why did my breadcrumb coating come off in the oven?
A: A few things could have happened. Either the chicken wasn’t patted dry enough before the wet coating, or the rack wasn’t greased, or you didn’t press the breadcrumbs on firmly enough. It happens to all of us. Next time, press the crumbs in like you mean it.
Q: Can I make this with chicken breasts?
A: You can. Pound them to an even thickness (about 1/2 inch) so they cook evenly. Start checking the temp at 18 minutes. They will cook faster than thighs, so keep an eye on them.
Q: How long do leftovers last?
A: In the fridge, 4 days in an airtight container. In the freezer, if you freeze the baked chicken, about 2 months. Reheat in the oven or air fryer to bring the crunch back. The microwave will make it sad.
Q: What do you serve with it?
A: I usually do a quick salad (arugula, lemon, parm) or roasted broccoli. If my kids are feeling picky, it’s buttered egg noodles. And honestly, sometimes we just eat these straight off the sheet pan with a fork and call it dinner.
More Recipes My Family Makes on Repeat
If you liked this one, here are a few others that get the same reaction at our table:
- Dynamite Chicken Buns — Same crispy method, totally different flavor profile.
- Taco Rice Skillet — My go-to for busy Tuesdays.
- Creamy Chicken Alfredo — If you want a skillet version of a quick weeknight dinner.
This is the chicken I make on the nights I need a guaranteed win — the ones where everyone eats without complaint and I have exactly three dishes to wash. It’s been in heavy rotation for two years and I’m still not tired of it.
If you make it, leave a comment below and tell me how it went. I love hearing about the wins.
📌 Save this easy baked ranch chicken recipe for the next time you need a no-mess dinner that the whole family will actually eat.
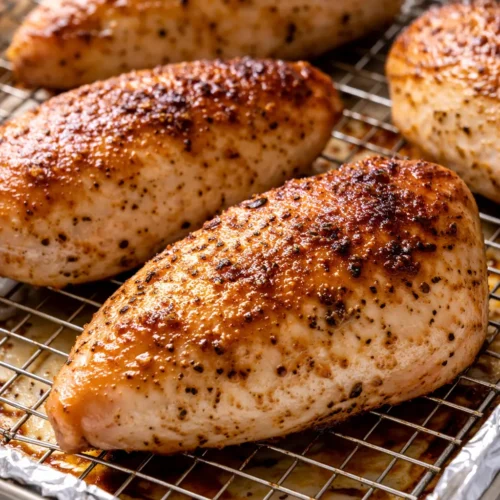
Easy Baked Ranch Chicken
Equipment
- Sheet Pan
- Wire Rack
- Large Mixing Bowl
- Shallow Dish
- Instant-Read Thermometer
Ingredients
- 2 lbs boneless skinless chicken thighs (or breasts)
- 1 packet ranch seasoning (1-oz packet)
- 1/4 cup mayonnaise
- 1/4 cup buttermilk
- 1 cup panko breadcrumbs
- 2 tbsp olive oil
- salt
- fresh chives or dill (for serving)
- nonstick cooking spray
Instructions
- Preheat the oven to 400°F. Line a sheet pan with foil (optional). Place a wire rack on top and spray with nonstick spray.
- In a large bowl, whisk together the mayonnaise, buttermilk, and most of the ranch seasoning (reserve about 1 tablespoon).
- In a shallow dish, toss the panko with the reserved ranch seasoning and olive oil. Pinch with your fingers to coat the crumbs evenly.
- Pat the chicken dry with paper towels. Season lightly with salt. Toss each piece in the wet mixture, letting excess drip off. Press into the panko mixture to coat evenly. Place on the prepared rack.
- Bake for 25-30 minutes, until the crust is deeply golden and internal temperature reaches 165°F (thighs can go to 175°F). Do not flip.
- Let rest on the rack for 5 minutes. Transfer to a platter, scatter chives or dill over the top if desired, and serve immediately.
Notes
Related Recipes:
 Cheesy Hamburger Casserole Bake That’s Ready in 40 Minutes (No Canned Soup Here)
 Lemon Capellini Salad for Late Summer Evenings: Bright, Tangy, Ready in 20 Minutes
 Creamed Cabbage and Ground Beef Casserole That’s Rich, Tender, and Done in 45 Minutes
 Creamy Garlic Tagliatelle That Looks Like a Restaurant Dish in 20 Minutes
 The Creamy Green Sauce Pasta That Looks Like You Made It for Instagram (But Tastes Even Better)
 Cucumber Shrimp Salad That Doesn’t Get Soggy — Finally