
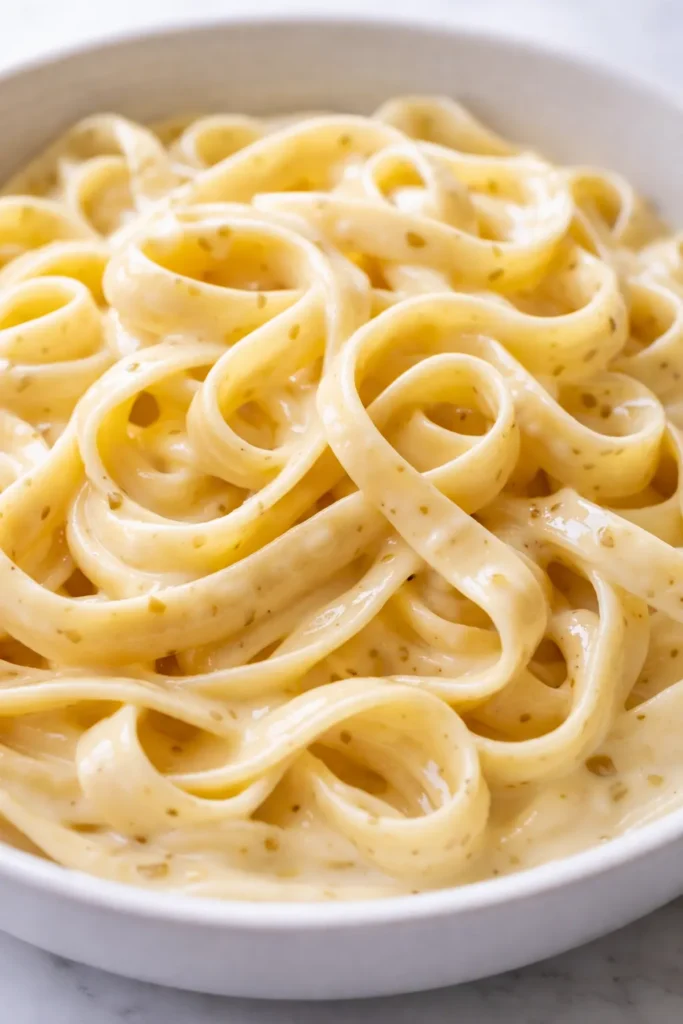
Every version of creamy garlic pasta I made for years was fine. Not great. You know what I mean—edible, but not the kind of thing you text your sister about. This version is different. It’s the one I sent her before I’d finished my first bite. The secret is one tool, one technique, and a rule about cheese that I wish I’d learned ten years ago.
The short version: Twenty minutes, one pot, one skillet, and a dinner that looks like you fussed when you really didn’t.
I’ve made this roughly 40 times in the last six months. My nine-year-old nephew requested it for his birthday dinner. It is that good.
- Serves: 2 as a main, 4 as a starter
- Hands-On Time: 15 min | Total Time: 20 min
- Difficulty: Easy enough for a Tuesday, elegant enough for a guest
- Cost per serving: ~$3.50
- Calories: ~650 per serving (as a main)
- Dietary Notes: Vegetarian. Easily adapted for gluten-free with GF pasta.
(Photo above: overhead shot of a single serving of tagliatelle in a wide, shallow white bowl, the sauce clinging to every strand. A sprinkle of fresh parsley and a pinch of flaky salt on top. Natural window light from the right.)
Why This Creamy Garlic Pasta Works Every Time
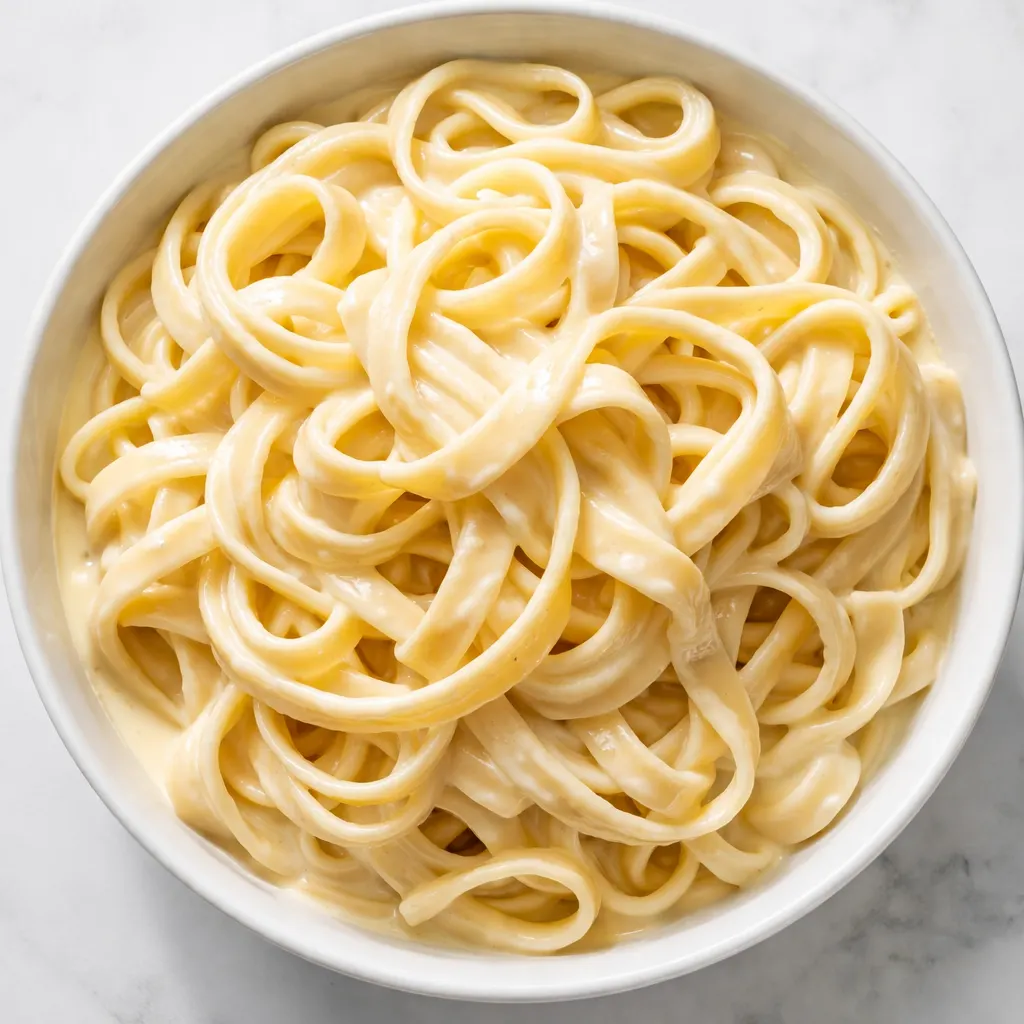
The garlic is microplaned, not minced. Minced garlic can be harsh and uneven. Microplaned garlic dissolves into the cream, so every bite has that sweet, mellow garlic flavor without the risk of a raw, spicy chunk.
The pasta water is the glue. A splash of that starchy, salty water is what stops the sauce from splitting and makes it cling to the tagliatelle instead of pooling at the bottom of the bowl. It’s the simplest technique that most home cooks skip.
Cheese goes in off the heat. Parmesan straight into a screaming hot pan turns into a gritty, clumpy mess. Off the heat, it melts into a silky emulsion that coats every strand.
Everything You Need (And a Few Notes From Me)
- 6 oz dried tagliatelle (or fettuccine): Dried is fine. Fresh is better. I use dried because it’s what I always have on hand and it works perfectly. I buy the De Cecco brand—it holds its texture better than most.
- 2 large garlic cloves: Microplaned, not minced. I cannot stress this enough. My rule of thumb is one generous clove per serving. If I’m feeling extra, I add a third.
- 1 cup heavy cream: Don’t swap this for half-and-half or milk. It won’t thicken the same way and it risks breaking. This is not the place to diet—it’s the place to eat well.
- 1/2 cup finely grated Parmesan: The block, not the green can. Pre-shredded Parmesan has cellulose that prevents it from melting smoothly. Grate your own—it takes 30 seconds and the sauce will thank you.
- 2 tbsp unsalted butter: Use a good one. It’s the base of the sauce and the flavor matters.
- 1/2 lemon: The squeeze at the end is non-negotiable. It cuts the richness. Forgetting the lemon makes the difference between a good pasta and a great one.
- Salt, flaky salt, and fresh parsley: For the pasta water, the sauce, and the finish.
What to Pull Out Before You Start
- A large pot for boiling pasta
- A microplane (or the smallest holes on a box grater)
- A large skillet or sauté pan
- Tongs for tossing
- A good chef’s knife
Here’s How I Do It (No Fancy Skills Required)
This goes fast, so read through once before you start. The whole thing takes about 20 minutes, and most of that is waiting for the pasta water to boil.
- Boil the pasta: Bring a large pot of generously salted water to a rolling boil. Cook the tagliatelle according to package directions until al dente.
- Microplane the garlic: While the pasta cooks, peel the garlic and grate it on a microplane into a small pile. (📸 Photo tip: You’re looking for a paste-like consistency—no chunks.)
- Start the sauce: In a large, cold skillet, add the butter and the microplaned garlic. Turn the heat to medium-low. Let the butter melt and the garlic gently infuse for about 2 minutes. Do not let the garlic brown.
- Add the cream: Pour in the heavy cream, stir, and let it come to a gentle simmer. Let it cook for 2–3 minutes, just until it thickens slightly. Taste and add a pinch of salt.
- Reserve pasta water: Before draining the pasta, scoop out 1 cup of the starchy pasta water. Set it aside.
- Toss it together: Use tongs to transfer the drained pasta directly into the skillet with the cream sauce. Add a splash of the reserved pasta water and toss vigorously. The sauce will go from thin to thick and glossy. (📸 Photo tip: The sauce should cling to the pasta, not pool. If it looks too thick, add another splash of pasta water.)
- Add the cheese off the heat: Turn off the heat. Add the grated Parmesan and toss until it melts into the sauce. The residual heat is enough to melt it perfectly without turning it grainy.
- Finish with lemon: Squeeze the half lemon over the pasta. Toss again. Taste and adjust salt.
- Plate: Use tongs to create a neat nest of pasta in a wide, shallow bowl. Spoon a little extra sauce from the pan over the top.
- Garnish: Sprinkle with fresh parsley and a generous pinch of flaky salt. Serve immediately.
How I Meal Prep This for the Week
I make a double batch of the sauce on Sundays and store it in a jar. Then, when a weeknight hits and I need something comforting in 10 minutes, I just boil fresh pasta and toss. It works every single time.
- Fridge: Store the sauce in an airtight jar for up to 5 days. Reheat gently over low heat with a splash of pasta water or milk.
- Freezer: The sauce freezes beautifully for up to 3 months. Thaw in the fridge overnight.
- Reheat: Low and slow on the stove, whisking occasionally. A splash of milk helps bring the texture back.
My Honest Advice After Making This 40 Times
- Reserve more pasta water than you think you need. A dry sauce is a sad sauce. If you think 1 cup is enough, save 1.5 cups. You can always toss it out, but you can’t save a dry pasta dish.
- Don’t skip the lemon. It’s the difference between a good pasta and a great one. The acid cuts through the richness of the cream and butter and makes every flavor pop. My husband thought I was overthinking it until he tried both versions.
- If your sauce breaks, don’t panic. Take the pan off the heat and whisk in a tablespoon of cold butter. The emulsion will come back together. I’ve done it more times than I care to admit.
- Use tongs to serve. It makes a neat nest on the plate, which reads as intentional and expensive. A slotted spoon gives you a messy pile. Tongs give you a dish that looks like it came from a restaurant.
Swaps That Actually Work (For Your Picky Eaters or Your Inner Chef)
- Gluten-Free: Use a good gluten-free tagliatelle or pappardelle. The sauce is naturally gluten-free, so this is an easy swap. I’ve tested this with the Barilla GF pasta and it works perfectly.
- Protein: Add leftover rotisserie chicken, sautéed shrimp, or crispy pancetta. Toss it in with the pasta at the end.
- Vegetable: Sautéed mushrooms or a handful of wilted spinach go beautifully with the cream and garlic. My kids don’t even notice the spinach if I chop it fine.
- Lighter: Swap half the heavy cream for whole milk or half-and-half. The sauce won’t be quite as thick or luxurious, but it will still be delicious for a weeknight.
Questions I Get About This Recipe All the Time
Q: Why did my sauce turn out grainy instead of silky?
A: You added the cheese when the pan was too hot. High heat makes Parmesan clump up instead of melting smoothly. Next time, take the pan completely off the heat before you stir in the cheese. I promise it will fix it.
Q: Can I use pre-minced garlic from a jar?
A: You can, but you won’t get the same result. Fresh garlic microplaned into a paste releases starches that help thicken and smooth the sauce. Jarred garlic is usually packed in acid, which changes the flavor. Fresh is best here, and it takes thirty seconds.
Q: How long does this last? Can I freeze it?
A: The sauce lasts up to 5 days in the fridge in an airtight container. It also freezes well for up to 3 months. The fully assembled pasta is best eaten fresh, but if you have leftovers, reheat them gently on the stove with a splash of milk or water.
Q: What do you serve with this pasta?
A: A simple green salad with a lemony vinaigrette. The sharpness of the salad is the perfect counter to the rich, creamy pasta. A glass of crisp Sauvignon Blanc on the side doesn’t hurt either.
More Recipes My Family Makes on Repeat
If you liked this one, here are a few others that get the same reaction at our table:
- Chicken Alfredo Gnocchi — It’s the same weeknight energy with a nutty, savory twist.
- Italian Meatballs — This one simmers while you shower. It’s that hands-off.
- Lemon Capellini Salad — For the nights when 20 minutes feels too long.
This is the pasta I make when I want to feel like I ate a real meal without ordering takeout. It’s quick, it’s comforting, and it looks like I tried harder than I did. That’s the whole goal, right?
If you try it, drop a comment below—I love hearing how it goes for you. Tag me on Pinterest so I can see your beautiful bowls of pasta.
📌 Save this creamy garlic tagliatelle recipe for the next time you need a 20-minute dinner that feels way more expensive than it was.
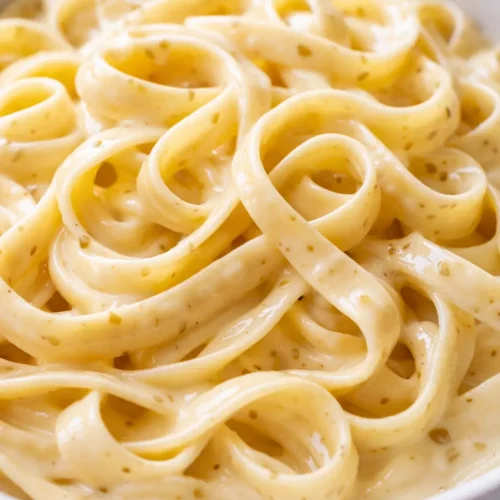
Creamy Garlic Tagliatelle That Looks Like a Restaurant Dish in 20 Minutes
Equipment
- Large Pot
- Microplane
- Large Skillet
- Tongs
- Chef’s knife
Ingredients
- 6 oz dried tagliatelle (or fettuccine)
- 2 cloves large garlic
- 1 cup heavy cream
- 1/2 cup finely grated Parmesan
- 2 tbsp unsalted butter
- 1/2 lemon
- to taste salt
- to taste flaky salt
- for garnish fresh parsley
Instructions
- Bring a large pot of generously salted water to a rolling boil. Cook the tagliatelle according to package directions until al dente.
- While the pasta cooks, peel the garlic and grate it on a microplane into a small pile.
- In a large, cold skillet, add the butter and the microplaned garlic. Turn the heat to medium-low. Let the butter melt and the garlic gently infuse for about 2 minutes. Do not let the garlic brown.
- Pour in the heavy cream, stir, and let it come to a gentle simmer. Let it cook for 2–3 minutes, just until it thickens slightly. Taste and add a pinch of salt.
- Before draining the pasta, scoop out 1 cup of the starchy pasta water. Set it aside.
- Use tongs to transfer the drained pasta directly into the skillet with the cream sauce. Add a splash of the reserved pasta water and toss vigorously. The sauce will go from thin to thick and glossy.
- Turn off the heat. Add the grated Parmesan and toss until it melts into the sauce. The residual heat is enough to melt it perfectly without turning it grainy.
- Squeeze the half lemon over the pasta. Toss again. Taste and adjust salt.
- Use tongs to create a neat nest of pasta in a wide, shallow bowl. Spoon a little extra sauce from the pan over the top.
- Sprinkle with fresh parsley and a generous pinch of flaky salt. Serve immediately.
Notes
Related Recipes:
 Peach Arugula Salad with Brown Butter Pecans: The 15-Minute Summer Dinner I Make on Repeat
 Cheesy Hamburger Casserole Bake That’s Ready in 40 Minutes (No Canned Soup Here)
 Lemon Capellini Salad for Late Summer Evenings: Bright, Tangy, Ready in 20 Minutes
 Creamed Cabbage and Ground Beef Casserole That’s Rich, Tender, and Done in 45 Minutes
 Grilled Peach Burrata Salad That Tastes Like a Fancy Restaurant — at Home in 20 Minutes
 Dolly Parton’s Easy 5-Ingredient Casserole That Feeds a Crowd in 45 Minutes