
I love a good iced coffee splurge as much as the next person, but paying $7 for something I can make in 5 minutes with a blender and a trip to the grocery store started to feel less like a treat and more like a tax on my impatience. The first time I blended up a frozen coffee at home, the ice was weird and the caramel sunk to the bottom in a sad, sticky puddle. Not this time. This version has the actual crunchy caramel bits suspended throughout, a thick, creamy base that doesn’t separate, and it costs roughly the same as a stick of gum.
The short version: Five ingredients, a blender, and about three minutes is all that stands between you and a frappe that beats the coffee shop version every single time.
I’ve made this every iced coffee season for the last four years, and my kids now request it over the drive-thru version. That’s not brand loyalty — that’s just better taste.
- Serves: 1 large (or 2 small)
- Hands-On Time: 5 min | Total Time: 5 min
- Difficulty: So easy you’ll actually make it on a Tuesday
- Cost per serving: ~$1.25
- Calories: ~350
- Dietary Notes: Vegetarian. Easily dairy-free / vegan.
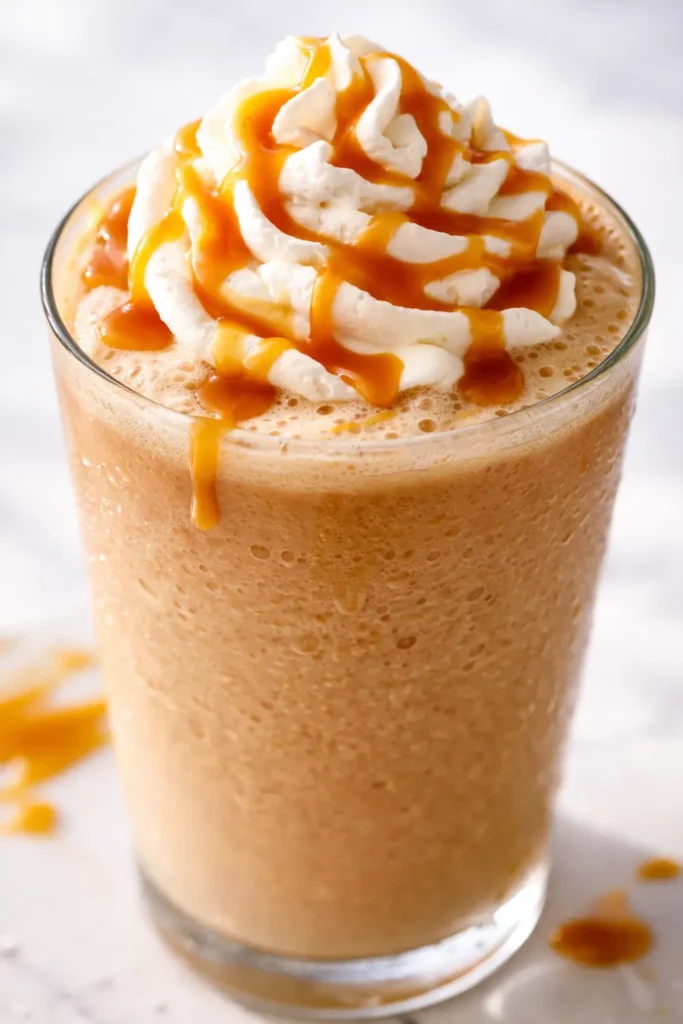
(Photo above: tall glass filled with a swirled brown and white frappe, topped with a mountain of whipped cream and a drizzle of homemade caramel sauce catching the light, crushed candied bits clinging to the rim.)
The One Ingredient That Keeps It From Getting Watery
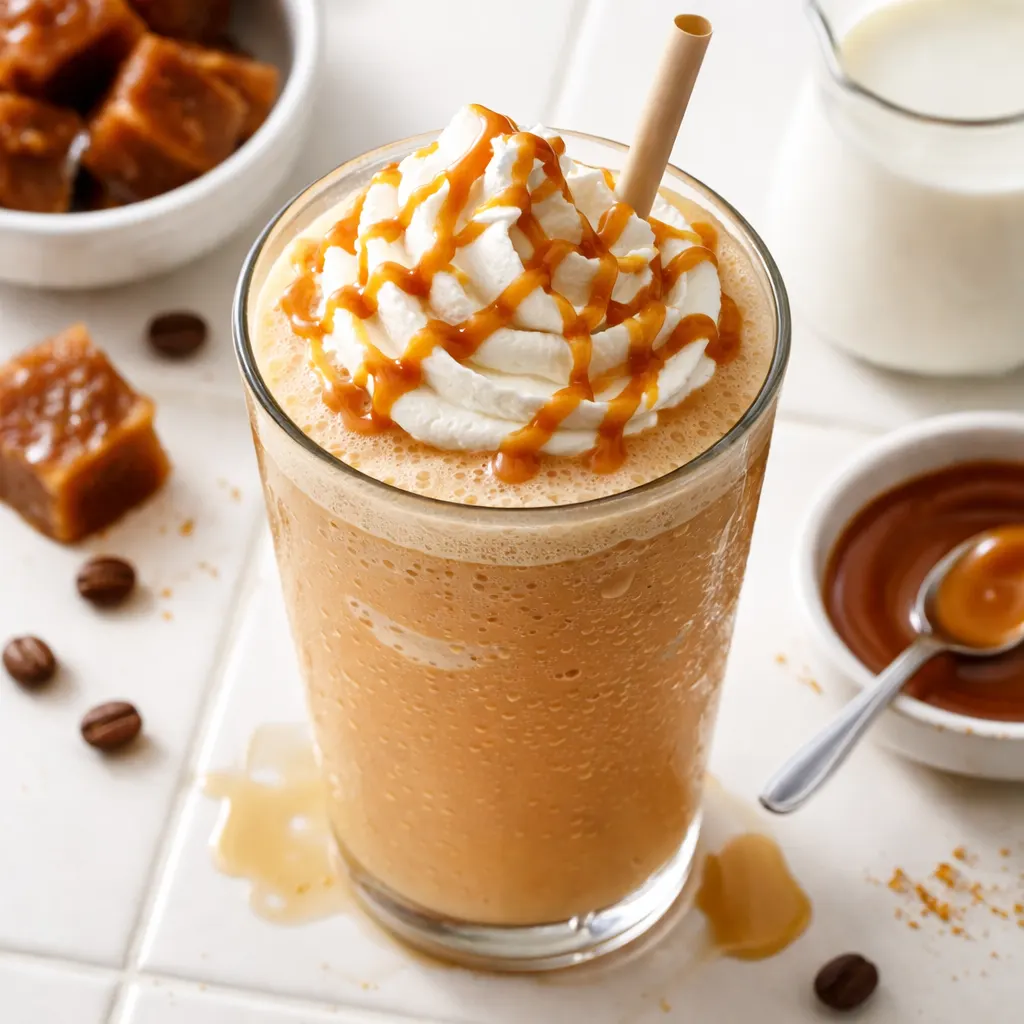
The enemy of a good frozen coffee is that thin, watery separation that happens when the ice melts faster than the coffee base. The fix is a frozen coffee cube. Brew a strong pot, pour it into an ice cube tray, and you have coffee ice that flavors the drink as it melts instead of diluting it.
The second trick is the crunch. Store-bought caramel sauce is fine, but it doesn’t have texture. Toasting some nuts or crushing up a few candies gives you that shatter factor that makes the coffee shop version feel like a treat. This version has it in spades.
What you get is a frappe that’s thick, creamy, and stays that way until the last sip. No sad watery puddle at the bottom. No flat flavor. Just a genuinely good frozen coffee that happens to cost a fraction of the price.
What Goes In (And What Actually Matters)
- 1 cup strong brewed coffee, frozen into cubes: This is the non-negotiable. Regular ice cubes water it down. Coffee cubes keep it bold. I brew a full pot on Sunday night and freeze a tray specifically for this. It takes 10 minutes of prep and saves me all week.
- 1/2 cup whole milk (or oat milk): Whole milk gives the creamiest texture, but oat milk is my go-to for a dairy-free version that still feels indulgent. My youngest is lactose-sensitive, and oat milk works perfectly here — just make sure it’s the barista blend for maximum creaminess.
- 2 tbsp caramel sauce (homemade or store-bought): Homemade is obviously better (and cheaper), but a good store-bought jar is fine. I have a strong opinion here: avoid the “ice cream topping” caramel. Get the thicker, darker one meant for coffee.
- 1-2 tbsp crushed toffee bits or candied nuts: Texture is the entire point. Skor bar bits, crushed Heath bar, or homemade candied pecans. I’ve used all three. The toffee bits are my favorite because they stay crunchy longer.
- Whipped cream (optional, but let’s be real, not really): For the top. Makes it look like you went to a coffee shop. This is purely for presentation and joy. Do not skip it on a bad day.
Tools You Probably Already Have
- Blender: A basic countertop blender works. A high-speed blender makes it smoother, but even a bullet-style blender will do the trick with a little extra shaking.
- Ice cube tray: For the coffee cubes. Silicone ones are easier to pop out, but any tray works.
- Tall glass: For serving. The taller the glass, the more impressive the layering looks.
Making Your Frappe: The Exact Process
This is faster than waiting in the drive-thru line. I promise.
- Freeze the coffee: Brew a cup of strong coffee and let it cool slightly. Pour it into an ice cube tray and freeze for at least 4 hours, or overnight. (📸 Photo tip: You should see dark brown cubes sliding easily out of a silicone tray.)
- Blend the base: Add the coffee cubes, milk, and caramel sauce to the blender. Start on low and gradually increase to high. Blend until thick and smooth — about 30-45 seconds. If it’s too thick, add a splash of milk. If it’s too thin, add another coffee cube. (📸 Photo tip: The mixture should look like a thick milkshake swirling in the blender pitcher.)
- Add the crunch: Pulse in the crushed toffee bits or candied nuts for 2-3 seconds. You want them distributed, not pulverized. A few larger chunks are a good thing.
- Serve: Pour into a tall glass. Top with a generous swirl of whipped cream, an extra drizzle of caramel, and a sprinkle of toffee bits on top. Serve immediately with a wide straw. This is the moment you send a photo to your friend who still pays $7 at the drive-thru.
How to Make This a Grab-and-Go Situation
I make a batch of coffee cubes on Sunday night and keep a jar of homemade caramel sauce in the fridge. On busy mornings, it takes exactly 90 seconds to blend and pour. My kids think it’s a treat. I know it’s just coffee and milk.
- Fridge: The caramel sauce and milk are fridge staples. The coffee cubes live in the freezer.
- Freezer: Yes — freeze the blended frappe in an airtight container for up to 1 month. Let it sit at room temp for 10 minutes, then re-blend with a splash of milk to bring it back to life.
- Reheat (lol): This is a cold drink. Do not reheat. Just re-blend.
Things I Learned After Making This 47 Times
- Don’t skip the coffee cubes: I tried making it with regular ice cubes once. Once. It was a sad, watery mess. Coffee cubes are the only way.
- Blend in stages: If you dump everything in and hit high speed immediately, you’ll get coffee ice chunks flying everywhere. Start slow, then ramp up. Trust me on this one.
- Taste as you go: Different coffees have different strengths. A dark roast might need an extra splash of milk. A lighter roast might need an extra drizzle of caramel. Your palate knows what it wants.
- The crunch is not optional: I know it’s an extra step. But it’s the difference between a thin coffee slushie and an actual frappe that feels like a treat. Even if you just crush up a stale cookie, add texture.
Make It Yours: Easy Swaps and Upgrades
- Dairy-Free / Vegan: Use oat milk or almond milk and a vegan whipped cream. The flavor is almost identical. This is the version I make for my sister-in-law, and she swears it’s better than the coffee shop version.
- Extra Caffeinated: Add a shot of espresso or an extra coffee cube. For the mornings when you really need it.
- Mocha Crunch: Add 1 tbsp of cocoa powder to the blender and use chocolate-covered toffee bits. This is my husband’s preferred version.
- Sugar-Free: Use a sugar-free caramel syrup and unsweetened milk. Skip the sweetened toffee bits or make your own with a sugar substitute. My friend who does keto loves this swap.
Questions My Readers Ask All the Time
Q: Why is my frappe watery instead of thick?
A: Usually means the coffee cubes weren’t frozen long enough, or you added too much milk. Pop another coffee cube in and blend again. It’s an easy fix!
Q: Can I make this without a blender?
A: Technically yes, but it won’t be the same. You can shake the ingredients in a jar with crushed ice, but you’ll miss the thick, frosty texture. A blender is worth it here.
Q: How long does the homemade caramel sauce last?
A: In an airtight jar in the fridge, it lasts about 3 weeks. Ours never makes it that long, but theoretically, it lasts.
Q: What’s the best glass for serving this?
A: A tall clear glass, 16-20 oz. The visual of the layers — the dark coffee, the white whipped cream, the caramel drizzle — is half the experience. A mason jar works great too.
Q: Can I use decaf coffee?
A: Absolutely. Use decaf beans or a decaf brew. The flavor is the same, just without the caffeine kick. Perfect for an evening treat.
More Recipes My Family Makes on Repeat
If this cold coffee situation is your vibe, here are a few other drinks we’ve got on heavy rotation in our kitchen:
- Homemade Iced Brown Sugar Oatmilk Shaken Espresso — The one that broke my coffee shop habit completely.
- Easy Chocolate Syrup (For Hot or Cold Drinks) — Costs pennies to make and tastes way more chocolatey.
- Blended Mocha Cold Brew (Dairy-Free) — For the days when caramel isn’t the move.
This is the drink that makes you look forward to Monday morning. Or Tuesday afternoon. Or Saturday at 3pm when you need a pick-me-up that doesn’t feel like a chore. Make it once, and you’ll wonder why you ever waited in line for a version that costs seven times as much.
If you try it, drop a comment below — I love hearing how it goes for you! And if you’re on Instagram or Pinterest, tag me so I can see your gorgeous glass of homemade frappe.
📌 DIY Caramel Crunch Frappe recipe that saves you $6 per drink and tastes better than the drive-thru — save it for your next iced coffee craving!

DIY Caramel Crunch Frappe That Costs About $1 (and Tastes Better Than the Drive-Thru)
Equipment
- Blender
- Ice Cube Tray
- Tall Glass
Ingredients
- 1 cup strong brewed coffee, frozen into cubes
- 1/2 cup whole milk or oat milk
- 2 tbsp caramel sauce
- 1-2 tbsp crushed toffee bits or candied nuts
- Whipped cream (optional, for topping)
Instructions
- Freeze the coffee: Brew a cup of strong coffee and let it cool slightly. Pour it into an ice cube tray and freeze for at least 4 hours, or overnight.
- Blend the base: Add the coffee cubes, milk, and caramel sauce to the blender. Start on low and gradually increase to high. Blend until thick and smooth — about 30-45 seconds. If it’s too thick, add a splash of milk. If it’s too thin, add another coffee cube.
- Add the crunch: Pulse in the crushed toffee bits or candied nuts for 2-3 seconds. You want them distributed, not pulverized. A few larger chunks are a good thing.
- Serve: Pour into a tall glass. Top with a generous swirl of whipped cream, an extra drizzle of caramel, and a sprinkle of toffee bits on top. Serve immediately with a wide straw.
Notes
Related Recipes:
 Apple Rose Pastry Blooms That Look Like a Patisserie Display (With Zero Fancy Skills Needed)
 The Only Strawberry Shortcake Recipe That Works Every Time
 Fudgy Zucchini Brownies You’d Never Guess Are Hiding a Vegetable
 The Buttermilk Scones You’d Never Guess Are This Flaky (and Easy)
 Mixed Berry Crumble Bars That Look Like a Bakery Window (But Cost Pennies)
 The Healthy Breakfast Cookie You’d Never Guess Is Actually Good for You