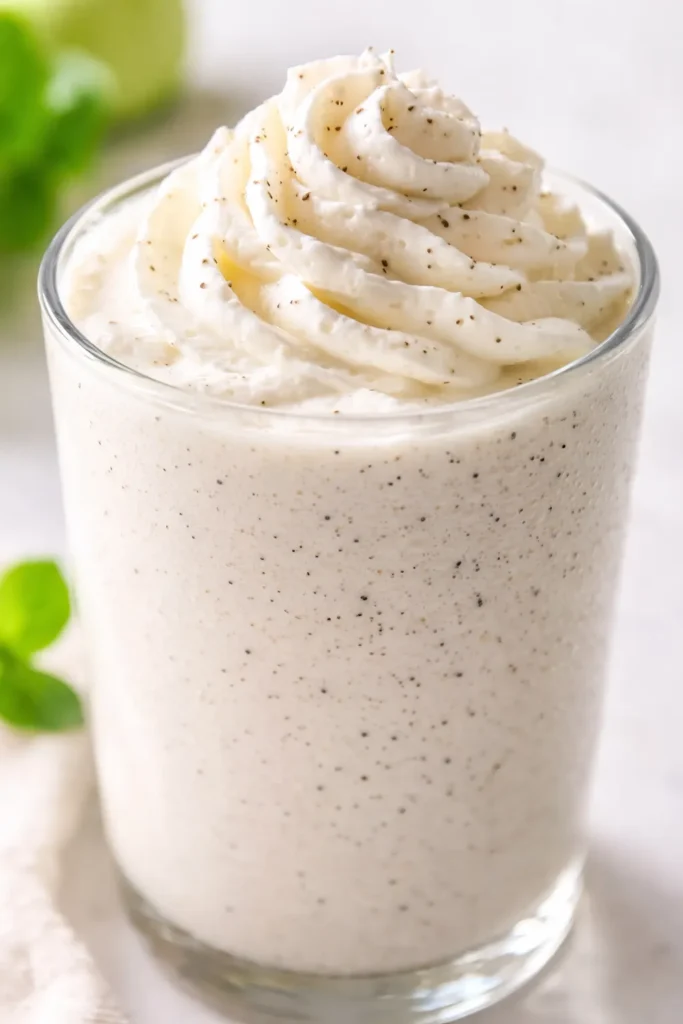
There is a specific kind of pleasure in making a Starbucks copycat at home. It’s the pleasure of knowing exactly what’s in your drink — real vanilla, actual ice cream — and the pleasure of pouring it into a glass that cost you three dollars at a thrift store and looks like it belongs in a catalog. These almond scones are the reason to have company over. The frappuccino is the reason to stay.
The short version: A creamy vanilla bean frappuccino and almond scones that cost about a third of what you’d pay at the coffee shop — and they actually taste better.
I’ve made this frappuccino more times than I can count, and the scones have become my go‑to for Sunday mornings when I want something that feels like an occasion but doesn’t require my full brainpower before coffee.
- Serves: 2 (makes 2 frappuccinos + 6–8 scones)
- Hands-On Time: 25 min | Total Time: 50 min
- Difficulty: Easy — the blender does most of the work, and the scones come together in one food processor
- Cost per serving: ~$3.50 (for the whole thing — two drinks and scones)
- Calories: ~520 per frappuccino + 1 scone
- Dietary Notes: Vegetarian. Can be made dairy‑free (see variations)
(Photo above: overhead shot of a tall glass of vanilla bean frappuccino with whipped cream on a wooden counter, next to a plate of glazed almond scones with sliced almonds, natural morning light filtering in from the left.)
The Thing That Makes This Frappuccino Actually Taste Like the Real One (Not a Sad Imitation)
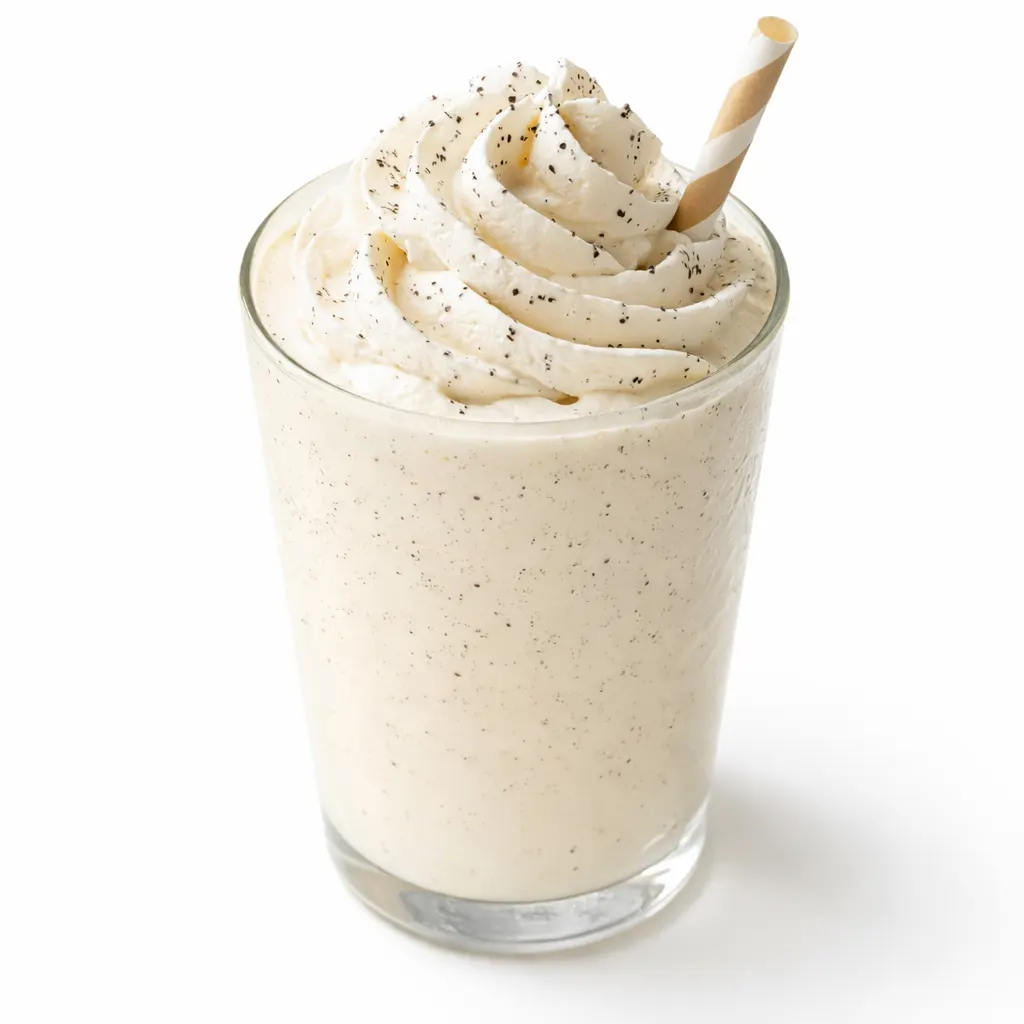
The secret is using vanilla bean ice cream as the base instead of just milk and ice. The real Starbucks version gets its creaminess from a base mix that includes cream and stabilizers. Using actual ice cream gives you that same rich, thick texture without having to buy a bottle of syrups. It also means you get specks of real vanilla bean.
For the scones, the trick is keeping everything cold — the butter, the cream, even your hands if you’re a little obsessive like me. Warm butter melts into the dough before it hits the oven, and you lose that flaky, layered texture that makes a scone worth eating.
What you get: a drink that’s smooth and sweet but not cloying, and scones that are crisp on the outside, tender inside, and just sweet enough from the almond glaze. The whole thing takes under an hour and makes your kitchen smell like a bakery.
Everything You Need (Plus My Honest Notes)
- 1 cup ice: Standard cubes work fine. If you use crushed ice, you’ll get a slightly thinner frappuccino — still good, just different.
- 1 ½ cups milk: Whole milk gives the richest texture. I’ve used oat milk too (see swaps) and it works, but the original is better.
- 3 scoops vanilla bean ice cream: This is the backbone. Use a good one — Haagen‑Dazs or a local brand with real vanilla specks. The cheaper tubs work but the flavor won’t be as clean.
- 1 teaspoon sugar: You might think you can skip it, but a little extra sweetness balances the ice. My test last summer: I skipped it once and my friend asked if I’d forgotten something.
- ⅛ teaspoon vanilla extract: Pure, not imitation. It amplifies the ice cream’s vanilla.
- Whipped cream (optional): I say optional, but come on. Even a thin layer makes it feel like a real treat.
For the scones:
- 2 cups flour: All‑purpose. Don’t swap in whole wheat — they’ll be dense and sad.
- ½ cup sugar: Fine granulated. You could use superfine if you have it, but not necessary.
- 1 ½ teaspoons baking powder: Make sure it’s fresh. If it’s been sitting in your pantry for two years, get a new can.
- ½ teaspoon salt: Fine salt, not flaky.
- ½ cup cold butter, cut into pieces: Cut it, then stick it back in the fridge for ten minutes. Cold butter = flaky scones. Warm butter = hockey pucks.
- ½ cup heavy cream: Plus a splash more for brushing the tops.
- 2 teaspoons almond extract: This is the flavor that makes these taste like a bakery scone. Don’t skip it.
- For the glaze: Powdered sugar, heavy cream, almond extract, vanilla bean paste (or extra extract). A handful of sliced almonds for the top.
My kid test: I brought these to a friend’s brunch and her eight‑year‑old asked for a second scone before she’d finished the first. That’s the seal of approval I trust.
What Tools You’ll Actually Need
- Blender: Any kind. A high‑speed works great, but a regular one does the job.
- Food processor: For the scones. If you don’t have one, you can do it by hand with a pastry cutter — it just takes a bit longer and gets your fingers buttery.
- Baking sheet + parchment paper: Lining the sheet is non‑negotiable unless you love scraping burned sugar off metal.
- Knife and cutting board: For dividing the dough.
- Serving glass: Something with a wide opening so the whipped cream sits nicely.
Let’s Make It — Step by Step (No Fancy Skills Required)
I like to make the scone dough first so it can rest in the fridge while I blend the frappuccino. But you can do them in any order — it’s your kitchen.
Preheat and prep: Preheat your oven to 375°F. Line a baking sheet with parchment paper.
- Blend the frappuccino base: In a blender, combine the ice, milk, vanilla bean ice cream, sugar, and vanilla extract. Blend until completely smooth — no ice chunks. You’re looking for the texture of a thick milkshake. (📸 Photo tip: You should see a creamy, pale white liquid with tiny vanilla specks. No separation.)
- Pour and top: Divide the frappuccino between two serving glasses. Add a generous swirl of whipped cream if you’re using it. Pop the glasses in the fridge while you finish the scones.
- Make the scone dough: In a food processor, pulse together the flour, sugar, baking powder, and salt. Scatter the cold butter pieces over the dry mixture. Pulse in short bursts — about ten 1‑second pulses — until the butter is broken into pea‑sized pieces. Some flour will still be visible; that’s correct.
- Add the cream and extract: With the processor running, slowly pour in the heavy cream and almond extract. Process just until the dough starts to clump together — stop as soon as it forms a ball. Overprocessing makes tough scones.
- Shape and cut: Turn the dough out onto a lightly floured surface. Divide it into 2‑3 sections. Pat each section into a thick disk about ¾ inch tall. Use a bench scraper or knife to cut each disk into 6 triangles (like a pie). Don’t twist the knife — press straight down for clean edges.
- Bake the scones: Place the triangles on the lined baking sheet, spacing them about an inch apart. Brush the tops with a little extra cream. Bake at 375°F for 18 minutes, until golden brown on the bottom and lightly golden on top. (📸 Photo tip: The edges should look dry and the bottoms will be a deep tan. A toothpick inserted in the center should come out clean.)
- Make the glaze: While the scones cool for about 10 minutes, whisk together powdered sugar, heavy cream, almond extract, and a little vanilla bean paste (or more extract) until smooth. It should be thick but pourable — like heavy cream itself.
- Glaze and finish: Drizzle the glaze over the warm (not hot) scones. Sprinkle sliced almonds on top while the glaze is still wet. Let the glaze set for a few minutes — or don’t. I’ve eaten them immediately and regretted nothing.
Sunday Prep = Stress‑Free Coffee Shop Mornings
I make a double batch of the scone dough on Sunday and keep it in the fridge. Then on weekday mornings I can pull it out, cut, bake, and glaze in about 30 minutes. The frappuccino is always last‑minute — it takes five minutes from start to sip.
- Fridge: Baked scones keep in an airtight container for 3 days. The glaze will soften a bit, but they’re still great.
- Freezer: You can freeze the unbaked scone triangles on a sheet pan until solid, then transfer to a zip‑top bag. Bake from frozen at 375°F — add 3–4 minutes. Or freeze baked scones (unglazed) for up to 2 months.
- Reheat: Best in a 300°F oven for 5 minutes. The microwave will make them sad and rubbery. Trust me on this one.
Things I Wish I’d Known the First Time
- Don’t over‑blend the frappuccino: Over‑blending melts the ice and turns your drink watery. Stop as soon as it’s smooth. I ruined my first attempt because I let it run an extra 15 seconds — it was basically vanilla milk.
- Keep the scone dough cold: If at any point the dough feels sticky or the butter looks soft, pop it in the fridge for 10 minutes. Even if you mess this up a little, it’ll still taste good — I’ve made warm‑butter scones that were more like biscuits, and they were still devoured.
- Use a kitchen scale for the flour: If you have one, it’s the most accurate. Too much flour makes dry scones. Spoon and level if you’re using cups.
- Let the scones cool before glazing: If they’re too hot, the glaze melts into a puddle. Wait until they’re just warm to the touch — about 10 minutes. My husband thought I was overthinking it until he tried glazing hot ones. We don’t talk about that batch.
Swaps That Actually Work
- Dairy‑free: Use oat milk for the frappuccino and a good dairy‑free vanilla ice cream (I like Oatly or So Delicious). For the scones, swap the butter for a stick‑style vegan butter and use full‑fat coconut cream for the heavy cream. The texture will be slightly less tender but still very good.
- Nut‑free (scones): Skip the almond extract and sliced almonds. Use vanilla instead — it won’t taste like Starbucks, but it’ll be a lovely plain vanilla scone.
- Spicy version (frappuccino): Add a pinch of cinnamon and a tiny pinch of cayenne to the blender before blending. My friend Alice demands this version every time she comes over.
- Kid‑friendly: Use less coffee (none — this is already coffee‑free) and let them add a drizzle of chocolate syrup on top of the whipped cream. My niece calls it the “rainbow frappuccino” and it’s the only drink she requests.
Questions I Get About This Recipe All the Time
Q: Why did my scones come out dry and crumbly?
A: Ugh, I’ve been there. The most common culprit is overprocessing the dough. Once you add the liquid, stop the food processor as soon as it clumps. Overmixing develops gluten, which makes tough, dry scones. Also, make sure your butter was really cold — I’ve forgotten to chill mine and got hockey pucks.
Q: Can I make the frappuccino dairy‑free?
A: Yes. Use oat milk (unsweetened) and a dairy‑free vanilla ice cream. The texture will be a little less creamy — dairy‑free ice creams melt faster — but it still tastes great. I’ve tested this with oat milk and coconut ice cream, and it works. Cashew milk makes it too thin.
Q: How long do the frappuccinos last in the fridge?
A: Not long. They’re best fresh — within 30 minutes. After that, the ice melts and it becomes vanilla milk. If you want to prep ahead, blend everything except the ice the night before, then add the ice and blend in the morning. For the scones, baked and unglazed ones keep in an airtight container for 3 days.
Q: What do you serve with these for a brunch spread?
A: I like to keep it simple — fresh fruit like berries or sliced peaches, maybe a little bacon if I’m feeling salty‑sweet. If it’s a full brunch, a frittata or a green salad with a simple vinaigrette balances the sweetness. My favorite unexpected pairing is a sharp cheddar — the tang cuts through the almond glaze perfectly.
More Recipes My Family (and Friends) Make on Repeat
If you liked this copycat duo, here are a few others that get the same reaction at my table:
- [INTERNAL LINK PLACEHOLDER: Ultimate Copycat Starbucks Lemon Loaf] — Extra tart, extra moist, and it stays good for days.
- [INTERNAL LINK PLACEHOLDER: Homemade Pumpkin Scones with Maple Glaze] — The fall version of these almond scones that my neighbor requests every October.
- [INTERNAL LINK PLACEHOLDER: 5‑Minute Iced Matcha Latte] — The other coffee‑shop staple that’s suspiciously easy to make at home.
I hope this becomes your go‑to Sunday morning ritual — or your Tuesday afternoon rescue mission. There’s something about having a real frappuccino and a warm scone without leaving your kitchen that feels like a small act of rebellion against the drive‑thru line.
If you try it, drop a comment below — I love hearing how it goes for you. Tag me on Pinterest or Instagram so I can see yours!
📌 Save this Starbucks vanilla bean copycat recipe for the weekend you want a coffee‑shop experience at home — pair it with almond scones and make brunch feel special.

Vanilla Bean Frappuccino Copycat & Almond Scones
Equipment
- Blender
- Food Processor
- Baking Sheet
- Parchment Paper
- Knife and Cutting Board
Ingredients
Frappuccino
- 1 cup ice cubes
- 1 1/2 cups whole milk
- 3 scoops vanilla bean ice cream (premium brand)
- 1 teaspoon granulated sugar
- 1/8 teaspoon pure vanilla extract
- to taste whipped cream (optional)
Scones
- 2 cups all-purpose flour
- 1/2 cup granulated sugar
- 1 1/2 teaspoons baking powder (fresh)
- 1/2 teaspoon fine salt
- 1/2 cup cold unsalted butter, cut into pieces
- 1/2 cup heavy cream, plus more for brushing
- 2 teaspoons almond extract
Glaze & Topping
- 1 cup powdered sugar
- 2-3 tablespoons heavy cream
- 1/2 teaspoon almond extract
- 1/2 teaspoon vanilla bean paste or extra extract
- handful sliced almonds
Instructions
- Preheat oven to 375F. Line a baking sheet with parchment paper.
Frappuccino
- In a blender combine the ice, milk, vanilla bean ice cream, sugar, and vanilla extract. Blend until completely smooth — no ice chunks. The texture should be like a thick milkshake with tiny vanilla specks.
- Divide the frappuccino between two serving glasses. Add a generous swirl of whipped cream if desired. Place glasses in the fridge while you finish the scones.
Scones
- In a food processor, pulse together the flour, sugar, baking powder, and salt. Scatter the cold butter pieces over the dry mixture. Pulse in short bursts — about ten 1-second pulses — until the butter is broken into pea-sized pieces. Some flour should still be visible.
- With the processor running, slowly pour in the heavy cream and almond extract. Process just until the dough starts to clump together — stop immediately once it forms a ball. Overprocessing makes tough scones.
- Turn the dough out onto a lightly floured surface. Divide into 2-3 sections. Pat each section into a thick disk about 3/4 inch tall. Use a bench scraper or knife to cut each disk into 6 triangles (like a pie). Press straight down — do not twist the knife.
- Place the triangles on the lined baking sheet, spacing about an inch apart. Brush tops with a little extra cream. Bake at 375F for 18 minutes, until golden brown on the bottom and lightly golden on top. A toothpick inserted in the center should come out clean.
- Let scones cool for 10 minutes. Meanwhile, whisk together the powdered sugar, heavy cream, almond extract, and vanilla bean paste until smooth. The glaze should be thick but pourable.
- Drizzle the glaze over the warm (not hot) scones. Sprinkle sliced almonds on top while the glaze is still wet. Let set for a few minutes or serve immediately.