
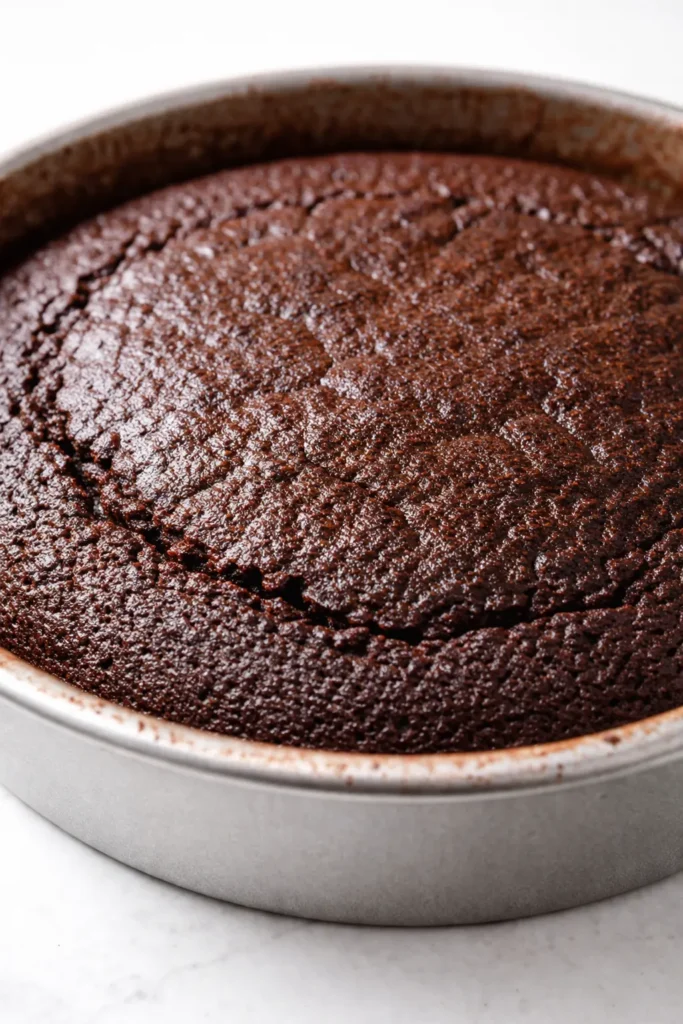
The first time I made this cake, my nine-year-old ate two slices before I could get a photo. That’s never happened before. Something about the way the strawberries caramelize on top—they get jammy and almost candy-like—paired with a chocolate base that’s tender but not sweet enough to hurt? That’s the combo. This is the cake I bring to every spring birthday, every potluck that says “bring dessert,” and every Tuesday when I decide we deserve something that looks like we planned it.
The short version: One bowl, no mixer, fresh strawberries baked right in. Comes together in 20 minutes of active time.
I’ve tweaked this recipe over about four years, starting with a friend’s cocoa cake and adding strawberries because I had a flat of them from the farmers’ market. That first version was good. This version—with a specific ratio of oil to eggs and a trick for the strawberry placement—is the one that gets requested by name. My kids call it “the pink-speckled cake,” which tells you exactly where their priorities are.
- Serves: 8–10 as dessert
- Hands-On Time: 20 min | Total Time: 1 hour 10 min (including cooling)
- Difficulty: Easy enough for a Tuesday, impressive enough for a party
- Cost per serving: ~$1.75 (with fresh strawberries in season)
- Calories: ~380 per slice (with glaze)
- Dietary Notes: Naturally vegetarian. Easily made dairy‑free (see swaps).
(Photo above: Overhead shot of the whole cake on a simple white cake stand, one slice removed to show the strawberry-studded crumb and glossy chocolate glaze, natural afternoon light from a south‑facing window. Strawberry slices arranged in a casual spiral on top before baking.)
The Thing That Makes This Cake So Tender (and Why It Stays Moist for Days)
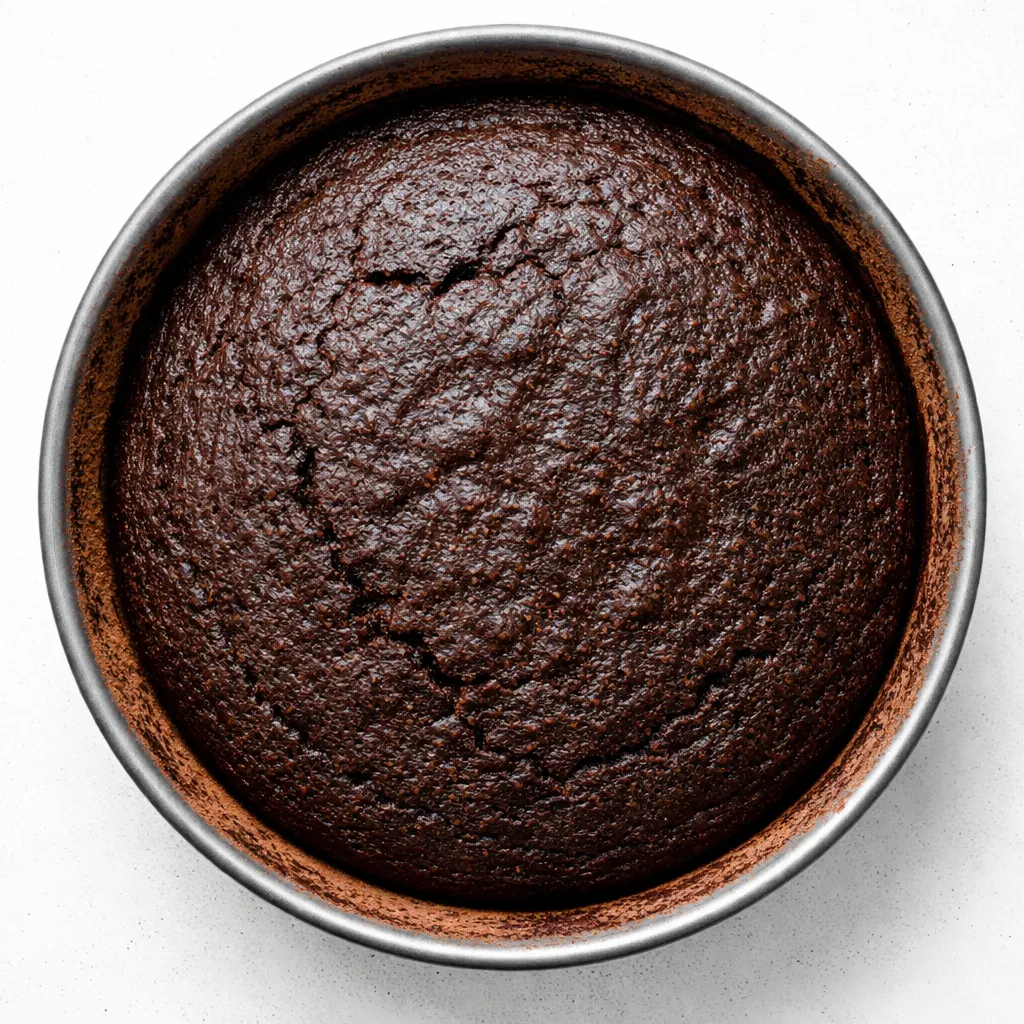
The key is oil, not butter. I know butter sounds more “special,” but for a cake that’s meant to be eaten over the course of a weekend (or, let’s be real, a Tuesday-through-Friday), oil keeps every crumb soft. Butter cakes are at their peak the day they’re made; oil cakes stay good for three or four days without getting crumbly or drying out.
The second thing: I arrange half the strawberry slices on the bottom of the pan before I pour in the batter. When the cake bakes, those strawberries release their juice and create a kind of jammy layer at the base. When you flip the cake out, that side becomes the top. It looks like you studded the entire cake with berries, but you only used about a cup, and the flavor concentrates beautifully.
And the third thing I won’t skip: a little instant espresso powder in the dry ingredients. You don’t taste coffee. You just taste deeper, rounder chocolate. My kids have no idea it’s there, and I’m not about to tell them.
Ingredients Worth Talking About (Plus My Honest Notes)
- 1 ½ cups all-purpose flour (180g): Spoon and level it—don’t dig the cup into the bag. Too much flour makes a dry cake.
I’ve tested this with a 1:1 gluten-free blend and it works fine; use the same weight. - ¾ cup unsweetened cocoa powder (75g): Use a good-quality Dutch‑process if you can. It gives a darker, more “fudge‑like” color.
My kids don’t care about the cocoa type as long as it’s chocolate, but I do. - 1 ½ teaspoons baking powder and ½ teaspoon baking soda: Both lift the cake and help it rise evenly.
Don’t swap one for the other—they’re different chemicals. - ½ teaspoon salt: Balances the sweetness.
I use fine sea salt. - 1 cup granulated sugar (200g): I’ve cut it to ¾ cup and it’s fine, but the cake is less tender.
For a less sweet version, swap ¼ cup of the sugar for coconut sugar; it adds a slight molasses note that’s actually lovely. - ⅓ cup neutral oil (like canola or avocado) (80ml): Don’t use olive oil—it’s too strong.
I’ve used melted coconut oil in a pinch; it works but the cake is a tad denser. - 2 large eggs, room temperature: Room‑temp eggs emulsify better.
I set them in a bowl of warm water for five minutes if I forgot to take them out. - 1 teaspoon vanilla extract: Pure, not imitation.
I once used vanilla bean paste and it was overkill for the chocolate, but no regrets. - ½ cup buttermilk (120ml): Reacts with the baking soda for a tender crumb.
No buttermilk? Put ½ tablespoon lemon juice in a measuring cup and fill with regular milk. Let it sit five minutes. - ½ cup hot coffee or water (120ml): Hot liquid blooms the cocoa.
I always use coffee. It deepens the chocolate flavor without tasting like coffee. My kids have never noticed. - 1 ½ cups fresh strawberries, hulled and sliced (about 200g): Use ripe, not mushy, berries.
Frozen strawberries don’t work as well for the topping because they release too much water; use them only if you thaw and drain well. - For the glaze (optional but highly recommended): ½ cup semi‑sweet chocolate chips (85g) + ¼ cup heavy cream (60ml).
For dairy‑free, use full‑fat coconut cream and dark chocolate chips.
What to Pull Out Before You Start
- A 9‑inch round cake pan (metal is better than glass for even baking)
- Parchment paper (cut a circle for the bottom, then a strip to grease the sides)
- Two mixing bowls (one large, one medium)
- Whisk (a hand whisk is fine—no stand mixer needed)
- Spatula (rubber or silicone)
- Cooling rack
That’s it. No stand mixer, no food processor. You can do this in the time it takes to preheat the oven.
Let’s Make It (Step by Step)
This goes fast. Read through once before you start so you know when to add the coffee.
Preheat and prep the pan: Set the oven to 350°F (175°C). Grease your 9‑inch round pan with butter or oil, line the bottom with a parchment circle, and dust the sides with cocoa powder (not flour—cocoa won’t leave white marks on the finished cake).
- Mix the dry ingredients: In a large bowl, whisk together the flour, cocoa powder, baking powder, baking soda, salt, and instant espresso powder (if using). Make sure there are no lumps.
(📸 Photo tip: At this point you should have a uniform brown powder that smells like rich chocolate.) - Whisk the wet ingredients: In a medium bowl, whisk the oil, sugar, eggs, vanilla, and buttermilk until smooth and pale yellow, about 30 seconds. It will thicken slightly.
Don’t over‑whisk—just until combined. - Combine wet and dry: Pour the wet mixture into the flour mixture. Fold together with a spatula until just combined. A few streaks of flour are okay at this point.
Overmixing will make the cake tough. Stop as soon as you can’t see dry flour. - Add the hot liquid: Pour in the hot coffee (or water) and stir gently until the batter is smooth and thin, like a milkshake. Don’t panic—it’s supposed to be thin.
This is the step that gives you that moist, fudgy texture. - Layer the strawberries: Arrange half of the sliced strawberries in a single layer on the bottom of the prepared pan. They don’t need to be perfect, but try not to overlap them too much.
(📸 Photo tip: A single layer of pink slices covering the entire bottom of the pan—like a strawberry puzzle.) - Pour the batter: Gently pour the batter over the strawberries. The batter will be thin enough to seep around the berries; that’s good. Reserve the remaining strawberry slices for the top.
If the strawberries shift, don’t worry. They’ll set during baking. - Top with remaining berries: Place the rest of the strawberry slices on top of the batter in a decorative spiral or just scatter them evenly. Push them down slightly so they’re partially submerged.
I do a simple spiral because it looks intentional, but my kids scatter them and it’s fine. - Bake: Place the pan in the center of the oven and bake for 35–40 minutes. The cake is done when a toothpick inserted in the center (avoiding a strawberry) comes out clean or with a few moist crumbs. The top should spring back when lightly touched.
Ovens vary—start checking at 33 minutes. My oven runs hot and 37 minutes is perfect. - Cool: Let the cake cool in the pan on a wire rack for 15 minutes. Then run a knife around the edge, invert onto a plate or rack, and peel off the parchment. Flip it back right‑side up (so the strawberry bottom becomes the top) onto a serving plate. Cool completely before glazing.
Don’t skip the in‑pan cooling—the cake is fragile when hot and will fall apart if you try to turn it out too soon. - Make the glaze (if using): In a small saucepan, heat the cream over medium heat until it just starts to steam. Pour over the chocolate chips and let sit for 1 minute, then stir until smooth. Pour over the cooled cake and spread to the edges with a spatula. Let the glaze set for about 10 minutes before slicing.
How I Meal Prep This for the Week
I make a double batch on Sunday and we’re set until Wednesday. The cake keeps beautifully, and the glaze stays glossy for a full day. I wrap the whole cake (unglazed if I’m planning ahead) tightly in plastic wrap after cooling.
- Fridge: Wrapped tightly, up to 5 days. The strawberries will release a little moisture but the cake stays tender.
- Freezer: Yes! Wrap the unglazed cake (cooled) in plastic wrap, then foil, for up to 3 months. Thaw overnight in the fridge, then glaze before serving.
- Reheat: The microwave will dry it out. I prefer to eat it at room temperature, or if you want it warm, pop a slice in a 300°F oven for 5 minutes. The glaze will get a bit sticky—that’s fine.
Things I Wish I’d Known the First Time
- Don’t overmix the batter: I know I said it, but I’ll say it again—stop mixing as soon as the flour disappears. Overmixing develops gluten and makes the cake tough. Even if you see a tiny streak of cocoa, it’s better to leave it than to keep stirring.
- Let the cake cool completely before glazing: I rushed once and the glaze melted into a sticky puddle on top. The taste was still amazing, but the look was a mess. It’s worth waiting.
- Use room‑temperature eggs: Cold eggs can make the batter seize up, especially if you forget them and add them straight from the fridge. Set them in warm water for five minutes while you measure the dry ingredients.
- The cake domes a little—that’s okay: If you want a flat top for stacking or precise aesthetics, level it with a serrated knife after cooling. But for home, the slight dome looks charming. I never bother.
- If the cake sticks to the pan (it shouldn’t), but if it does: The parchment circle is your best friend. Don’t skip it. I’ve had cakes that released perfectly with parchment and stuck without it.
Swaps That Actually Work
- Dairy‑Free: Use full‑fat oat milk or coconut milk (not canned) mixed with ½ tablespoon lemon juice for buttermilk. For the glaze, use coconut cream + dark chocolate chips. I’ve tested this and it works.
- Gluten‑Free: Substitute the all‑purpose flour with a 1:1 gluten‑free baking blend (I use Cup4Cup). Add ¼ teaspoon xanthan gum if your blend doesn’t include it. The texture is slightly more tender but still excellent.
- Less Sweet: Reduce sugar to ¾ cup. The cake will be a little less tender, but the chocolate and strawberry flavors will shine more. My neighbor (who avoids sugar) loves it this way.
- Kid‑Friendly (no coffee): Use hot water instead of coffee. The cake is still very chocolatey. My kids can’t tell the difference—they just eat the strawberries off the top first.
- Fancy Guest Version: Add ½ teaspoon cinnamon to the dry ingredients and top with a dollop of lightly sweetened whipped cream and a fresh strawberry slice. The cinnamon pairs beautifully with the chocolate and berries.
Questions I Get About This Cake All the Time
Q: Why did my cake sink in the middle?
A: Ugh, I’ve been there. The most common reason is an oven that runs too hot or too cool, causing the edges to set before the center. Use an oven thermometer—it’s cheap and worth it. Another possibility: you opened the oven door too early. Wait until at least 30 minutes to peek.
Q: Can I use frozen strawberries?
A: Yes, but with a note. Frozen strawberries release a lot of water, which can make the cake soggy. Thaw them in a colander for about 20 minutes, pat dry with paper towels, and then use. They won’t be as pretty on top, but they’ll taste fine. I only use fresh if I’m serving it to guests.
Q: How long does this cake last? Can I freeze it?
A: Stored airtight at room temperature, it’s best for 2 days. In the fridge, up to 5 days (wrap it well so it doesn’t pick up fridge smells). For freezing, wrap the cooled, unglazed cake in plastic wrap + foil and freeze for up to 3 months. Thaw in the fridge overnight, then glaze before serving. The texture stays surprisingly good.
Q: What do you serve with this cake?
A: Honestly, nothing—it’s complete on its own. But if you want to dress it up, a scoop of vanilla ice cream is my default. My kids love it with a glass of cold milk. For a spring brunch, I serve it alongside a bowl of macerated strawberries (just sliced strawberries tossed with a teaspoon of sugar and a squeeze of lemon). The extra berries cut the richness nicely.
More Recipes My Family Makes on Repeat
If you liked this one, here are a few others that get the same reaction at our table:
- No‑Knead Focaccia with Garlic and Rosemary — The bread that makes everyone think you spent the day baking when all you did was let time do the work.
- One‑Pot Lemon Chicken with Orzo — The weeknight dinner that feels like Sunday supper, and the leftovers are even better.
- Easy Blueberry Crumb Bars — The dessert I bring to everything from picnics to bake sales; it disappears every single time.
This cake has earned its spot in my permanent rotation. It’s the one I make when I want chocolate and fruit to coexist without arguing, when I want a dessert that feels special but doesn’t require a stand mixer, and when I want my kids to ask for the recipe before they finish their slice. That hasn’t happened with any other cake.
If you try it, drop a comment below—I love hearing how it goes for you! Tag me on Pinterest or Instagram so I can see yours.
📌 This strawberry chocolate cake recipe with tender crumb and jammy berries stays moist for days—save it for your next birthday party, spring brunch, or Tuesday when you need something beautiful without the fuss.
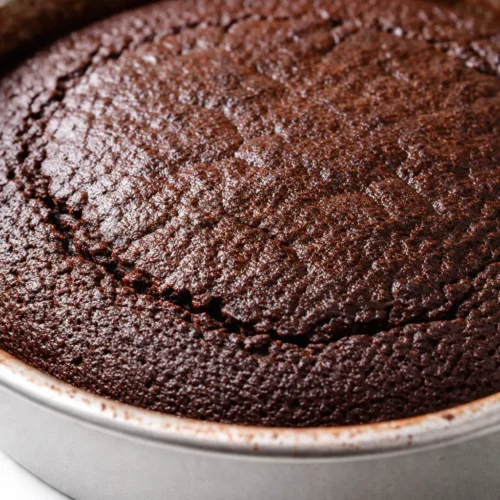
Strawberry Chocolate Cake
Equipment
- 9-inch round cake pan
- Parchment Paper
- Two mixing bowls
- Whisk
- Spatula
- Cooling rack
Ingredients
Cake
- 1 1/2 cups all-purpose flour (180g)
- 3/4 cup unsweetened cocoa powder (75g)
- 1 1/2 teaspoons baking powder
- 1/2 teaspoon baking soda
- 1/2 teaspoon salt
- 1 cup granulated sugar (200g)
- 1/3 cup neutral oil (80ml)
- 2 large eggs, room temperature
- 1 teaspoon vanilla extract
- 1/2 cup buttermilk (120ml)
- 1/2 cup hot coffee or water (120ml)
- 1 1/2 cups fresh strawberries, hulled and sliced (about 200g)
Glaze (optional)
- 1/2 cup semi-sweet chocolate chips (85g)
- 1/4 cup heavy cream (60ml)
Instructions
- Preheat oven to 350°F (175°C). Grease a 9-inch round cake pan with butter or oil, line the bottom with a parchment circle, and dust the sides with cocoa powder (not flour).
- In a large bowl, whisk together the flour, cocoa powder, baking powder, baking soda, salt, and a pinch of instant espresso powder (if using). Make sure there are no lumps.
- In a medium bowl, whisk the oil, sugar, eggs, vanilla, and buttermilk until smooth and pale yellow, about 30 seconds. Don’t over-whisk.
- Pour the wet mixture into the flour mixture. Fold together with a spatula until just combined. A few streaks of flour are okay.
- Add the hot coffee (or water) and stir gently until the batter is smooth and thin, like a milkshake. Don’t panic – it’s supposed to be thin.
- Arrange half of the sliced strawberries in a single layer on the bottom of the prepared pan. Try not to overlap them too much.
- Gently pour the batter over the strawberries. Reserve the remaining strawberry slices for the top. If the strawberries shift, don’t worry.
- Place the rest of the strawberry slices on top of the batter in a decorative spiral or scatter them evenly. Push them down slightly so they’re partially submerged.
- Bake in the center of the oven for 35-40 minutes. The cake is done when a toothpick inserted in the center (avoiding a strawberry) comes out clean or with a few moist crumbs. The top should spring back when lightly touched. Start checking at 33 minutes.
- Let the cake cool in the pan on a wire rack for 15 minutes. Then run a knife around the edge, invert onto a plate or rack, and peel off the parchment. Flip it back right-side up (so the strawberry bottom becomes the top) onto a serving plate. Cool completely before glazing.
- To make the glaze: In a small saucepan, heat the cream over medium heat until it just starts to steam. Pour over the chocolate chips and let sit for 1 minute, then stir until smooth. Pour over the cooled cake and spread to the edges with a spatula. Let the glaze set for about 10 minutes before slicing.
Notes
Related Recipes:
 Cheesy Hamburger Casserole Bake That’s Ready in 40 Minutes (No Canned Soup Here)
 Texas Roadhouse Style Baked Salmon with Sweet and Savory Glaze — Ready in Under 30 Minutes
 Moist Lemon Zucchini Bread with a Crunchy Lemon Sugar Top
 Strawberry Shortcake Rice Krispie Treats That Actually Taste Like Shortcake — Ready in 15 Minutes
 Blueberry Oatmeal Cookies That Stay Soft for Days — in Under 30 Minutes
 Air Fryer Chicken and Vegetables That Don’t Taste Like a Regret (30 Minutes, One Pan)