
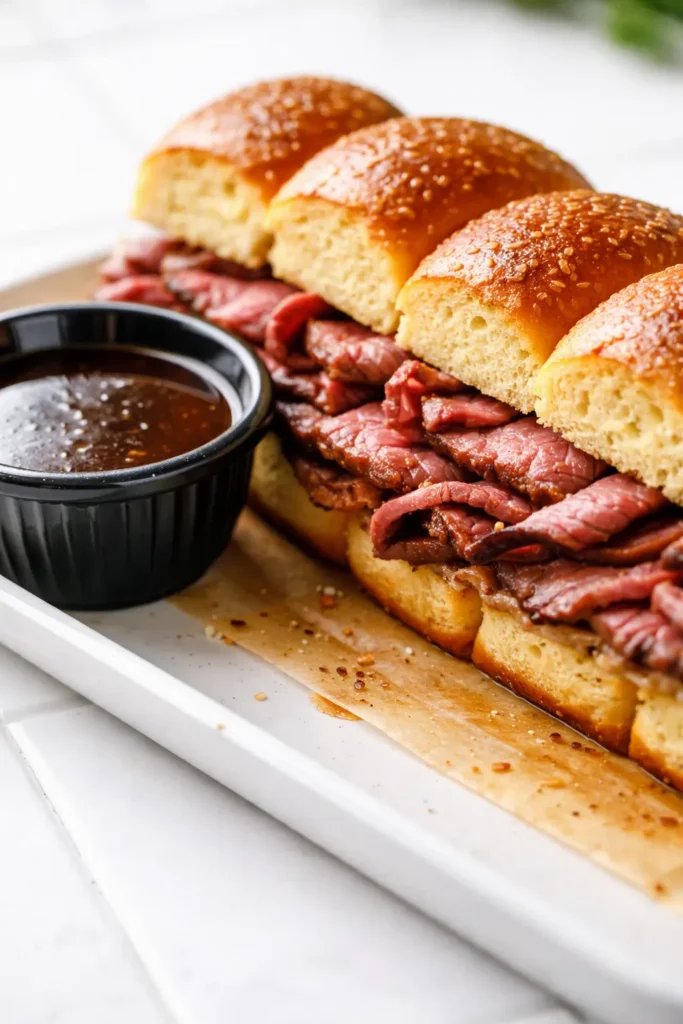
The problem with most French Dip Sliders isn’t the beef, the cheese, or even the jus — it’s the bread. These come out buttery, golden, and crisp enough to survive a real dip in warm beef jus, in 30 minutes flat. The tray disappears fast enough that people hover instead of sitting down, which is exactly the energy you want from a dinner that asked for very little effort.
The short version: Twelve sweet rolls, roast beef, melty provolone, and a warm beef jus to dip into — on the table in 30 minutes.
I’ve made around thirty batches of these across game nights, a friend’s birthday that turned into everyone standing around the sheet tray, and one genuinely rainy Tuesday that needed a hot, drip-down-your-chin dinner. The batch that finally worked — the one where the bread held up to the very last dip — came down to one extra step that takes about four minutes and changes everything. My sister’s kids went silent for four straight minutes the first time they got the tray. Silence is the highest compliment a dinner can get.
- Serves: 6 (2 sliders each) as a main or party tray
- Hands-On Time: 15 min | Total Time: 30 min
- Difficulty: Easy — the hardest part is waiting for the oven
- Cost per serving: ~$3.00
- Calories: ~420 per serving (2 sliders)
- Dietary Notes: Adaptable — dairy-free and gluten-free options below
(Photo above: Overhead shot of the finished sliders on a dark sheet tray, one slider pulled away from the group with cheese stretching mid-pull, a small white ramekin of dark au jus in the corner, golden tops finished with poppy seeds, warm evening light coming from the left.)
The One Step Everyone Skips (Don’t Skip It)
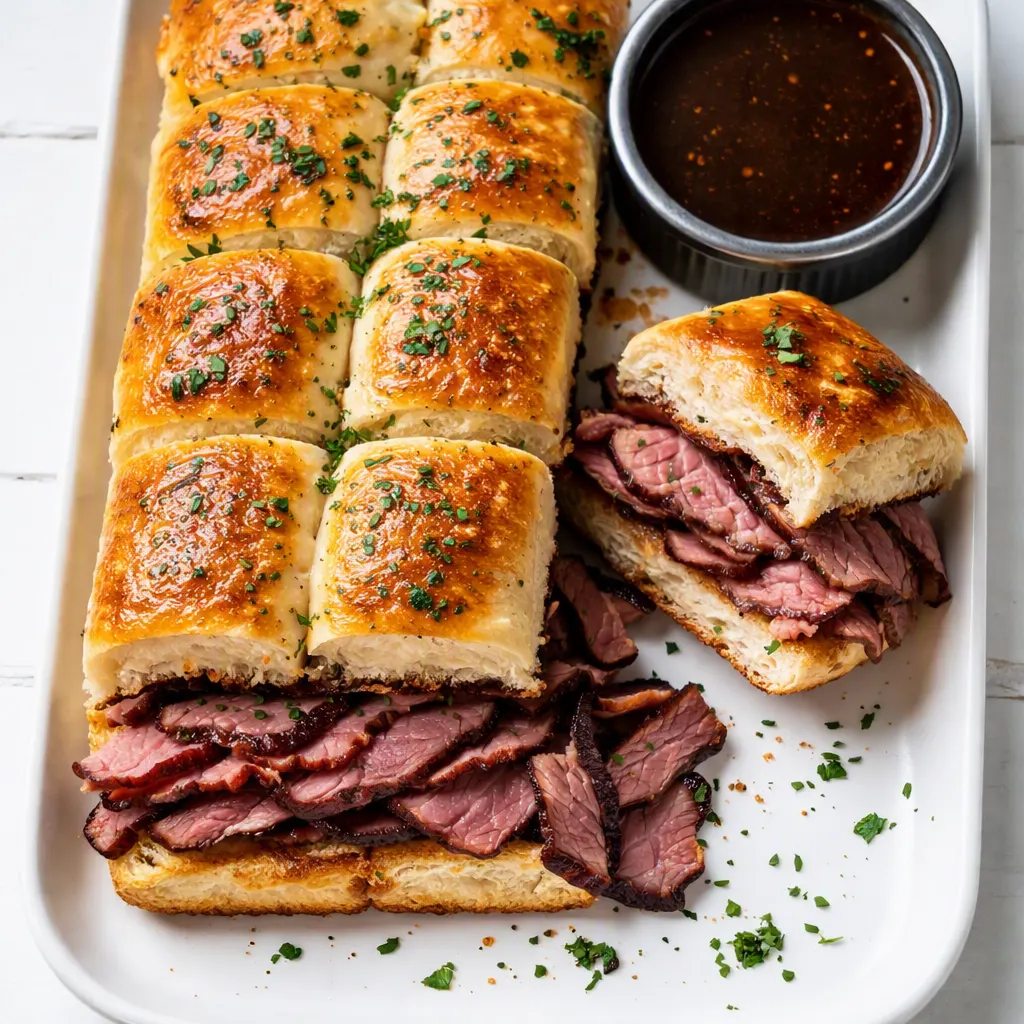
The step is toasting the cut sides of the rolls before you even look at the beef. You split the whole slab in half like one giant roll, brush the cut sides with butter, and give them a few minutes in the oven. It creates a barrier between the bread and everything that wants to make it wet — the beef, the cheese, the jus — and it takes almost no time. This is the difference between a slider that holds its structure and one that collapses into a beef-and-cheese puddle by the third dip.
I learned this the hard way after way too many sliders that read fine in the first bite and then disintegrated in my hands. The toasting is also why the roll keeps its structure when you dip it twice, which is really the entire point of a French dip. Same logic applies to the jus. It goes in a little bowl beside the tray, not poured over the sandwich. You dip, you eat, and the bread stays crisp for the whole plate.
The counterintuitive part is that the sandwich actually tastes stronger this way — every bite gets the jus instead of the last two bites drowning in what used to be the first one’s share. The butter, meanwhile, is doing double duty. It carries the Worcestershire and garlic into the bread, and it’s the thing that makes the tops turn that deep, glossy golden that looks like you brushed them with intent. Because you did.
What Goes In — Plus My Honest Notes
- 12 Hawaiian rolls (one 12-ounce package): The slightly sweet pull-apart rolls are the standard for a reason — the sugar in the bread does something to the savory beef that makes it taste more like a proper deli sandwich. Keep them connected as a slab. Do not pull them apart; the slab structure is what makes this recipe actually easy.
- 1 lb deli roast beef, thinly sliced: Ask for it sliced just a little thicker than the usual deli shavings — thin enough to stack, thick enough to have a chew. If you have leftover roast beef from Sunday, that works even better and I’ll never tell anyone you didn’t go to the deli.
- 8 oz provolone, thinly sliced: Provolone is the classic here — it melts without turning greasy and it doesn’t overpower the beef. Swiss works if that’s what’s in the fridge. Gruyère if you’re trying to impress someone who will never know it took you thirty seconds to decide.
- 3 tbsp unsalted butter, melted: For the brush on both sides of the roll. The butter is doing flavor and structure at the same time — the spot where the butter meets the toasted bread is the actual barrier that keeps the jus from seeping in. I use unsalted so I control the salt. Use salted if that’s what you have and just go lighter on the flaky salt at the end.
- 1½ tsp Worcestershire sauce: Goes into the butter brush and again into the jus. It’s the background flavor that makes people say “what is that” without ever being able to name it. It’s also the thing that makes the beef taste beefier, which is a real effect, not a marketing slogan.
- 1 tsp Dijon mustard: A thin smear on the bottom half before the beef. You don’t taste mustard exactly — you taste something sharper underneath all the richness. It wakes the whole thing up. Skip it if you must, but the tray tastes flatter without it.
- ½ tsp garlic powder: Into the butter. Subtle, not garlicky. If you use fresh garlic, grate it fine so you don’t get chunks of raw garlic in the brush.
- For the jus: 2 cups beef broth, 1½ tsp Worcestershire, 1 smashed garlic clove, a few thyme sprigs (optional): That’s it. Good broth matters more here than anything fancy. If you want more depth, a splash of soy sauce does in five seconds what simmering for an hour used to do. I do it every time.
- For the tops: flaky salt, poppy seeds, or everything bagel seasoning: The everything bagel version is exactly as good as it sounds. My friends who ate the poppy-seed batch last month are still asking when I’m making them again. Flaky salt alone is the quiet, elegant option — use one or the other, not all three.
What to Pull Out Before You Start
- A rimmed sheet pan or 9×13 baking dish — the rolls should fit snugly, edges almost touching
- A serrated knife for splitting the slab — a chef’s knife squishes the rolls and drags the cheese
- A pastry brush (or just use a spoon and be careful about it)
- A small saucepan for the jus
- Aluminum foil for the covered bake
Let’s Make It (Step by Step)
This goes fast, so read through once before you start. The oven does most of the real work, which is how I like dinner to operate.
Preheat: Heat the oven to 375°F.
- Split the slab: Keeping the rolls connected, slice the whole thing horizontally like one giant roll — a bottom half and a top half. (📸 Photo tip: The cut should be clean and even so the two halves line back up perfectly when you stack them. If your knife is dragging, it’s dull. Serrated knife, gentle saw.)
- Mix the butter: In a small bowl, combine the melted butter, Worcestershire, garlic powder, and a pinch of salt. It’ll look slightly separated — that’s fine. Give it a quick whisk before you brush.
- Toast the cut sides: Set the bottom half cut-side up on the pan, brush it with half the butter, and brush the cut side of the top half too. Bake for 4 minutes — just until the butter soaks in and the bread starts to smell like a bakery. You’re looking for a sheen, not a puddle. If you see butter pooling, you used too much. It’ll still taste fine, just know for next time.
- Build: Pull the pan out of the oven. If you’re using the Dijon, spread a thin layer across the bottom half. Layer the roast beef across the whole slab — slightly overlapping, edges a little scraggly, about three layers deep — then lay the provolone over the beef. (📸 Photo tip: Let the cheese hang over the beef edges by a couple of millimeters so you can actually see the melt in the final shot. That tiny overhang is the difference between a tray that looks styled and a tray that looks piled.)
- Top and butter: Set the top half in place, cut-side down. Brush the outside top generously with the remaining butter. This is where the flaky salt, poppy seeds, or everything bagel seasoning goes — sprinkle it on now so it bakes in.
- Bake covered: Cover the pan loosely with foil and bake for 12 minutes. The foil traps just enough steam so the cheese melts all the way through before the tops get dark. This is the step to not skip — uncovered the whole time gives you burnt tops and unmelted middles.
- Brown the tops: Remove the foil and bake another 5–8 minutes, until the tops are deep golden and the cheese is fully melted and just starting to peek out the sides. (📸 Photo tip: This is the moment that sells the tray — the golden tops with the cheese doing a slow leak at the edges. If you’re photographing it, do it right before the first pull.)
- Make the jus: While the oven works, simmer the beef broth, Worcestershire, smashed garlic, and thyme in a small saucepan for 10 minutes. Keep it warm on low. Taste it — if it needs salt, add it. The soy sauce goes in now if you’re using it.
- Rest, then slice: Let the slab sit 3 full minutes before cutting. I know the smell is aggressive and people are hovering. The cheese needs those minutes to set, or every slider will slide when you cut it. Using the serrated knife, slice along the existing lines of the rolls and serve with the warm jus in little ramekins. One ramekin per person or one big bowl for the table — the big bowl is more of a communal event and I respect that choice.
Make-Ahead Notes (Because We’re All Busy)
This is one of those rare recipes that’s almost as good made ahead as it is fresh, which is unusual for anything with bread. I’ve assembled the whole slab the night before and baked it the next evening, and the only change is adding a few extra minutes to the covered bake while the slab comes up to temperature. For a party, I build the tray in the afternoon and slide it in the oven when the doorbell rings — that’s the whole game.
- Fridge: Baked sliders keep 3 days in an airtight container. Reheat at 350°F for 5–7 minutes — the oven keeps the tops crisp. The microwave works in a pinch but it softens the roll, which for this recipe is a real loss.
- Freezer: Yes. Bake fully, cool completely, wrap the whole slab tight in foil, and freeze up to 2 months. Reheat from frozen in a 350°F oven for about 15 minutes, covered for the first 10 so it heats through. The jus freezes too — thaw it in a small jar and reheat gently on the stove.
- Reheat: Oven beats microwave here, every time. The oven brings back the crisp; the microwave brings back the steam. You decide which sandwich you want to eat.
Things I Wish I’d Known the First Time
- Don’t pour the jus over the sliders: I know the photos of a sandwich sitting in a puddle of jus are dramatic. They’re also a one-way ticket to soggy bread. Serve the jus in a ramekin on the side, dip each bite, and the bread stays crisp for the whole plate. Trust me on this one — I’ve done both, and the side-dipper is the one people finish.
- Cover with foil first, then finish uncovered: If you bake uncovered the whole time, the tops get dark before the cheese in the middle fully melts. The foil traps enough steam to melt the cheese evenly, then the final uncovered minutes give you that golden top. It’s a two-phase bake and both phases matter.
- Let the slab rest before cutting: The cheese needs about 3 minutes to set. If you cut immediately, the beef and cheese slide out of every roll and you get a tray of half-empty sliders. Even if you skip this, it’ll still taste good — I’ve done it. But you’ll be eating it folded and messy instead of stacked and clean.
- Serrated knife, gentle saw: A chef’s knife squishes the rolls and drags the cheese across the cut. A serrated knife with a gentle sawing motion gives you clean edges. Also, slice along the existing lines of the rolls — the pull-apart lines will show you exactly where to cut. Fighting them is a mistake.
- Double the batch: I’m not being greedy, I’m being honest. Twelve sliders seem like a lot until four people stand around the tray. If you’re bringing these anywhere, make two pans. The second one will also disappear, and you’ll be glad you did.
Swaps That Actually Work
- Dairy-Free: Skip the cheese entirely or use dairy-free provolone-style shreds. The beef and the jus carry the sandwich — it’s still good, just less melty. My sister’s family does this version and they don’t complain, which is saying something.
- Gluten-Free: GF sweet rolls exist now and they work fine here. The texture is a bit more delicate, so be extra careful with the toasting step and don’t skip the rest before slicing. The sandwich will be slightly more fragile — that’s a property of GF bread, not a failure of yours.
- Spicy version: Whisk a teaspoon of your favorite hot sauce into the butter brush, or lay a few slices of pickled jalapeño under the cheese. My friends who like heat report zero complaints and one request for the recipe.
- Umami overload version: Add a thin layer of caramelized onions or a smear of miso butter in place of the Dijon. This is the version I make when I want the tray to disappear fastest. If you have the extra ten minutes, caramelized onions are never the wrong call.
- Portobello version: Swap the beef for thick portobello slices seared hard in a hot pan, and use mushroom broth for the jus. It won’t taste like the beef version, but it is genuinely its own excellent thing. I tried it once expecting a compromise and it wasn’t one.
Questions I Get About These All the Time
Q: Why did my sliders come out soggy?
A: Ugh, I’ve been there. Usually it’s one of three things — you skipped the toasting step, the butter pooled because the rolls were over-brushed, or someone poured the jus on top. Toast the cut sides first, brush with a light hand (you want a sheen, not a puddle), and keep the jus in the ramekin. You’ve got it next time — those are easy fixes and they’re all in your control.
Q: Can I use a different cheese?
A: Totally. Provolone is the classic — it melts without getting greasy. Swiss works well and reads more traditional. Gruyère is the fancy choice, and mozzarella works in a pinch though it’s stretchier and a little more pull-apart. For dairy-free, skip it entirely or use a good dairy-free provolone-style slice — the beef and jus carry the flavor either way.
Q: How long do leftovers last? Can I freeze them?
A: Baked sliders keep 3 days in an airtight container in the fridge. Reheat in the oven at 350°F for 5–7 minutes — the microwave makes the bread rubbery, so avoid it if you can. They freeze beautifully for up to 2 months, wrapped tight in foil. Reheat from frozen at 350°F for about 15 minutes, covered for the first 10. The jus freezes in a small jar and reheats gently on the stove.
Q: What do you serve with these?
A: Something sharp and crunchy on the side. My go-to is a simple green salad with a lemony vinaigrette — the acid matters because the beef and butter are rich and the palate needs something to push against. A bowl of pickles or cornichons also works brilliantly, and if you want something warm, roasted broccoli with flaky salt does the job. My sister’s kids skip the salad entirely and just go for the pickles. I don’t argue with that system.
More Recipes My Family Makes on Repeat
If you liked this one, here are a few others that get the same reaction at our table:
- [INTERNAL LINK PLACEHOLDER: Crispy Smashed Potatoes] — The kind you make once and then are obligated to bring to every party after.
- [INTERNAL LINK PLACEHOLDER: Slow-Braised Short Ribs] — For the day you want the house to smell like you’ve been cooking all day, because you actually have.
- [INTERNAL LINK PLACEHOLDER: Sheet Pan Sausage and Peppers] — The one that makes everyone hover over the tray, same energy as this recipe.
Set the tray down without announcing anything. The pulling-apart will do the introduction.
If you try it, drop a comment below — I love hearing how it goes for you, especially if you made the everything-bagel version. That one has a fan club now.
📌 French Dip Sliders that stay crisp even with a deep dip in warm jus — save this for your next game day spread or the Tuesday that needs dinner to feel like an event.
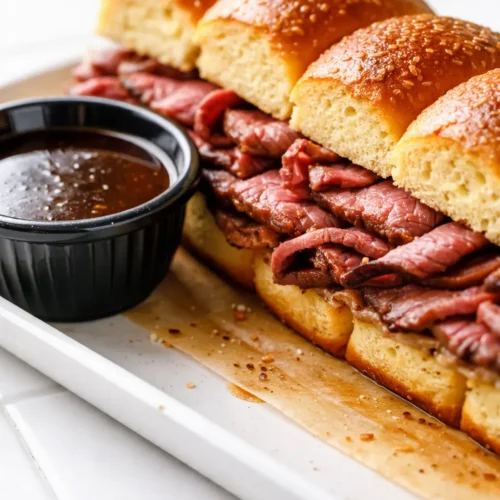
French Dip Sliders That Don’t Get Soggy — Finally
Equipment
- Rimmed Sheet Pan
- Serrated Knife
- Pastry brush
- Small saucepan
- Aluminum Foil
Ingredients
For the Sliders
- 1 package (12 oz) Hawaiian sweet rolls, kept connected as a slab
- 1 lb deli roast beef, sliced slightly thicker than usual
- 8 oz provolone, thinly sliced
- 3 tbsp unsalted butter, melted
- 1½ tsp Worcestershire sauce
- 1 tsp Dijon mustard
- ½ tsp garlic powder
For the Tops
- to taste flaky salt, poppy seeds, or everything bagel seasoning
For the Au Jus
- 2 cups beef broth
- 1½ tsp Worcestershire sauce
- 1 clove garlic, smashed
- few sprigs fresh thyme (optional)
- 1 splash soy sauce (optional)
Instructions
- Heat the oven to 375°F. Keeping the rolls connected, slice the whole slab horizontally like one giant roll — a bottom half and a top half.
- In a small bowl, mix the melted butter, Worcestershire, garlic powder, and a pinch of salt. It will look slightly separated; whisk it quickly before brushing.
- Set the bottom half cut-side up on a rimmed sheet pan and brush both cut sides with the butter. Bake for 4 minutes, just until the bread smells toasty and the butter has soaked in.
- If using, spread a thin layer of Dijon across the toasted bottom half. Layer the roast beef unevenly across the whole slab, then lay the provolone over the top, letting the edges overhang slightly.
- Set the top half in place, cut-side down. Brush the outside generously with the remaining butter and sprinkle with flaky salt, poppy seeds, or everything bagel seasoning.
- Cover the pan loosely with foil and bake for 12 minutes so the cheese melts through before the tops brown.
- Remove the foil and bake 5–8 minutes more, until the tops are deep golden and the cheese is bubbling at the edges.
- While the sliders bake, simmer the beef broth, Worcestershire, smashed garlic, and thyme in a small saucepan for 10 minutes. Taste and add salt or soy sauce if you want more depth.
- Let the slab rest 3 minutes before slicing along the roll lines with a serrated knife. Serve with warm au jus in ramekins for dipping.
Notes
Related Recipes:
 Cheesy Hamburger Casserole Bake That’s Ready in 40 Minutes (No Canned Soup Here)
 Creamy Garlic Tagliatelle That Looks Like a Restaurant Dish in 20 Minutes
 Texas Roadhouse Style Baked Salmon with Sweet and Savory Glaze — Ready in Under 30 Minutes
 Easy Italian Meatloaf That’s Actually Juicy (Not Dry) — in 1 Hour
 The Biscuits and Gravy Casserole That’s Actually Crispy on Top (And Ready in 40 Minutes)
 Air Fryer Chicken and Vegetables That Don’t Taste Like a Regret (30 Minutes, One Pan)