
That first bite — the one where the garlic butter sauce coats every single grain of rice and the shrimp is still sweet and tender — is exactly why my family requests this for birthdays. Creamy garlic butter shrimp and rice, all in one skillet, done in 30 minutes flat. I’ve made this more than forty times, and I still get a little thrill when I peel back the lid to check on it.
The short version: Rich, garlicky, comfort-food magic with no fancy skills needed — one pan, one happy table.
This started as a Pinterest experiment back in 2019, when I was desperate for a shrimp recipe my picky eaters would actually try. Now it’s the meal my nine-year-old asks for every single birthday week. She once announced she “doesn’t like rice.” She likes this rice. The creamy sauce has that effect on people.
- Serves: 4 as a main dish
- Hands-On Time: 15 min | Total Time: 30 min
- Difficulty: Easy — even on a rushed Tuesday
- Cost per serving: About $4.50
- Calories: ~530 per serving
- Dietary Notes: Gluten-free if you use gluten-free broth; dairy-forward, but see my dairy-free swap below
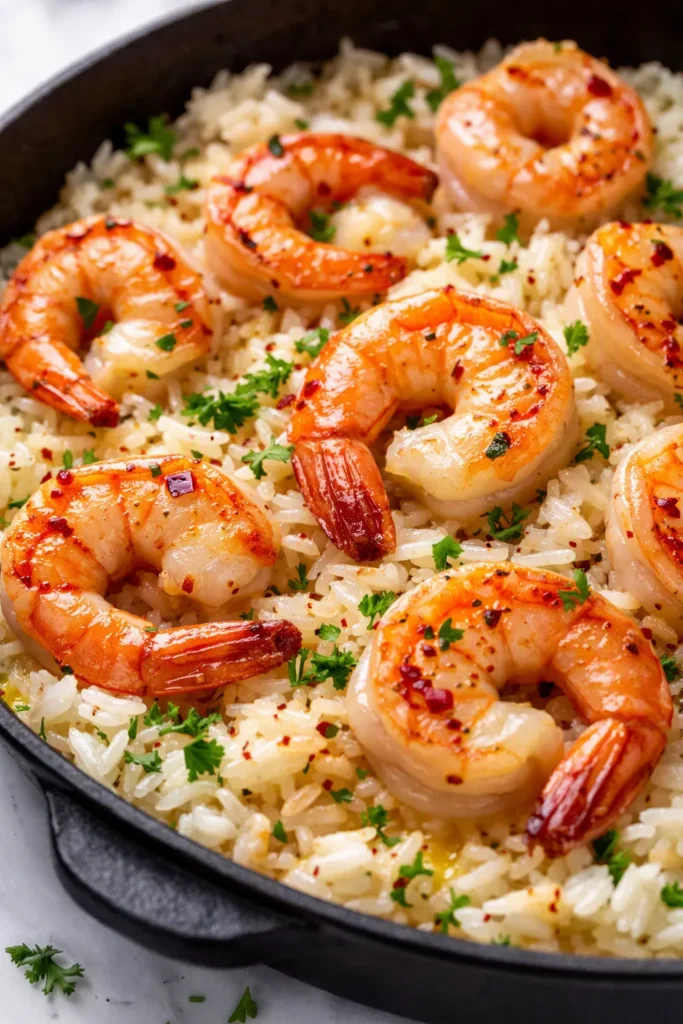
(Photo above: overhead shot of the skillet with plump pink shrimp nestled into creamy, parsley-flecked rice, the garlic butter sauce pooling between the grains, a shower of fresh parsley and cracked black pepper on top, steam curling up — taken in warm afternoon kitchen light in a white porcelain skillet.)
Why This One-Skillet Version Beats My Old Stovetop Routine
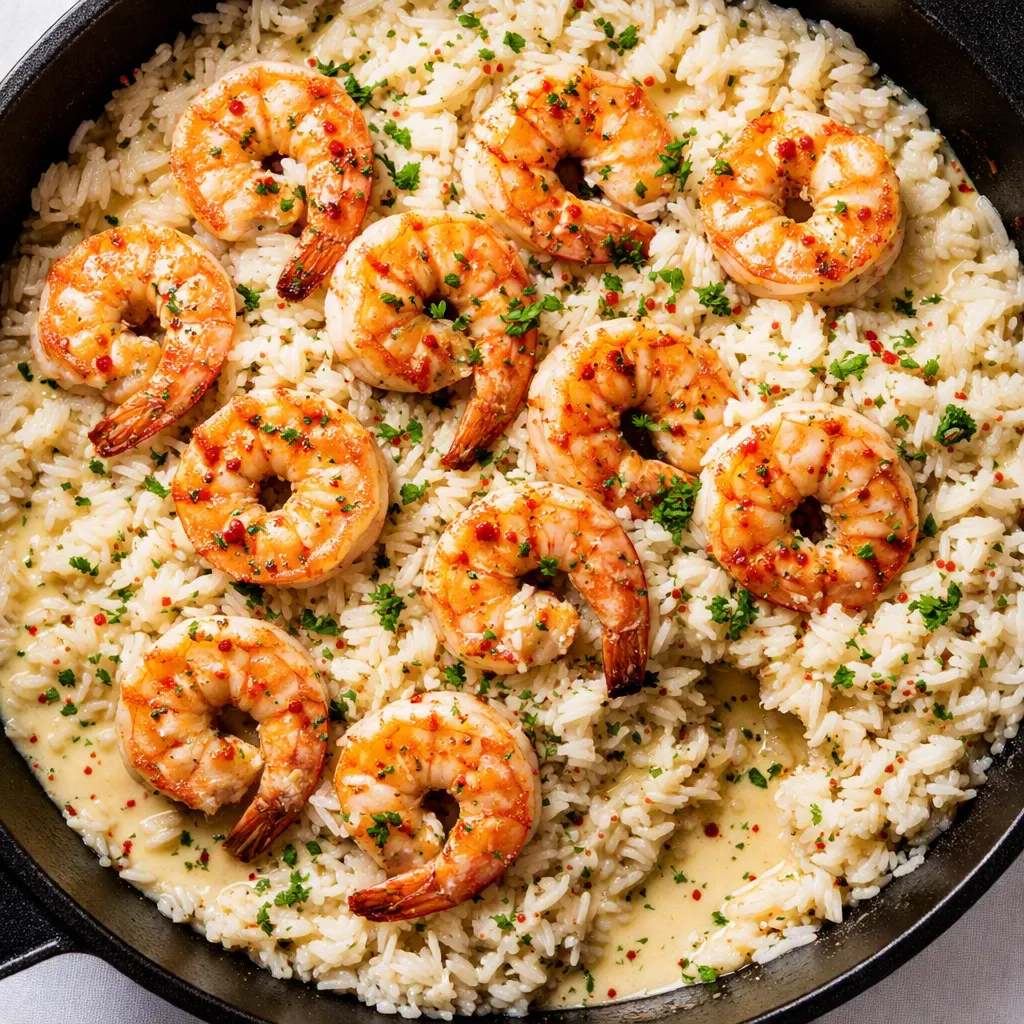
The trick that changed everything for me was toasting the rice in the garlic butter before any liquid goes in. It takes two minutes and I used to skip it all the time. When you do it right, each grain of rice stays separate and fluffy instead of turning into a gluey, sticky mess. That’s the whole difference between “good” and “my kids are licking the spoon” good.
The second thing? The shrimp get seared first, then they come back at the very end. That keeps them plump and juicy instead of rubbery little boots. I learned that the hard way after way too many pans of overcooked shrimp.
And the cream goes in last, after the rice is already tender. If you add it too early, the sauce gets grainy and the rice turns gummy. When you do it my way, you get a silky, glossy sauce that coats every bite like it’s been simmering for hours.
What Goes In (Plus My Honest Notes From the Kitchen)
- 1 lb large shrimp, peeled and deveined: Look for large or jumbo if you can. They plump up as they cook and feel more like a treat. Frozen works great — just thaw them under cold running water and pat dry.
My kids will eat “tiny shrimps,” but these big ones feel like a restaurant splurge, and that’s half the fun. - 1½ cups long-grain white rice: Not the quick-cook stuff, not brown rice. Long-grain steams up separate and fluffy. This is the backbone of the whole dish.
I’ve tried jasmine here too, and it’s lovely — just reduce the broth by ¼ cup because jasmine soaks up less. - 3 tbsp salted butter, divided: Half goes to searing the shrimp, the rest melt into the garlic butter rice base.
If you only have unsalted, add a pinch more salt at the end — no big deal. - 5 cloves garlic, minced: We’re a garlic family, so I never skimp. Five cloves sounds like a lot, but they mellow out as the rice simmers.
I mince by hand because the jarred stuff tastes sharp and bitter to me. Thirty extra seconds, worth it every time. - 3 cups low-sodium chicken broth: Low-sodium matters here because the parmesan adds salt at the end. Homemade broth is amazing if you have it, but boxed is totally fine.
If you’re out of broth, water with a good spoonful of better-than-bouillon works in a pinch — I’ve done it twice this month alone. - ½ cup heavy cream: This is what makes it restaurant-level. Half-and-half works, but the texture won’t be quite as silky.
My grandmother always said “cream makes everything a celebration,” and she was right. - ½ cup freshly grated Parmesan: Grate it yourself! The pre-shredded stuff has anti-caking powder that makes the sauce lumpy.
I learned this the sad way one Tuesday when my sauce looked like cottage cheese. Fresh is the way. - 1 tsp smoked paprika: The secret weapon. It adds that deep, “I’ve been cooking all day” flavor without any extra effort.
Regular paprika works if you’re in a pinch, but smoked is what makes people ask what your secret is. - ½ tsp salt, plus more for the shrimp: Season the shrimp, season the rice — every layer gets a little love.
- ¼ tsp cracked black pepper: Freshly cracked is better, but I’ve used the pre-ground kind more times than I’d like to admit.
- Fresh parsley, chopped, for topping: It’s not just for looks — that fresh pop of green cuts through all the richness.
My kids call it “green sprinkles” and they actually ask for extra. - Optional: red pepper flakes and lemon wedges: The lemon is the move. A squeeze of bright acidity at the end makes every single flavor stand up and say hello.
What to Pull Out Before You Start
- A 12-inch skillet with a tight-fitting lid — deep nonstick or cast iron both work great. If your skillet doesn’t have a lid, a piece of foil works too, just make sure it’s secure.
- A wooden spoon or silicone spatula for stirring
- Measuring cups and spoons
- A fine grater for the parmesan (I use my microplane and it takes about a minute)
- A small plate for the cooked shrimp while they wait
Let’s Make It (Step by Step)
This moves fast once you start, so read through once before you get going. I promise there’s nothing tricky here — if I can do this after a full day of school pickups and soccer practice, you can too.
Prep: Pat the shrimp dry with paper towels — seriously, do this, wet shrimp won’t sear, they’ll just steam — then season them with a pinch of salt, half the smoked paprika, and a few grinds of pepper.
- Sear the shrimp: Melt 1 tbsp of butter in your skillet over medium-high heat. When it’s sizzling and frothy, add the shrimp in a single layer. Cook 1–2 minutes per side, until they turn pink with golden edges and just start to curl. Transfer them to a plate.
(📸 Photo tip: You should see golden brown edges on the shrimp and little browned bits left in the pan — that’s pure flavor, so don’t wash it away.) - Bloom the garlic: Turn the heat down to medium and melt the remaining 2 tbsp of butter. Add the minced garlic and stir for 30–45 seconds, until your whole kitchen smells like heaven. Don’t let it brown — burnt garlic gets bitter fast.
This is the moment my kids wander into the kitchen and ask “what are you making?” Every single time. - Toast the rice: Add the dry rice and stir it through the garlic butter for a full 2 minutes. You’ll see the grains turn slightly translucent at the edges and catch a toasty, nutty smell.
This is the step everyone skips and it’s the one that keeps your rice from turning into paste. Don’t skip it. - Add the broth: Pour in the chicken broth and scrape up all those browned bits from the bottom of the pan with your wooden spoon — that’s where the flavor lives. Bring it to a simmer (bubbles around the edges, not a violent boil), then cover, turn the heat to low, and let it cook undisturbed for 15 minutes.
I know the lid temptation is real. Don’t peek. All the steam has to stay inside. - Finish the sauce: Turn off the heat completely and lift the lid. Stir in the heavy cream and the grated parmesan until the sauce is smooth and glossy, pooling like gravy between the rice grains.
(📸 Photo tip: Right at this moment, you want a thick, silky sauce that moves slowly when you stir it. If it looks dry, stir in a splash of warm broth.) - Nestle the shrimp back in: Lay the shrimp on top of the rice, pressing them in gently but leaving them mostly visible. Cover the skillet and let everything rest on the warm burner for 4–5 minutes. The shrimp finish cooking gently in the steam, which keeps them bouncy and sweet.
This resting step is my favorite part of the recipe — it’s like the whole dish takes a deep breath and comes together. - Finish it: Fluff the rice gently with a fork — don’t stir it into mush — taste it and add more salt if it needs it. Top with fresh parsley, a scattering of red pepper flakes if you like heat, and big lemon wedges for squeezing.
Lemon is non-negotiable in our house. It makes the whole bowl brighten up.
Sunday Prep = Stress-Free Tuesday
One of my favorite things about this recipe is how well it holds up over the week. I make a double batch on Sundays and we’re covered for two quick dinners. It genuinely tastes even better on day two — the flavors get friendly overnight — and the kids fight over the leftovers for lunch.
- Fridge: Store in an airtight container for up to 3 days. Add a splash of broth before reheating so the rice doesn’t dry out.
- Freezer: Yes! Freeze in individual portions in freezer-safe containers for up to 2 months. Thaw overnight in the fridge before reheating. I do this every time I make a double batch and we always have lunches ready.
- Reheat: Best in a skillet over medium-low heat with 1–2 tbsp of broth or water, covered, for about 5 minutes. The microwave works in a pinch, but the rice gets softer — still delicious, just not as fluffy. That’s the honest truth.
Things I Learned After Way Too Many Sticky Skillet Dinners
- Pat those shrimp dry: Water is the enemy of a good sear, and excess moisture makes the rice watery. Take the extra ten seconds with paper towels. Your future self will thank you.
- Toast the rice longer than you think: Two full minutes feels long when you’re hungry, but it’s the difference between fluffy separate grains and gummy clumps. I know it sounds like a fussy step, but it genuinely matters.
- Don’t lift the lid during those 15 minutes: I know you want to peek. I want to peek too. The steam does all the work, and every time you lift that lid, you’re stealing fluffiness from your rice. Set a timer and walk away.
- Grate your own parmesan: The pre-shredded kind is coated with anti-caking powder, so it clumps and turns your sauce grainy. On a sharp grater, fresh parmesan melts like a dream in less than a minute. Trust me on this one — it’s the cheapest upgrade in this whole recipe.
- Even if you mess up a step, it’s still going to taste amazing: I accidentally skipped toasting the rice one time when I was distracted by my kids arguing over a toy, and it was still better than any takeout rice I’ve had. So relax. You’ve got this.
Swaps That Actually Work Around Here
- Dairy-Free: Use olive oil instead of butter, full-fat coconut milk instead of heavy cream, and skip the parmesan or swap in nutritional yeast for that savory note. I make this version for my brother-in-law and he swears it’s his favorite. Just know the coconut milk adds a subtle sweetness — it’s honestly lovely.
- Spicy (after-bedtime version): Add a big pinch of red pepper flakes or ½ tsp of cayenne with the garlic. On Friday nights after the kids are asleep, I do this and it hits completely different. You’ve been warned.
- Add greens: Stir in 2 big handfuls of baby spinach at the very end, right after the cream and parmesan. It wilts beautifully in the residual heat and nobody feels guilty about anything.
- Lemon-forward: Add the zest of one whole lemon right in with the minced garlic, then finish with extra lemon juice at the table. It turns the whole dish bright and fresh — perfect for spring.
- Out of shrimp? Diced chicken thighs work well — season, sear them until golden and cooked through, then follow the rest of the recipe as written. My husband actually requests the chicken version on Sundays.
Questions Y’all Ask Me All the Time About This One
Q: Why did my rice turn out mushy?
A: Ugh, I’ve been there. Nine times out of ten it’s one of three things: you lifted the lid during the simmer, you added the cream too early, or you stirred the rice too much at the end. Keep the lid on for the full 15 minutes, add the cream only after the heat is off, and fluff gently. You’ve got it next time, I promise.
Q: Can I make this dairy-free?
A: Yes! I tested this and it works. Swap the butter for olive oil, use full-fat coconut milk instead of cream, and use nutritional yeast in place of parmesan. The smoked paprika carries so much flavor that you won’t miss the dairy half as much as you’d think.
Q: How long does this keep? Can I freeze it?
A: It keeps in the fridge for up to 3 days in an airtight container, and it freezes beautifully for up to 2 months. Reheat in a skillet with a splash of broth to bring back the creamy texture. I freeze individual portions whenever I make a double batch — it’s the best “I don’t want to cook but I’m hungry” emergency meal in our house.
Q: What do you serve with this?
A: Honestly? It’s a complete meal in itself and I eat it straight out of the pan half the time. If I’m feeling fancy, I add crusty bread for soaking up the extra sauce, or a simple green salad with lemon vinaigrette. And roasted asparagus — this rice was born to sleep next to roasted asparagus on a plate.
More Recipes My Family Makes on Repeat
If you liked this one, here are a few others that get the same reaction at our table:
- [INTERNAL LINK PLACEHOLDER: Garlic Butter Steak Bites with Creamy Orzo] — Ridiculously good and just as fast; we make it whenever we want to feel fancy on a Tuesday.
- [INTERNAL LINK PLACEHOLDER: Easy Lemon Chicken with Crispy Parmesan Potatoes] — My Sunday-night staple and the one that made my husband start offering to do the dishes.
- [INTERNAL LINK PLACEHOLDER: One-Pot Tuscan Sausage Pasta] — The dish my kids request for sleepovers, and the one I always make when we have company because it feeds a crowd.
That’s it — dinner that feels like a splurge but takes 30 minutes and just one skillet. When you make this creamy garlic butter shrimp and rice, come back and tell me how it turned out — I genuinely love reading your notes and hearing about which family member asked for seconds. And if you tag me on Pinterest or Instagram, I’ll see it and celebrate with you.
📌 Creamy garlic butter shrimp and rice recipe that’s rich, easy, and on the table in 30 minutes — save it for your next busy weeknight dinner.
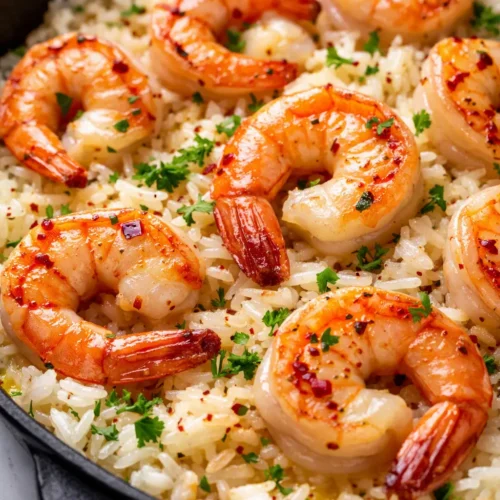
Creamy Garlic Butter Shrimp and Rice (One-Skillet)
Equipment
- 12-inch Skillet with Lid
- Wooden spoon or silicone spatula
- Measuring cups and spoons
- Microplane or Fine Grater
- Small Plate
Ingredients
For the Shrimp
- 1 lb large shrimp, peeled and deveined
- 1/2 tsp salt, divided
- 1 tsp smoked paprika, divided
- 1/4 tsp cracked black pepper, divided
For the Rice and Sauce
- 1 1/2 cups long-grain white rice
- 3 tbsp salted butter, divided
- 5 cloves garlic, minced
- 3 cups low-sodium chicken broth
- 1/2 cup heavy cream
- 1/2 cup freshly grated Parmesan
- fresh parsley, chopped, for topping
- red pepper flakes and lemon wedges, optional
Instructions
- Pat the shrimp dry with paper towels, then season with a pinch of salt, half the smoked paprika, and a few grinds of black pepper.
- Melt 1 tbsp butter in a 12-inch skillet over medium-high heat. Sear the shrimp for 1-2 minutes per side until pink with golden edges. Transfer to a plate.
- Reduce heat to medium and melt the remaining 2 tbsp butter. Add the minced garlic and cook 30-45 seconds until fragrant, not browned.
- Add the rice and stir it through the garlic butter for 2 full minutes until the grains turn slightly translucent and smell toasty.
- Pour in the chicken broth and scrape up any browned bits. Bring to a simmer, cover, reduce heat to low, and cook undisturbed for 15 minutes.
- Turn off the heat. Stir in the heavy cream and grated Parmesan until the sauce is smooth and glossy.
- Nestle the shrimp into the rice, cover, and let rest on the warm burner for 4-5 minutes.
- Fluff gently with a fork, season with salt if needed, and top with parsley, red pepper flakes, and lemon wedges.
Notes
Related Recipes:
 Cheesy Hamburger Casserole Bake That’s Ready in 40 Minutes (No Canned Soup Here)
 Creamy Garlic Tagliatelle That Looks Like a Restaurant Dish in 20 Minutes
 Texas Roadhouse Style Baked Salmon with Sweet and Savory Glaze — Ready in Under 30 Minutes
 Easy Italian Meatloaf That’s Actually Juicy (Not Dry) — in 1 Hour
 The Biscuits and Gravy Casserole That’s Actually Crispy on Top (And Ready in 40 Minutes)
 Air Fryer Chicken and Vegetables That Don’t Taste Like a Regret (30 Minutes, One Pan)