
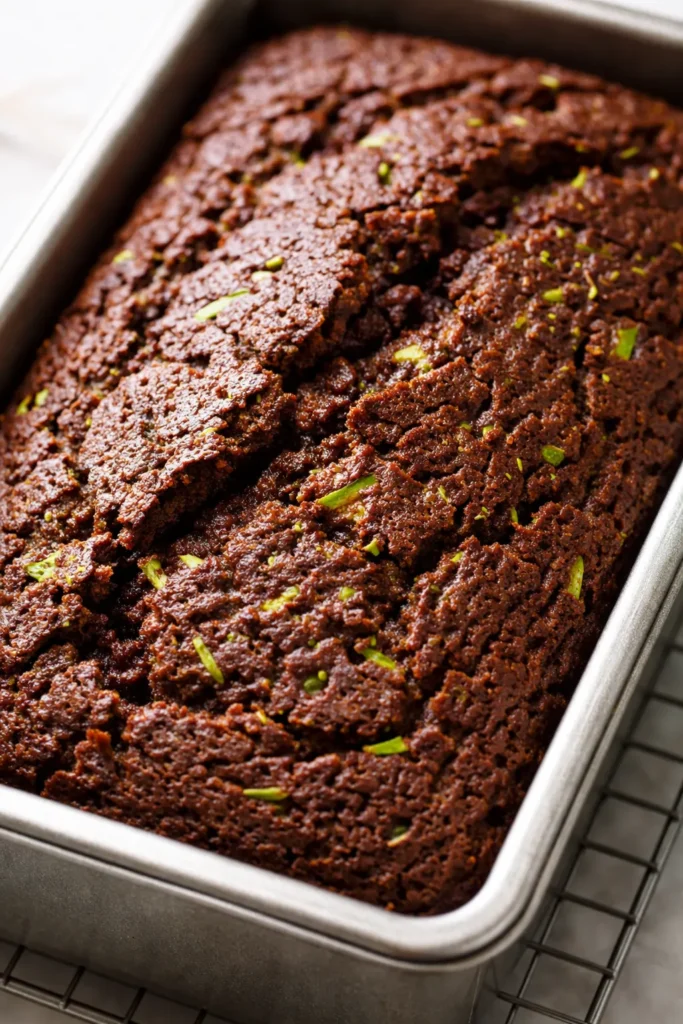
I’ll be honest — I used to be a zucchini bread skeptic. Most loaves I tried were either so damp they flopped or so timid with the chocolate that I could still taste the garden. This one? It disappears in about 24 hours between my kitchen counter and my neighbors’ mailboxes.
The trick is two kinds of chocolate and a ten-minute rest for the shredded zucchini. Do those two things and you end up with a loaf that looks like it came from a $6-a-slice bakery, made from a vegetable that costs about $1.29.
The short version: This loaf is deeply chocolatey, perfectly moist without being heavy, and my family eats it for breakfast, snack, and dessert without question.
I’ve tweaked this recipe more times than I can count — testing the moisture level, the chocolate intensity, the perfect balance of fats — and this version is the one that finally made me a believer. My neighbor’s kids asked for the recipe after the first slice.
- Serves: 1 loaf (10 generous slices)
- Hands-On Time: 20 min | Total Time: 1 hr 30 min
- Difficulty: Easy enough for a Tuesday — no mixer required
- Cost per serving: ~$0.80
- Calories: ~265 per slice
- Dietary Notes: Easily dairy-free. Freezer-friendly. Can be made gluten-free with a 1:1 swap.
(Photo above: overhead shot of the chocolate zucchini loaf sliced in half on a rustic wooden cutting board, a few shingles stacked casually, dark fudgy crumbs scattered on a linen napkin, morning light coming from the left showing the moist, tender crumb.)
The Real Secret to Chocolate Zucchini Bread That Doesn’t Taste Like a Garden Experiment
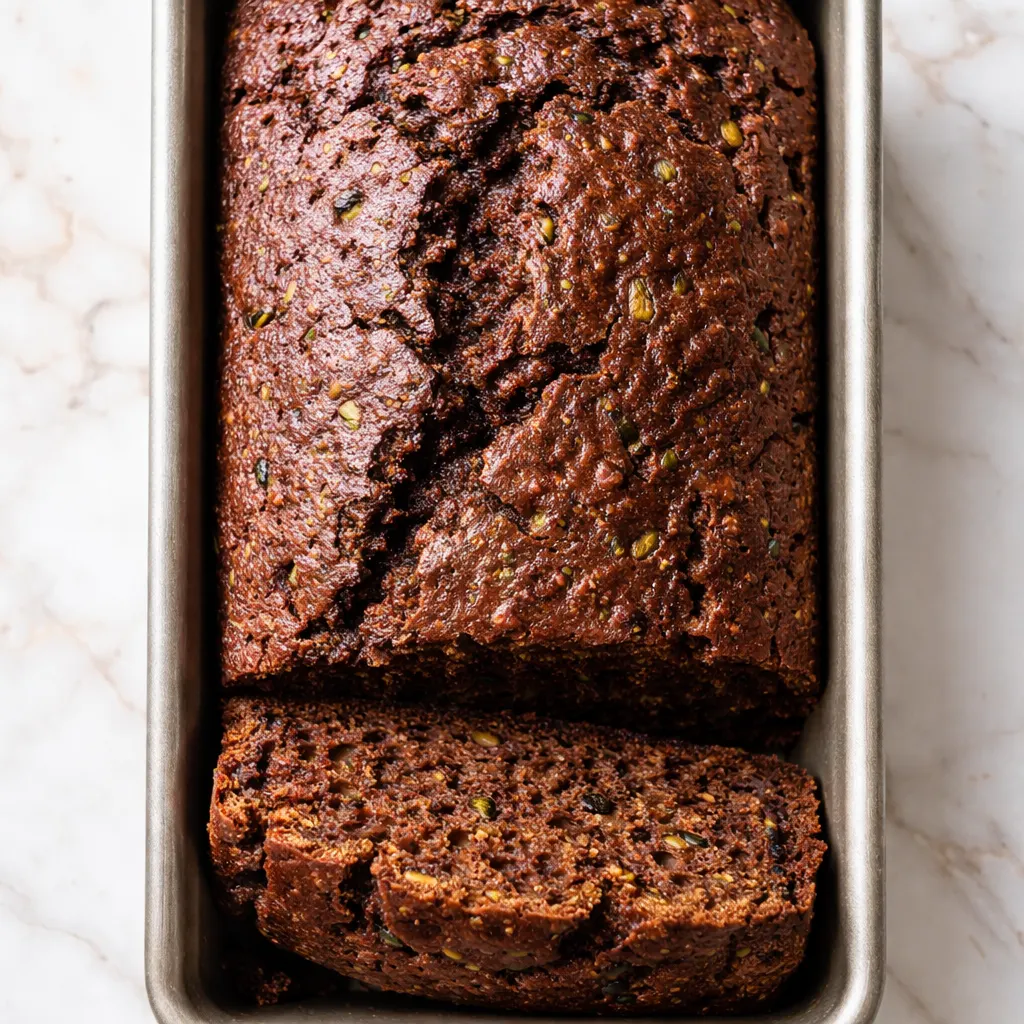
The zucchini is treated like an ingredient, not a secret weapon. Most recipes treat zucchini as a sneaky way to add moisture — but that moisture is exactly what makes the bread gummy if you don’t handle it right. Salting the shredded zucchini and letting it rest for ten minutes draws out the excess water. Then you squeeze it. That’s it. It’s one simple step that changes everything from a soggy mess to a perfectly tender crumb.
Two chocolates are better than one. A high-quality cocoa powder gives you that deep, dark base flavor. But adding a few ounces of melted bittersweet chocolate takes it from “nice breakfast bread” to “I’m bringing this to a dinner party and pretending I spent all day.” The melted chocolate adds richness and a fudgier texture that cocoa powder alone can’t achieve.
A smart fat-to-sugar ratio keeps it moist for days. I use a mix of butter and oil — the butter for flavor, the oil for moisture that stays put even on day three. This loaf doesn’t dry out. I’ve tested it. It’s still good on day four, if it lasts that long.
Everything You Need (Plus a Few Honest Notes)
- 1½ cups shredded zucchini (from about 1 medium zucchini): This is the star. Don’t skip the salting and squeezing step — I know it feels like an extra chore, but it’s the difference between a bakery loaf and a sad, wet brick. I’ve made the mistake once and never again.
- 1 cup all-purpose flour: Spoon and level it — scooping from the bag packs down the flour and gives you too much.
- ½ cup natural unsweetened cocoa powder: Use natural, not Dutch-process. Natural cocoa is more acidic and reacts with the baking soda to help the bread rise properly. Dutch-process will work, but the loaf won’t puff up as much.
- 1 tsp baking soda + ½ tsp baking powder: Both matter. The soda handles the cocoa and buttermilk acidity; the powder gives it a little extra lift.
- ½ tsp salt: Don’t skip it — salt makes chocolate taste like more chocolate.
- 2 large eggs: Room temperature if you remember, straight from the fridge if you don’t. It’s forgiving.
- ¾ cup brown sugar, packed: Brown sugar adds moisture and a subtle molasses note that plays beautifully with the chocolate.
- ¼ cup granulated sugar: For structure and sweetness that’s clean and straightforward.
- ½ cup neutral oil (like avocado or canola): Keeps the bread tender for days. My kids can’t tell the difference, so I stick with what’s affordable.
- ¼ cup melted butter: For flavor. The combination of oil and butter is the secret to a loaf that tastes rich but stays moist.
- ¼ cup buttermilk (or milk + 1 tsp vinegar): Buttermilk tenderizes the crumb. If I don’t have it, I just add a splash of vinegar to regular milk and let it sit for 5 minutes — works every time.
- 1 tsp vanilla extract: Enhances the chocolate flavor. Don’t skip it.
- 3 oz bittersweet chocolate, melted and slightly cooled: This is the upgrade. Use a good-quality bar (60-70% cocoa). Chocolate chips work in a pinch, but bar chocolate melts more smoothly.
- Optional: ½ cup chocolate chips, for mixing in or sprinkling on top: For when you want extra pockets of melted chocolate in every bite. I do this for my neighbor’s kids — they go wild for it.
What to Pull Out Before You Start
- 9×5-inch loaf pan — a metal or glass pan works; if using glass, reduce the oven temp by 25°F and check earlier
- Box grater or food processor with shredding disc
- Large bowl + small bowl — one for wet ingredients, one for dry
- Whisk and rubber spatula
- Parchment paper for easy lifting — leave an overhang on the long sides
Let’s Make It (Step by Step)
This goes fast once you start, so read through once before you begin. The hardest part is waiting for it to cool — and I’ll remind you about that when we get there.
- Prep the zucchini: Shred it using a box grater or food processor. Toss with ½ teaspoon salt and let it sit in a fine-mesh strainer over a bowl for 10 minutes. Then grab handfuls and squeeze firmly over the sink — you’ll be surprised how much liquid comes out. This step is non-negotiable for a loaf that bakes up tender, not wet. (📸 Photo tip: After squeezing, the zucchini should look dry and fluffy, not matted and dripping.)
- Preheat and prep the pan: Preheat your oven to 350°F. Line a 9×5-inch loaf pan with parchment paper, leaving a 2-inch overhang on the long sides. Lightly grease the ends with butter or oil.
- Mix the dry ingredients: In a medium bowl, whisk together the flour, cocoa powder, baking soda, baking powder, and salt. Set aside.
- Mix the wet ingredients: In a large bowl, whisk the eggs, brown sugar, and granulated sugar together until smooth and slightly thickened — about 30 seconds. Stream in the oil and melted butter while whisking. Add the buttermilk and vanilla, and whisk until combined.
- Add the melted chocolate: Pour the slightly cooled melted chocolate into the wet ingredients and whisk until the batter is smooth and glossy. This is where the loaf starts to feel like something special.
- Combine dry and wet: Add the dry ingredients to the wet mixture and fold gently with a rubber spatula until just combined — a few streaks of flour are fine. Overmixing develops gluten and makes the bread tough. I’ve done it. It’s sad. Don’t be like me.
- Fold in the zucchini: Add the squeezed, dry zucchini to the batter and fold until evenly distributed. The batter will be thick and luscious. Fold in the optional chocolate chips if using. (📸 Photo tip: The final batter should be thick and glossy, not runny — it should mound slightly in the bowl.)
- Bake: Scrape the batter into the prepared pan and smooth the top. Bake for 50-60 minutes, or until a skewer inserted in the center comes out with a few moist crumbs attached (not raw batter). If the top is browning too quickly at the 40-minute mark, tent loosely with foil.
- Cool completely: Let the loaf cool in the pan on a wire rack for 15 minutes. Then lift it out using the parchment overhang and let it cool completely before slicing — at least 1 hour. I know the smell is intoxicating. I know. But slicing it warm will give you a crumbly mess. Trust the process.
How I Make This for the Week (or the Freezer)
This loaf is practically designed for meal prep. I often shred a whole zucchini on Sunday, salt and squeeze it dry, and store it in a sealed container in the fridge for up to 3 days. Then on a busy Tuesday morning, I can have this batter mixed and in the oven in under 15 minutes.
I also make a double batch and freeze one loaf for later — it’s my emergency breakfast-for-a-crowd solution.
- Fridge: Store tightly wrapped in plastic wrap or in an airtight container at room temperature for up to 4 days. If your kitchen runs warm, pop it in the fridge after day 2.
- Freezer: Wrap the completely cooled loaf (or individual slices) tightly in plastic wrap, then a layer of foil. Freeze for up to 3 months. Thaw overnight in the fridge or on the counter for a few hours.
- Reheat: Microwave a slice for 15 seconds for that just-baked softness. Or toast it in a buttered pan for a crisp exterior — my daughter’s preferred method.
Things I Learned After Making This 10 Times
- Don’t overmix the batter. I know it’s tempting to keep stirring until every speck of flour is gone, but stop when it’s just barely combined. A few streaks are fine. Overmixing develops the gluten and makes your tender zucchini bread taste like a hockey puck. I’ve made that mistake exactly once.
- Let the zucchini rest properly. The 10-minute salt rest isn’t just for show — it draws out the excess water that would make your loaf gummy. And squeezing it dry afterward is crucial. Even if you think you’ve squeezed it enough, squeeze it one more time. Seriously.
- Check for doneness with a skewer. The center of a chocolate loaf can look dark and set even when it’s still underbaked. A wooden skewer inserted in the center should come out with a few moist crumbs attached — not wet batter. If it’s wet, give it another 5 minutes and check again.
- Cool it completely before slicing. I know I’ve said this twice now. I’m saying it a third time because I know you’re going to be tempted. The loaf needs time to set its structure — slicing it warm guarantees a crumbly mess. Set a timer if you have to.
How to Make This Your Own
- Dairy-Free: Use melted coconut oil or a neutral oil instead of butter, and use a dairy-free milk (like oat or almond) mixed with 1 teaspoon vinegar instead of buttermilk. The loaf will be just as moist.
- Gluten-Free: Swap the all-purpose flour for a 1:1 gluten-free baking blend (the kind with xanthan gum already mixed in). I’ve tested this with Bob’s Red Mill 1:1 and it works beautifully — no one in my family noticed the swap.
- Kid-Friendly Extra: Fold in a full cup of chocolate chips instead of a half cup. My kids call this “breakfast cake” and I don’t correct them.
- Fancy Guest Version: Bake the batter in a mini loaf pan (makes 3 mini loaves). Wrap each in a ribbon and gift them to neighbors. Everyone thinks you’re a hero. You don’t have to tell them how easy it was.
- No-Bake Version for Summer: I haven’t tested this as a no-bake, but if you’re looking for a summer dessert that doesn’t heat up the kitchen, try making this into muffins or mini loaves — they bake faster (about 20-25 minutes for muffins).
Questions I Get About This Recipe All the Time
Q: Why did my loaf sink in the middle?
A: Ugh, I’ve been there. It usually means the oven temperature was too low or the batter was underbaked. Make sure your oven is fully preheated to 350°F (run an oven thermometer if you’re not sure) and bake until the skewer comes out with just a few moist crumbs. If the loaf sinks after you take it out, it wasn’t set enough in the center. Next time, give it an extra 5 minutes before you pull it.
Q: Can I make this with gluten-free flour?
A: Yes! I’ve tested this with a 1:1 gluten-free baking blend (the kind that already has xanthan gum mixed in) and it works really well. The texture will be slightly more tender, but nobody in my family noticed the difference. Don’t use almond flour or coconut flour on their own — they’ll change the structure completely.
Q: Can I freeze this? How long does it last?
A: Absolutely. I freeze a loaf every time I make a double batch. Wrap the completely cooled loaf tightly in plastic wrap, then a layer of foil, and freeze for up to 3 months. To thaw, leave it on the counter overnight or pop individual slices in the microwave for 15 seconds. Pro tip: slice it before freezing so you can grab a single piece without thawing the whole loaf.
Q: What do you serve with this?
A: For breakfast, a hot cup of coffee and maybe a smear of salted butter. For dessert, a dollop of whipped cream or a drizzle of cream cheese glaze takes it over the top. My kids love it plain straight from the freezer — they call it “chocolate snack cake.”
More Recipes My Family Makes on Repeat
If you liked this one, here are a few others that get the same reaction at our table:
- Classic Banana Bread — The perfect companion to this loaf, and just as freezer-friendly.
- Double Chocolate Muffins — For mornings when you need something quick and chocolatey in a portable format.
- Healthy Oatmeal Cookies — The snack I make when I want something sweet but a little lighter.
This is the kind of recipe that makes you look like you have your life together — even if the zucchini was leftover from a Tuesday and the chocolate chips were half price at the grocery store.
If you try it, drop a comment below — I love hearing how it goes for you. And tag me on Pinterest so I can see your beautiful loaf!
📌 This chocolate zucchini bread recipe bakes up rich, moist, and deeply fudgy — save it for late summer when you’re swimming in zucchini and want something the whole family will love.
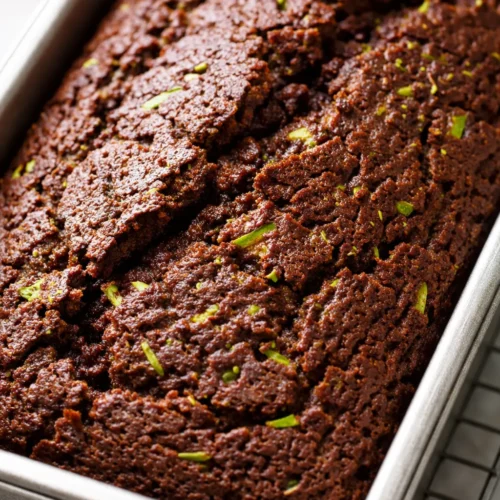
Chocolate Zucchini Bread That’s Rich, Moist, and Actually Tastes Like Chocolate
Equipment
- 9×5-inch loaf pan
- Box grater
- Large Mixing Bowl
- Small Mixing Bowl
- Whisk
- Rubber Spatula
- Parchment Paper
Ingredients
For the Zucchini
- 1½ cups shredded zucchini (from about 1 medium zucchini)
Dry Ingredients
- 1 cup all-purpose flour
- ½ cup natural unsweetened cocoa powder
- 1 tsp baking soda
- ½ tsp baking powder
- ½ tsp salt
Wet Ingredients
- 2 large eggs
- ¾ cup brown sugar, packed
- ¼ cup granulated sugar
- ½ cup neutral oil (like avocado or canola)
- ¼ cup melted butter
- ¼ cup buttermilk (or milk + 1 tsp vinegar)
- 1 tsp vanilla extract
Chocolate
- 3 oz bittersweet chocolate, melted and slightly cooled
Optional
- ½ cup chocolate chips
Instructions
- Prep the zucchini: Shred it using a box grater or food processor. Toss with ½ teaspoon salt and let it sit in a fine-mesh strainer over a bowl for 10 minutes. Then grab handfuls and squeeze firmly over the sink — you’ll be surprised how much liquid comes out. This step is non-negotiable for a loaf that bakes up tender, not wet.
- Preheat and prep the pan: Preheat your oven to 350°F. Line a 9×5-inch loaf pan with parchment paper, leaving a 2-inch overhang on the long sides. Lightly grease the ends with butter or oil.
- Mix the dry ingredients: In a medium bowl, whisk together the flour, cocoa powder, baking soda, baking powder, and salt. Set aside.
- Mix the wet ingredients: In a large bowl, whisk the eggs, brown sugar, and granulated sugar together until smooth and slightly thickened — about 30 seconds. Stream in the oil and melted butter while whisking. Add the buttermilk and vanilla, and whisk until combined.
- Add the melted chocolate: Pour the slightly cooled melted chocolate into the wet ingredients and whisk until the batter is smooth and glossy. This is where the loaf starts to feel like something special.
- Combine dry and wet: Add the dry ingredients to the wet mixture and fold gently with a rubber spatula until just combined — a few streaks of flour are fine. Overmixing develops gluten and makes the bread tough.
- Fold in the zucchini: Add the squeezed, dry zucchini to the batter and fold until evenly distributed. The batter will be thick and luscious. Fold in the optional chocolate chips if using.
- Bake: Scrape the batter into the prepared pan and smooth the top. Bake for 50-60 minutes, or until a skewer inserted in the center comes out with a few moist crumbs attached (not raw batter). If the top is browning too quickly at the 40-minute mark, tent loosely with foil.
- Cool completely: Let the loaf cool in the pan on a wire rack for 15 minutes. Then lift it out using the parchment overhang and let it cool completely before slicing — at least 1 hour. I know the smell is intoxicating. I know. But slicing it warm will give you a crumbly mess. Trust the process.
Notes
Related Recipes:
 The Perfectly Pillowy Chocolate Chip Milk Buns (Tangzhong Method)
 Cheesy Hamburger Casserole Bake That’s Ready in 40 Minutes (No Canned Soup Here)
 Creamy Garlic Tagliatelle That Looks Like a Restaurant Dish in 20 Minutes
 Texas Roadhouse Style Baked Salmon with Sweet and Savory Glaze — Ready in Under 30 Minutes
 Easy Italian Meatloaf That’s Actually Juicy (Not Dry) — in 1 Hour
 Moist Lemon Zucchini Bread with a Crunchy Lemon Sugar Top