
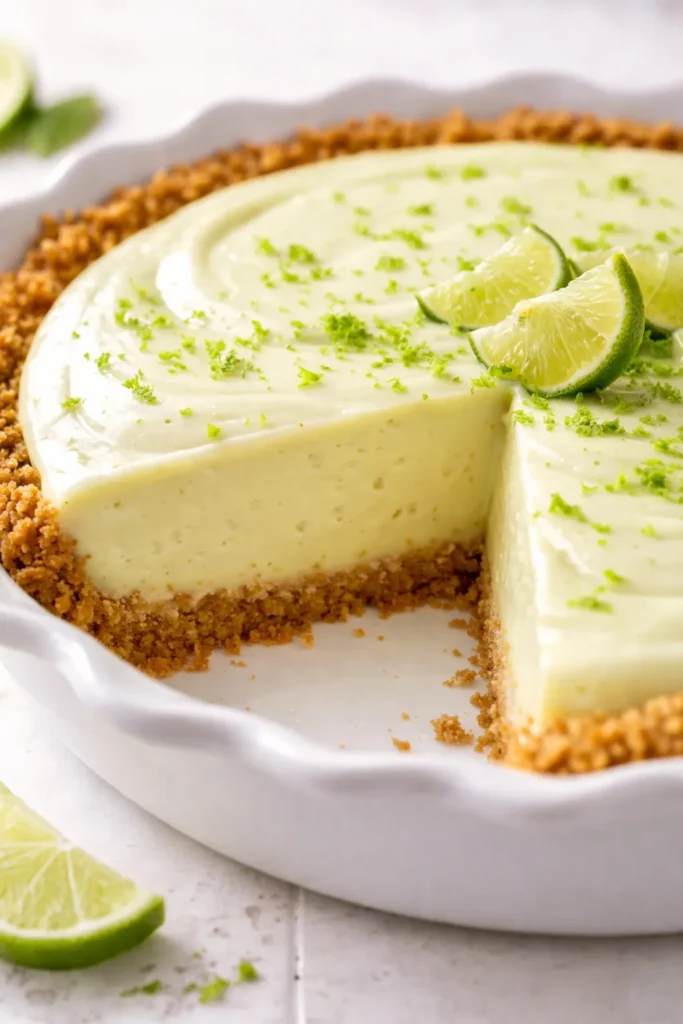
The first time I brought these to a dinner party, someone asked for the recipe before I’d even finished setting the tray down. Not because they looked complicated — they’re about as simple as it gets — but because one bite and you get that sharp, creamy, lime-forward hit that most store-bought or overly gelatin-heavy versions just don’t deliver. These are tiny, two-bite pies that taste like Key West in July: tart enough to make your mouth water, sweet enough to feel like dessert, and somehow still light enough that you’ll reach for a second one without guilt.
The short version: A buttery graham cracker crust, a five-minute lime filling that sets in the fridge, and zero oven time. You will make these all summer.
I’ve tested this filling on at least three skeptical friends who swore they didn’t like key lime pie. They now ask me to bring it to every barbecue. That’s the kind of conversion rate I stand behind.
- Serves: 12 mini pies (about 2–3 per person for dessert)
- Hands-On Time: 20 min | Total Time: 2 hr 20 min (includes chilling)
- Difficulty: So easy you’ll memorize it after one round
- Cost per serving: ~$1.25 per pie
- Calories: ~180 per mini pie
- Dietary Notes: Naturally vegetarian. Easily made gluten-free with certified GF graham crackers.
(Photo above: Overhead shot of six mini key lime pies on a white marble board, each in a fluted tartlet pan with a dollop of whipped cream and a thin lime wheel on top. Morning light from the left, slight shadow depth, one fork resting next to a bitten half.)
The Trick That Makes These Taste Authentic (and It’s So Obvious)
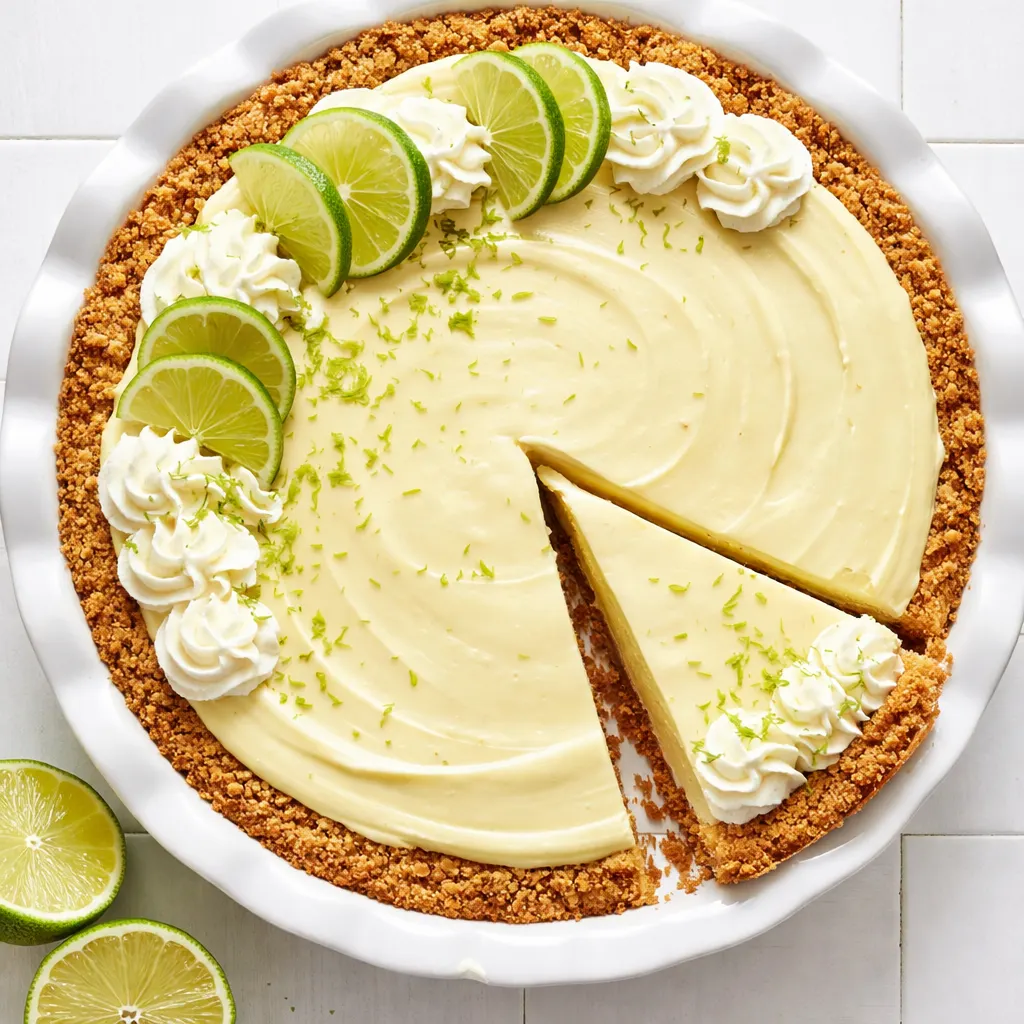
The secret to that signature key lime tang is not the lime varietal — it’s the ratio of acid to fat. Most no-bake versions either use too much sweetened condensed milk (so the filling is just sweet) or too much lime zest (so it’s bitter). The right balance is one part lime juice to two parts sweetened condensed milk by volume, plus just enough cream cheese to give it body without making it heavy. That’s it.
And here’s the non-negotiable: you have to let the filling sit for a few minutes after mixing before you pour it. That short rest lets the acidity hydrate the proteins in the condensed milk, so the set is clean and sliceable, not gluey. I learned this the hard way after a batch that set more like pudding than pie. Worth the extra five minutes.
Ingredients Worth Talking About
- 1 ¼ cups graham cracker crumbs (about 9 full sheets): Buy the box, crush them yourself — the pre-made crusts are too dense. A zip-top bag and a rolling pin take 90 seconds. If you’re feeling fancy, you can swap in crushed shortbread cookies for a richer crust, but that changes the texture. I tested it; graham is better for this one.
- 5 tablespoons unsalted butter, melted: Use salted if that’s what you have, but cut the pinch of salt in the crust. I’ve done both — unsalted gives you more control.
- 1 tablespoon granulated sugar: Just a kiss of sweetness in the crust. Don’t skip it — it helps the crust hold together when pressed.
- One 14-ounce can sweetened condensed milk: Not evaporated milk. Not low-fat. The full-fat version gives you that thick, luscious set. I had a friend try with low-fat once and the filling never firmed up. Trust the can.
- 4 ounces full-fat cream cheese, softened to room temperature: Let it sit out for 30 minutes. Cold cream cheese = lumpy filling. You have been warned.
- ½ cup fresh key lime juice (or regular lime juice): Key limes are tarter, but regular limes work fine. Just taste the juice first — if it’s not punchy, add an extra tablespoon. Never use bottled lime juice. It has a cooked flavor that ruins the fresh hit.
- 1 tablespoon key lime zest (or regular lime zest): Zest before you juice — it’s easier. And yes, you need it. The zest carries the essential oils that make the pie smell like a citrus grove.
- ¼ teaspoon salt: Balances the sweetness. Don’t skip.
- For serving: Whipped cream (unstabilized is fine — a dollop right before serving), thin lime wheels, or a tiny sprinkle of flaky salt.
What to Pull Out Before You Start
- A 12-cup mini tartlet pan (or a standard 12-cup muffin tin — the pies will just be round instead of fluted).
- A food processor or zip-top bag and rolling pin for the crust.
- A medium bowl and a rubber spatula for the filling. No mixer needed.
- A microplane or fine grater for the zest.
- Plastic wrap for covering the pan.
Let’s Make It (Step by Step, No Fancy Skills Required)
Read through once before you start — the steps go fast once the crust is in the pan.
Prep the crust: Preheat the oven to 350°F. (I know it says no-bake in the title, but we’re going to set the crust for five minutes. It’s a flash bake that keeps everything together. You’ll forgive me.)
- Crush the graham crackers: Toss the graham cracker sheets into a food processor and pulse until they’re fine crumbs. No food processor? Put them in a zip-top bag and smash with a rolling pin until uniform. You want a mix of fine dust and tiny pebbles — not powder, not chunks. (📸 Photo tip: Your crumbs should look like wet sand after the butter goes in. If they look like dry flour, you need more butter or more pressing.)
- Mix with butter and sugar: In a small bowl, combine the crumbs, melted butter, sugar, and a pinch of salt. Stir with a fork until every crumb is coated. The mixture should hold together when squeezed in your palm.
- Press into the pans: Divide the crust evenly among 12 mini tartlet cups (or muffin cups). Use the bottom of a shot glass or a small measuring cup to press the crumbs firmly into the bottom and up the sides. Pressing is the most important part of the crust — loose crumbs will fall apart when you bite. Take an extra 10 seconds per cup.
- Bake (just 5 minutes): Place the pan on the center rack and bake for 5 minutes. The edges will look slightly darker and the kitchen will smell like butter. Pull them out and let cool completely on a wire rack. (📸 Photo tip: After baking, the crust should be a warm golden brown at the edges. If the center still looks pale, give it another 2 minutes — but watch it, because it burns fast.)
- Make the filling: While the crusts cool, combine the softened cream cheese and sweetened condensed milk in a medium bowl. Whisk until smooth — no lumps. (If you’re lazy, a hand mixer on low works, but a spatula is fine for a minute of arm work.)
- Add the lime: Pour in the lime juice and add the zest and salt. Stir gently but thoroughly. The mixture will thicken almost immediately — that’s the acid working. Let it sit for two minutes to finish thickening before you fill the crusts.
- Fill the crusts: Spoon or pour the filling into the cooled crusts, filling right to the top. A small cookie scoop or a ladle works perfectly. Tap the pan gently on the counter to release air bubbles.
- Chill: Cover the pan loosely with plastic wrap and refrigerate for at least 2 hours, or overnight. The filling needs that time to set to a clean sliceable texture. I’ve left them for 24 hours and they were even better — the flavor mellows and intensifies at the same time.
- Serve: To release the pies, run a thin knife around the edge of each cup and gently lift out. Top with a dollop of whipped cream, a thin lime wheel, or a tiny pinch of flaky salt. Serve cold.
Make-Ahead Notes (Because You’ll Want These in the Fridge at All Times)
These mini pies are basically designed for entertaining. The crusts can be baked and stored at room temperature for up to 2 days before filling. The filled, unbaked pies keep beautifully in the fridge for up to 4 days — just keep them covered so they don’t pick up fridge smells. My favorite move: make a double batch on Sunday and have dessert ready for the whole week (or a spontaneous Tuesday dinner party).
- Fridge: Store in an airtight container for up to 4 days. They actually taste better on day 2.
- Freezer: Yes. Freeze the pies in the pan (without toppings) for up to 2 months. Let them thaw overnight in the fridge before serving. Do not freeze with whipped cream — add that fresh.
- Reheat: You don’t need to. Serve cold. If you froze them, just thaw in the fridge. The crust stays crisp because it was pre-baked.
Things I Wish I’d Known the First Time
- Don’t overmix the filling. Once the lime juice goes in, stir just until combined. Overmixing can make the filling too airy and cause cracks as it sets. It will still taste good, but it won’t have that silky texture you’re after.
- Zest first, then juice. Run the microplane over your limes before you cut them open. A dry lime is almost impossible to zest neatly. Trust me, I’ve watched too many YouTube videos where people struggle with a slippery half-lime.
- Use room-temperature cream cheese. I can’t emphasize this enough. Cold cream cheese = lumps that refuse to dissolve. Leave it out for 30 minutes. If you forgot, sit the sealed package in a bowl of warm water for 10 minutes. Do not microwave it — you’ll melt the edge.
- If your filling won’t set, check the juice. Some limes are less acidic. If after 2 hours in the fridge the filling is still soupy, mix a quick slurry of 1 teaspoon cornstarch and 1 tablespoon water, stir it into the filling, and chill another hour. It’s a cheat, but it works, and no one will know. Even if you mess this part up, the flavor will still be amazing — just eat it with a spoon.
Swaps That Actually Work (For Every Situation)
- Dairy-Free: Use a dairy-free cream cheese (like Kite Hill) and full-fat coconut condensed milk. The texture will be slightly softer — think mousse — but the flavor is spot-on. I’ve tested this for a friend with a dairy allergy and she nearly wept.
- Gluten-Free: Use certified gluten-free graham crackers or crushed shortbread. The method is identical. No one will notice the switch, I promise.
- More tangy: Add an extra tablespoon of lime juice and reduce the sweetened condensed milk by 2 tablespoons. This makes a puckery, almost Southeast Asian–style lime pie. My friend who hates sweet desserts requests this version.
- Fancy guest version: Top with a dollop of toasted meringue (just 2 egg whites + ¼ cup sugar, whipped and broiled for 2 minutes) instead of whipped cream. It turns these into mini Key lime meringue pies that look like they came from a bakery.
Questions I Get About This Recipe All the Time
Q: Why did my filling turn out runny even after 2 hours?
A: Ugh, I’ve been there. The most likely culprit is old limes or not enough acidity. The acid in the juice is what reacts with the condensed milk to set it. Next time, add an extra tablespoon of lime juice or, in a pinch, a teaspoon of lemon juice to boost the acid. Also make sure your cream cheese was genuinely room temp — cold cream cheese can inhibit the reaction. It’s fixable: stir a tiny cornstarch slurry in and rechill. You’ve got this next time.
Q: Can I make these with regular limes instead of key limes?
A: Yes, absolutely. Key limes are more floral and tart, but regular Persian limes work beautifully. Just be sure to taste the juice — if it’s on the mild side, add an extra tablespoon. I’ve made this more times with regular limes than key limes and nobody has ever complained.
Q: How long do these last, and can I freeze them?
A: In the fridge, covered, they’re perfect for 4 days — actually better on day 2 as the flavors mellow. Freeze them for up to 2 months (without topping). Thaw overnight in the fridge. The crust stays crisp because of that 5-minute pre-bake. The freezer is a lifesaver when you’re prepping for a party days ahead.
Q: What do you serve with these?
A: They’re rich enough to stand alone, but a few fresh raspberries or a drizzle of passion fruit coulis adds a great color pop. For a full dessert spread, I’ll pair them with a dark chocolate mousse or a scoop of passion fruit sorbet. My brother-in-law insists on a side of toasted coconut — he’s not wrong, the crunch is nice.
More Recipes My Friends Keep Asking For
If you liked these mini pies, here are a few others that get the same reaction at dinner parties:
- [INTERNAL LINK PLACEHOLDER: No-Bake Lemon Tarts with a Rosemary Crust] — same technique, completely different vibe. Great for spring.
- [INTERNAL LINK PLACEHOLDER: Easy Mango Lassi Popsicles] — no-bake, crowd-pleasing, and ready in about the same amount of time.
- [INTERNAL LINK PLACEHOLDER: Salted Chocolate Pots de Crème] — the perfect chocolate companion to these tart pies. Make both for a dinner party and watch your guests lose their minds.
These mini pies are the kind of thing you make once and then get asked about indefinitely. Have a simple answer ready: “Five ingredients, ten minutes, and a fridge.” That’s all it takes.
If you try them, drop a comment below — I love hearing how they turn out for you. And tag me on Pinterest or Instagram so I can see your beautiful mini pies!
📌 Save this mini no-bake key lime pie recipe for your next summer gathering — it’s the dessert that gets everyone asking for the recipe before you’ve even put the tray down.
Mini No-Bake Key Lime Pies
Equipment
- 12-cup mini tartlet pan or muffin tin
- Food processor or zip-top bag and rolling pin
- Medium bowl and rubber spatula
- Microplane or Fine Grater
- Plastic wrap
Ingredients
Crust
- 1 1/4 cups graham cracker crumbs (about 9 full sheets)
- 5 tablespoons unsalted butter, melted
- 1 tablespoon granulated sugar
Filling
- 1 can (14 oz) sweetened condensed milk (full-fat)
- 4 ounces full-fat cream cheese, softened to room temperature
- 1/2 cup fresh key lime juice or regular lime juice
- 1 tablespoon key lime zest or regular lime zest
- 1/4 teaspoon salt
For Serving
- Whipped cream
- Thin lime wheels
- Flaky salt (optional)
Instructions
- Prep the crust: Preheat the oven to 350°F. Crush graham crackers into fine crumbs with a food processor or in a zip-top bag. Mix with melted butter, sugar, and a pinch of salt until mixture holds together when squeezed.
- Press the crust mixture evenly into 12 mini tartlet cups or muffin cups. Use the bottom of a shot glass or measuring cup to press firmly into the bottom and up the sides.
- Bake for 5 minutes until edges are golden. Let cool completely on a wire rack.
- Make the filling: In a medium bowl, whisk together softened cream cheese and sweetened condensed milk until smooth. Add lime juice, zest, and salt. Stir gently until combined. The mixture will thicken; let it rest for 2 minutes.
- Spoon the filling into the cooled crusts, filling to the top. Tap the pan gently to release air bubbles.
- Cover with plastic wrap and refrigerate for at least 2 hours, or overnight, until filling is set.
- To serve, run a thin knife around each mini pie and lift out. Top with whipped cream, a thin lime wheel, or a pinch of flaky salt. Serve cold.
Notes
Related Recipes:
 The Perfectly Pillowy Chocolate Chip Milk Buns (Tangzhong Method)
 Bagel Breakfast Sliders That Taste Like a Diner Breakfast — in 25 Minutes
 Cheesy Hamburger Casserole Bake That’s Ready in 40 Minutes (No Canned Soup Here)
 Creamy Garlic Tagliatelle That Looks Like a Restaurant Dish in 20 Minutes
 Texas Roadhouse Style Baked Salmon with Sweet and Savory Glaze — Ready in Under 30 Minutes
 Easy Italian Meatloaf That’s Actually Juicy (Not Dry) — in 1 Hour