
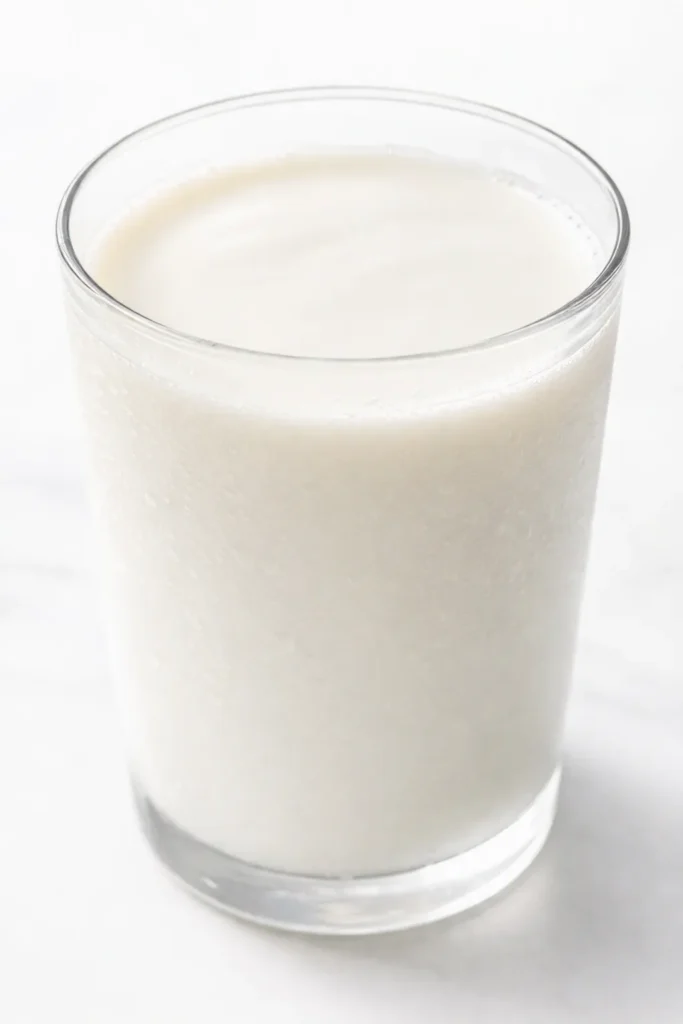
I bought almond milk for years because I assumed making my own was one of those things people do to feel sanctimonious about their kitchen habits. I was wrong, and I’ll admit it freely: homemade almond milk takes ten minutes of actual work, costs about half of what a carton costs, and tastes like almonds instead of like vaguely sweet water. The first time I poured it over coffee, I stopped and stared at the mug. It looked like a completely different drink — paler, creamier, heavier — and it tasted like something someone would charge nine dollars for at a café.
The short version: Soak a cup of almonds overnight, blend them with four cups of water, and strain. That’s the entire recipe. The rest is just details.
I’ve made this every week for the last two years — through two apartment moves, one very dramatic coffee phase, and a period where I convinced myself oat milk was superior. It wasn’t. Oat milk is fine. This is better.
- Serves: Makes about 4 cups
- Hands-On Time: 10 min | Total Time: 8 hrs 10 min (includes overnight soak)
- Difficulty: Easy — the hardest part is waiting
- Cost per serving: ~$0.40 per cup, depending on almond prices
- Calories: ~60 per cup, unsweetened
- Dietary Notes: Naturally dairy-free, vegan, and gluten-free
(Photo above: a glass jar of homemade almond milk on a kitchen counter in soft morning light, the milk pale and creamy against the glass, a small bowl of raw almonds beside it, and a linen dish towel underneath — the scene reading as a calm Sunday rather than a food shoot.)
Why Bother, When the Carton Is Right There?
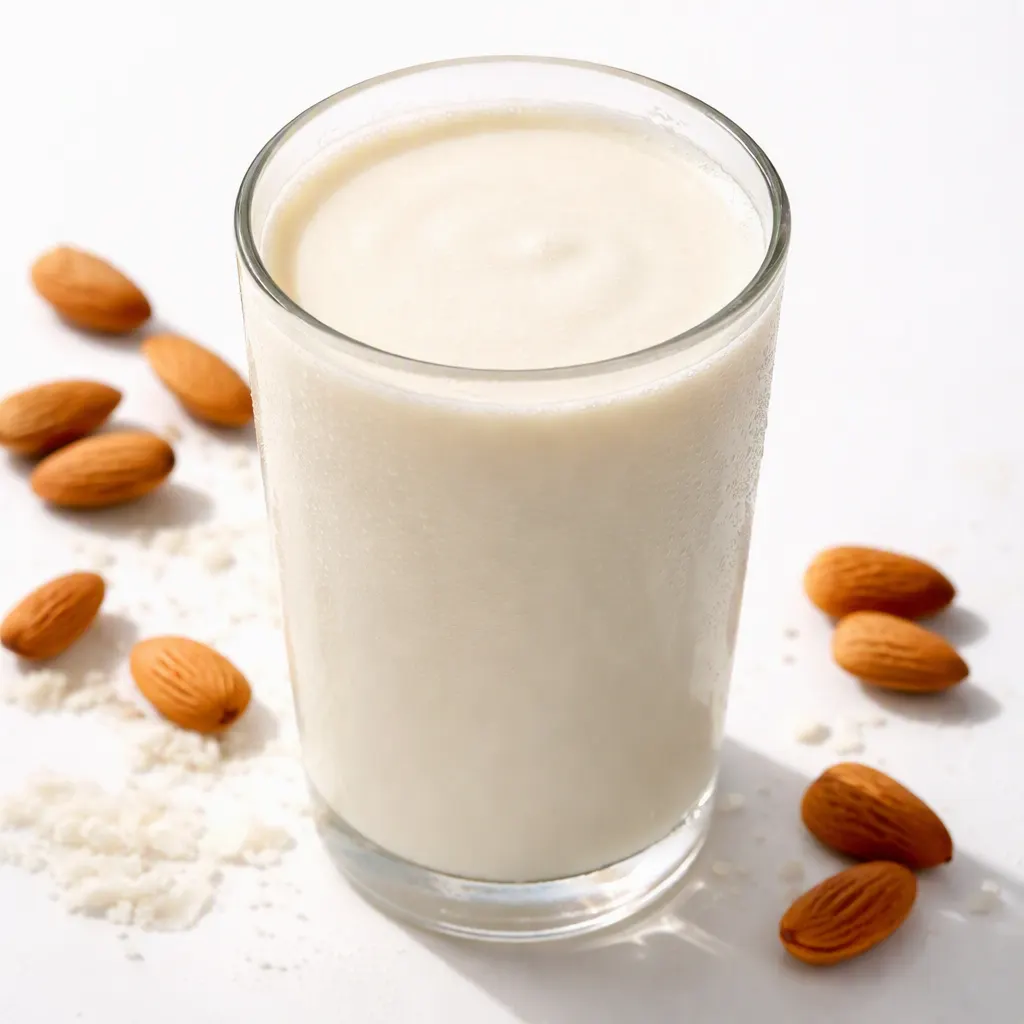
Here’s what most people don’t know: the average store-bought almond milk is about 97% water. That’s not a dramatic exaggeration — that’s the actual label math. You’re paying for water with a vague almond handshake. Homemade almond milk is a completely different product. One cup of almonds to four cups of water gives you milk that’s genuinely creamy — the kind that turns coffee into a latte, that makes overnight oats taste like dessert, that you’d never mistake for the watery stuff in a carton.
The ratio is the whole trick. Too much water and you get almond-scented water — which is, let’s be honest, what you’ve been buying all these years. Too little water and you get almond cream, which has its uses but isn’t milk. The 1:4 ratio is the sweet spot, and it’s not a finicky one. You don’t need a kitchen scale or a thermometer. Just a cup of almonds and four cups of water.
It’s also just… prettier. A jar of homemade almond milk, pale and settled into layers in the fridge, looks like something from a boutique grocery store. In reality, it’s a cup of almonds and a little patience. That’s my favorite kind of thing to keep in the fridge — looks like effort, tastes like care, cost me almost nothing.
What Goes In (Plus a Few Notes I Stand Behind)
- 1 cup raw almonds: Unroasted, unsalted. Roasted almonds sound like they’d taste better, but they make muddy, flat-tasting milk. I buy a big bag from the bulk section — it works out to about half the price of the packaged ones, which matters when you’re making this every week.
- 4 cups filtered water, for blending: You will taste this water in the final product. Tap water with a strong mineral profile will make itself known. My tap water in Brooklyn is fine for drinking but makes almond milk taste vaguely like a public pool. Filtered is the move.
- Water for soaking, plus a pinch of fine salt: The soak water gets discarded, so it doesn’t need to be fancy — just clean. The salt in the soak helps the almonds soften evenly. A friend once asked if I was making them “saline.” I was. It works.
- A pinch of fine salt, for the finish: This is the non-negotiable. A tiny pinch of salt rounds out the natural sweetness and makes the milk taste complete. The first batch I made without it tasted flat, and I couldn’t figure out why. It was the salt. It’s always the salt.
- Optional: 1 Medjool date, pitted, and 1/2 teaspoon vanilla extract: For a slightly sweet, vanilla-adjacent milk that tastes like a treat. I do this version when I’m making it for coffee or overnight oats. For cooking, I leave it plain — you want the neutral version when a recipe actually calls for milk.
The Setup (Minimal, I Promise)
- A blender: High-speed is ideal but not required. A weaker blender just means you soak the almonds longer and blend a little longer. My first batch was made in a $30 blender from a friend’s moving sale. It worked. It just took ninety seconds instead of sixty.
- A nut milk bag OR a thin, clean dish towel: You need something to strain through. A nut milk bag is about eight dollars and makes the squeezing easier. A thin cotton dishtowel works fine — just not a fluffy one, which soaks up the milk like a sponge. I’ve used both. The nut milk bag is better, but the dishtowel has saved me more than once.
- A large bowl or liquid measuring cup: To catch the milk as it strains.
- A glass jar with a lid: A 32-ounce jar holds the full batch. A swing-top bottle feels fancy for zero extra effort. I’m a sucker for it.
Here’s How I Do It — No Fancy Skills Required
Don’t let the steps fool you — this is four moves. Most of the time is the soak, which is just waiting. Waiting is the easiest kind of cooking.
- Soak: Put the almonds in a bowl and cover them with water by about two inches. Add a pinch of salt. Leave them at room temperature overnight — 8 to 12 hours. They’re ready when they’re puffy and slip out of their skins easily when you pinch one. In a hurry? Cover the almonds with boiling water and leave them for one hour. It’s not quite as good, but it’s perfectly drinkable. (📸 Photo tip: your soaked almonds should look plump and pale — a quiet bowl of very hydrated nuts.)
- Drain and rinse: Dump the soak water and rinse the almonds until the water runs clear. They should look clean and feel plump. This takes thirty seconds and gets rid of any lingering raw taste.
- Blend: Combine the soaked almonds and 4 cups fresh filtered water in the blender. Blend on high for 60 to 90 seconds, until the mixture looks creamy and frothy, like a very thin milkshake. If you’re not sure, blend another 15 seconds — you can’t really over-blend here. (📸 Photo tip: stop and look at the surface — you want a layer of fine foam and a pale, opaque liquid below it. That’s your “this is going to work” moment.)
- Strain: Set the nut milk bag (or dishtowel) over your bowl or measuring cup and pour the blended mixture in. Pick up the bag and squeeze — really squeeze, work the pulp with your hands until every last drop of liquid is out. This is the step people rush, and it’s the difference between creamy milk and watery milk. The creamy stuff is trapped in the pulp. Squeeze like you mean it. (📸 Photo tip: toward the end of the squeeze, the liquid runs thinner — that’s your signal to stop. You’ll feel the pulp go dry.)
- Season: Whisk in a pinch of fine salt, plus the date and vanilla if you’re using them. Or skip the whisk and shake it in the jar. If you go the shake route with a date, chop it very finely first — a whole date won’t break down in a shake.
- Store: Pour into your glass jar and keep it sealed in the fridge. Shake well before every use — separation is natural and means there are no weird stabilizers in there. That’s a good thing.
Make-Ahead Notes (Because We Don’t All Plan Ahead)
I make a batch on Sunday nights and we’re set through Wednesday or Thursday, depending on how heavy the coffee consumption was that week. It’s one of those rare make-ahead foods that doesn’t need reheating or assembly — it’s just there, in the fridge, doing its job. No thinking required.
- Fridge: 4 days in a sealed glass jar. It will separate into layers — that’s normal. Shake before each use.
- Freezer: Yes, in ice cube trays. Frozen almond milk cubes are excellent in smoothies or iced coffee. Thaw overnight in the fridge if you need liquid.
- Reheat: It’s not a hot beverage on its own. Warm it gently for oatmeal or add it straight to hot coffee — that’s the move. Microwaving it alone is fine in a pinch; just don’t boil it, or it takes on a slightly cooked taste.
Things I Learned the Hard Way So You Don’t Have To
- Don’t skip the soak: Unsoaked almonds blend into gritty, vaguely bitter milk. The soak softens them so they break down completely. I learned this the hard way, and the resulting milk went down the sink, not into my coffee. Soak overnight and save yourself the disappointment.
- Save the pulp: The leftover almond meal is essentially free almond flour. Spread it thin on a baking sheet, dry it in a low oven, and use it in muffins, pancakes, or smoothies. Or just freeze it in a bag and deal with it later. I have a very old bag in my freezer that has survived three apartment moves. It’s a commitment.
- Use cold water, not hot: Blending creates friction, which creates heat. If you start with hot water, the milk ends up tasting slightly cooked — a flavor you do not want. Cold filtered water keeps it clean and fresh.
- The date needs help: If you add a date to the blender, it breaks down fine. If you’re shaking it into the jar, chop it to a paste first, or you’ll get little date chunks floating around. Not a tragedy, but not the vibe.
- Even if you mess it up, it’s still better than the carton: I’ve made this while distracted, with unsoaked almonds, in a genuine hurry — and it still outperformed anything I’ve bought. The bar is lower than you think. Don’t let perfectionism stop you from having good almond milk on a Tuesday.
Swaps That Actually Work
- Sweetened / vanilla almond milk: Add 1 pitted Medjool date and 1/2 teaspoon vanilla extract to the blender before blending. Tastes like a vanilla milkshake’s distant cousin. I do this version when I’m making overnight oats for the week — it makes them taste like dessert without adding sugar.
- Chocolate almond milk: Add 1 tablespoon unsweetened cocoa powder and 1 pitted date to the blender. Shake well before drinking. My friends’ kids call this “dessert milk,” and I refuse to correct them.
- Cashew milk: Same method, swap almonds for cashews. Cashew milk is even creamier and doesn’t really need straining — the nuts break down almost completely. The easiest version of this recipe, which is saying something.
- Nut-free swap — oat milk: Skip the soaking and blend 1 cup rolled oats with 4 cups cold water for 30 seconds, then strain. Oat milk is naturally sweeter and great for coffee. Fair warning: it doesn’t keep as long — 3 days max in the fridge.
- Fancy guest version: Strain twice and serve in a glass carafe at brunch. It looks like a nine-dollar bottle from a farmers market. I have done this and received a compliment I still think about.
Questions I Get About This All the Time
Q: Why did my almond milk come out gritty?
A: Ugh, I’ve been there. It’s almost always one of three things: you didn’t soak the almonds long enough (go the full 12 hours), your blender gave up before the almonds did (blend 90 seconds, not 30), or you didn’t squeeze the bag hard enough (squeeze like you’re wringing out a wet towel). Fix those three and you’ll get smooth, creamy milk. You’ve got this next batch.
Q: Can I make this with other nuts or seeds?
A: Yes. Cashews are the easiest — blend and don’t even bother straining. Macadamias make a rich, buttery milk. Sunflower seeds work but need a longer soak (12 hours) and taste distinctly… seedy. I’d stick with cashews if you want to branch out. I’ve tested all of these and they work.
Q: How long does homemade almond milk last? Can I freeze it?
A: Four days in the fridge in a sealed jar. Shake before each use — separation is normal. And yes, freeze it in ice cube trays; the cubes are perfect for smoothies and iced coffee. This is the make-ahead move I use every single week.
Q: What do you use homemade almond milk for?
A: Coffee, overnight oats, and baking are the big three. It pours beautifully over granola, and it makes a mean smoothie. My specific ritual: I use it in my morning coffee, and it turns the whole mug a pale, creamy caramel color — one of the few things that makes a Tuesday feel intentional. My friends’ kids drink the chocolate version like it’s a special treat, which it kind of is.
More Recipes My Kitchen Keeps Around
If you liked this one, here are a few others that earn their spot on the counter:
- Overnight Oats with Chia — the breakfast I make every Sunday that uses this almond milk and makes the whole week feel organized.
- Brown Butter Banana Muffins — where the leftover almond pulp disappears without a trace.
- Salted Date Smoothie — dessert for breakfast, and it’s worth every spoonful.
I’ll say this much: once you’ve had almond milk that actually tastes like almonds, the carton version is hard to go back to. And when you see that jar in your fridge — pale, settled into its layers, looking like something you’d pay too much for at a café — you’ll know the ten minutes were worth it. You’ll know it the first morning you pour it into coffee and watch the color change.
If you make it, drop a comment below — I love hearing which version people land on. Or tag me on Pinterest so I can see your jar in its natural habitat.
📌 Homemade almond milk recipe that tastes better than store-bought and costs pennies per cup — save it for your next Sunday meal prep.
Homemade Almond Milk That Tastes Better Than Anything in a Carton — 10 Minutes of Actual Work
Equipment
- Blender
- Nut Milk Bag
- Large Bowl or Measuring Cup
- Glass jar with lid
Ingredients
Almond Milk Base
- 1 cup raw almonds, unroasted and unsalted
- 4 cups cold filtered water, plus more for soaking
- 1 pinch fine salt
Optional Add-Ins
- 1 Medjool date, pitted (optional)
- 1/2 teaspoon vanilla extract (optional)
Instructions
- Soak: Put the almonds in a bowl and cover with water by about two inches. Add a pinch of salt and leave at room temperature overnight, 8 to 12 hours, until the almonds are puffy and slip out of their skins when pinched. In a hurry? Cover with boiling water and soak for 1 hour.
- Drain and rinse: Dump the soak water and rinse the almonds until the water runs clear. This removes any lingering raw taste.
- Blend: Combine the soaked almonds and 4 cups cold filtered water in a blender. Blend on high for 60 to 90 seconds, until creamy and frothy, like a very thin milkshake.
- Strain: Set a nut milk bag or thin dishtowel over a large bowl or measuring cup. Pour in the blended mixture, then squeeze the bag firmly to extract every last drop of liquid.
- Season: Whisk in a pinch of fine salt, plus the date and vanilla if using. Or shake everything in the jar — just chop the date finely first if you go that route.
- Store: Pour into a sealed glass jar and refrigerate up to 4 days. Shake well before every use — separation is natural.
Notes
Related Recipes:
 Cheesy Hamburger Casserole Bake That’s Ready in 40 Minutes (No Canned Soup Here)
 Texas Roadhouse Style Baked Salmon with Sweet and Savory Glaze — Ready in Under 30 Minutes
 Moist Lemon Zucchini Bread with a Crunchy Lemon Sugar Top
 Strawberry Shortcake Rice Krispie Treats That Actually Taste Like Shortcake — Ready in 15 Minutes
 Blueberry Oatmeal Cookies That Stay Soft for Days — in Under 30 Minutes
 Air Fryer Chicken and Vegetables That Don’t Taste Like a Regret (30 Minutes, One Pan)