
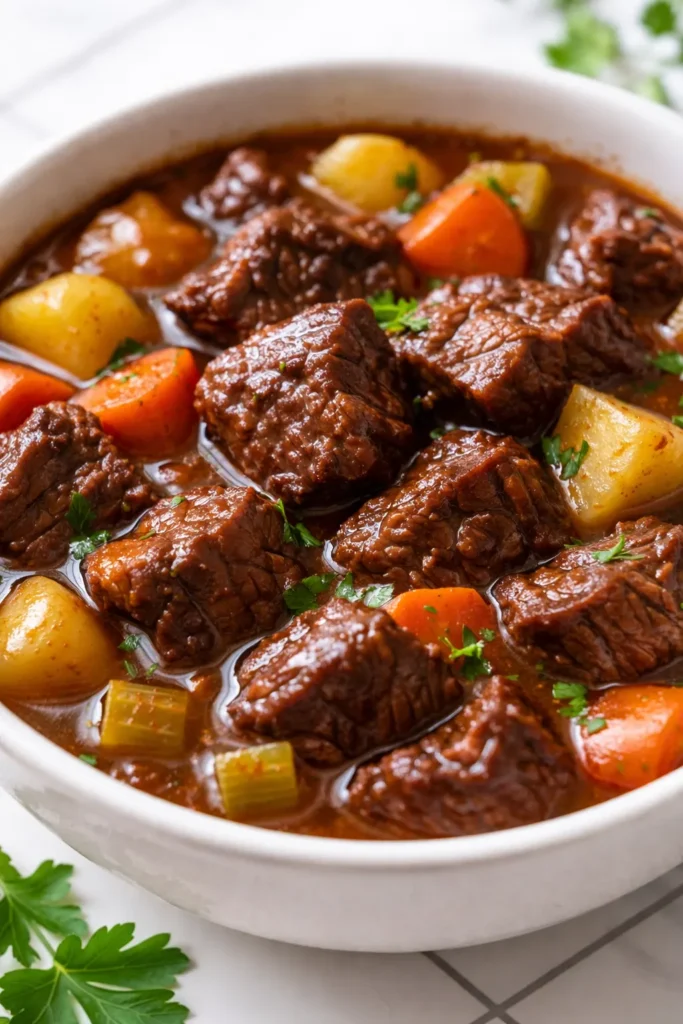
The first thing you notice is the color. A deep, dark mahogany brown that tells you the meat was properly seared and the broth was given the time it needed to turn into something velvety. This old fashioned beef stew is the meal I look forward to making the second the temperature drops below 50. It fills the apartment with a smell that makes whatever you’re doing feel like nesting.
The short version: A one-pot braise that turns a cheap chuck roast into a dinner that tastes expensive and takes about 35 minutes of actual effort.
I have made this stew at least thirty times over the last five years, tweaking the wine-to-broth ratio and testing how long the tomato paste needs to caramelize before it adds the maximum depth. This version is the one I keep coming back to — the one that gets requested every November without fail.
- Serves: 6-8 as a main course
- Hands-On Time: 35 min | Total Time: 3 hours
- Difficulty: Medium-easy — needs patience more than skill
- Cost per serving: ~$4.50
- Calories: ~450 per serving
- Dietary Notes: Naturally dairy-free; gluten-free adaptable with one swap
(Photo above: overhead shot of a wide ceramic bowl filled with stew, a fork resting on the rim, a piece of crusty sourdough angled in for dipping, the broth dark and glossy, chunks of carrot and potato visible just below the surface.)
The Difference Between a Good Stew and the One You Remember All Winter
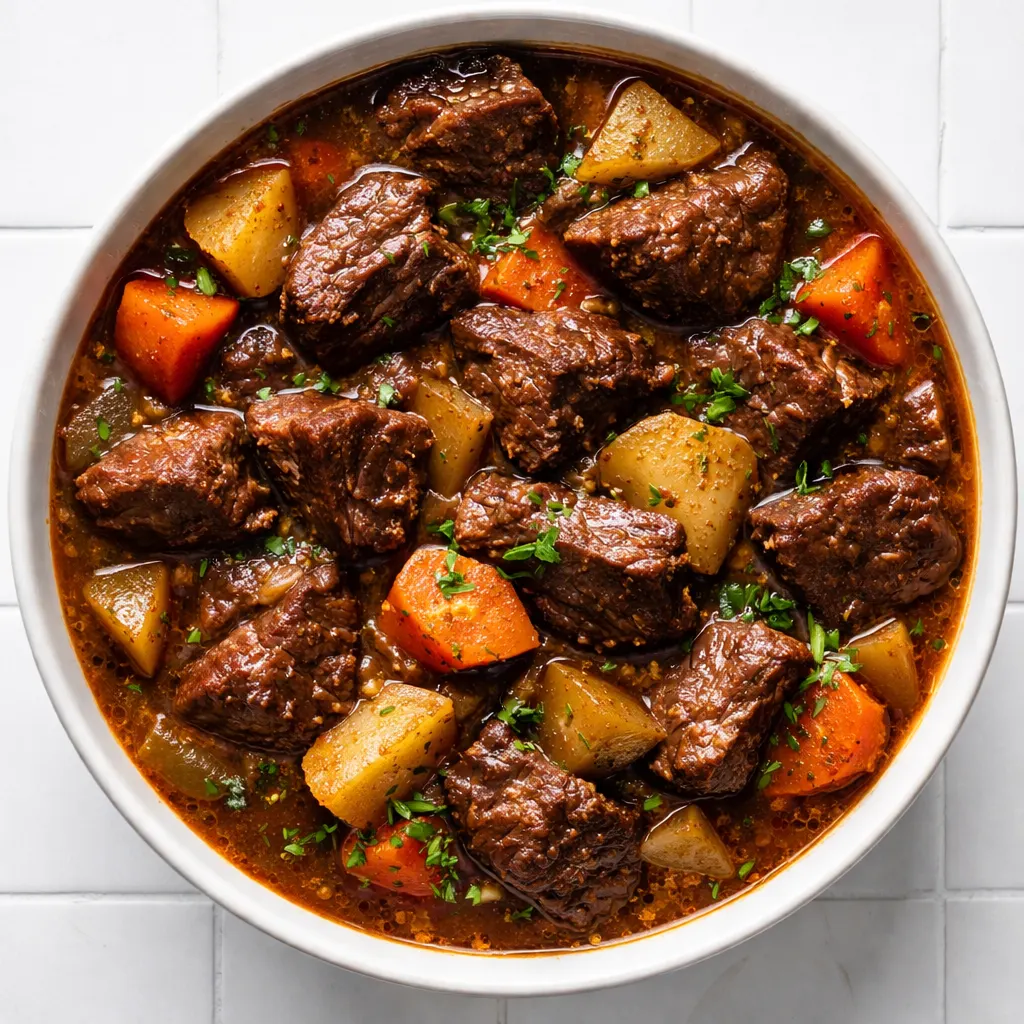
Most stew recipes tell you to brown the beef. I am here to tell you that how you brown it matters more than almost anything else in the pot. If you crowd the pan or rush the heat, the meat releases steam instead of forming that deep, burnished crust. That crust is where the flavor lives — it sticks to the bottom of the pot and becomes the foundation of the broth once you deglaze with wine.
The second non-negotiable is the tomato paste. Almost every recipe includes it, but almost nobody cooks it long enough. Let it sizzle in the hot pot for a full two minutes after you stir it in. It will darken and smell almost sweet, and that single step is what transforms the broth from thin and acidic to rich and velvety.
The third thing is the oven. You can simmer this on the stove, but the oven provides even, gentle heat that surrounds the pot. No hot spots, no scorched bottom. The connective tissue in the chuck breaks down at a steady pace and the result is beef that genuinely falls apart when you nudge it with a fork.
What Goes In (Plus the One You Shouldn’t Skip)
- 3 lbs beef chuck, cut into 1.5-2 inch cubes: This is the right cut for stew because it has enough marbling to stay tender through a long braise. Don’t use sirloin or round — they’ll dry out.
I buy a whole chuck roast and cut it myself. It costs less that way and you can control the size of the pieces. - 3 tbsp all-purpose flour: A light dusting helps the sear and thickens the broth slightly as it cooks.
To make this gluten-free, use cornstarch instead. Mix it with a splash of cold water at the end of cooking. - 3 tbsp neutral oil: Avocado or canola. Olive oil will burn at the heat you need for searing.
- 1 large yellow onion, diced: The backbone of the base.
- 3 large carrots, peeled and cut into 1-inch pieces: Add these at the beginning for flavor, then add fresh ones later so they don’t turn to mush.
- 2 celery stalks, diced: Aromatics that disappear into the background and make everything taste more savory.
- 4 cloves garlic, minced: Standard. Don’t burn it.
- 1/4 cup tomato paste: See above. This is the one ingredient I will lecture you about. Cook it down.
I buy the tube version so I can squeeze out exactly what I need without opening a can. - 1 cup dry red wine: Merlot, Cabernet Sauvignon, or a red blend. If you wouldn’t drink it, don’t cook with it.
- 4 cups low-sodium beef broth: Use the low-sodium kind so you control the salt level.
- 2 sprigs fresh thyme and 1 bay leaf: Herbs that work slowly and disappear before serving.
- 1.5 lbs Yukon Gold potatoes, peeled and cut into 1-inch pieces: They hold their shape better than Russets and have a creamier texture.
- 1 cup frozen peas: Optional, but I add them right at the end for a pop of green color that breaks up the deep brown of the broth.
- Fresh parsley and lemon zest for serving: This is the garnish that matters. The lemon zest cuts the richness and makes the whole bowl taste brighter.
The Setup (Minimal, I Promise)
- A 6-quart Dutch oven or heavy-bottomed pot with a lid. Le Creuset is the dream, but a Lodge enameled pot does the same job for a third of the price.
- Tongs for turning the beef.
- A wooden spoon for scraping up the fond.
Let’s Make It (Low and Slow is the Whole Game)
Read through once before you start. The active parts go fast and you don’t want to be hunting for the tomato paste while the garlic is burning.
Prep and Sear: Pat the beef cubes dry with paper towels — this is not optional, wet meat will not sear. Season generously with kosher salt and black pepper, then toss with the flour. Heat the oil in your Dutch oven over medium-high heat. Add the beef in a single layer — work in batches if you have to. Let it sit undisturbed for 3-4 minutes until a deep brown crust forms on the bottom, then flip and repeat. Transfer the seared beef to a plate.
(📸 Photo tip: The bottom of the pot should have dark brown bits stuck to it — that is the fond. It’s not burned, it’s flavor.)
- Sweat the aromatics: Reduce the heat to medium. Add the onion, carrots, and celery to the pot and cook for 5-6 minutes, stirring occasionally, until the onion is translucent. Add the garlic and cook for 30 seconds until it smells fragrant.
- Caramelize the tomato paste: Push the vegetables to the sides of the pot and add the tomato paste in the center. Let it sizzle and darken for 1-2 minutes, stirring constantly. This step is where the stew gains its depth — it goes from tasting like canned soup to tasting like you have a secret.
(📸 Photo tip: The paste should turn a shade darker and look almost rusty before you add the wine.) - Deglaze with wine: Pour in the red wine and scrape up the browned bits from the bottom of the pot with your wooden spoon. Let the wine simmer for 2-3 minutes until it reduces slightly and loses its raw alcohol smell.
- Add the broth and herbs: Return the beef to the pot along with any juices on the plate. Pour in the beef broth, add the thyme sprigs and bay leaf, and bring everything to a gentle simmer. Don’t let it boil — a simmer means small bubbles, big bubbles mean a tough stew.
- Braise in the oven: Cover the pot and transfer it to a 325°F oven. Let it cook undisturbed for 1 hour and 45 minutes. The beef should be fork-tender at this point.
- Add the potatoes: Pull the pot out of the oven. Stir in the potatoes and the second batch of carrots (the ones you reserved for texture). Return the pot to the oven, uncovered, for another 30-35 minutes until the potatoes are tender and the broth has thickened slightly.
- Finish and serve: Remove the thyme sprigs and bay leaf. Stir in the frozen peas if you’re using them — they just need the residual heat to warm through. Taste and adjust the salt and pepper. Ladle into wide bowls and top with fresh parsley and a very fine grating of lemon zest.
How I Meal Prep This for the Week
The honest truth is that this stew is better on day two and three. The flavors settle and the broth thickens beautifully. I make a double batch on Sunday and we eat it for dinner on Monday, then again on Wednesday with egg noodles stirred in for a different texture. My secret is that I store the potatoes separately from the broth if I’m freezing it — they can get a bit grainy otherwise.
- Fridge: Store in an airtight container for up to 4 days. The flavor actually improves over the first 48 hours.
- Freezer: Yes, but freeze the stew without the potatoes. Add fresh potatoes when you reheat it. It will last 3 months in the freezer.
- Reheat: Low and slow on the stovetop over medium-low heat, stirring occasionally. Add a splash of broth or water if it’s too thick. The microwave works in a pinch but the stovetop gives you better control.
Things I Wish I’d Known the First Time
- Dry the beef completely. I cannot stress this enough. If the meat is damp, it steams instead of sears, and you lose all that deep brown crust that makes the broth taste like it cooked for eight hours.
- Don’t salt too early. The broth reduces as it simmers, which concentrates the salt. Season at the very end, after you’ve tasted it. I oversalted my first three batches before I learned this.
- The oven is forgiving. Stovetop simmering requires you to watch the heat and stir frequently. The oven just works. Set the timer and walk away.
- Lemon zest is not optional. I know it sounds fussy for a stew, but it does something that vinegar can’t — it adds brightness without adding liquid. A fine grating over the top of the bowl right before serving makes everything taste more like itself.
Swaps That Actually Work
- Gluten-Free: Skip the flour and toss the beef in cornstarch before searing. At the end of cooking, mix 1 tablespoon of cornstarch with 2 tablespoons of cold water and stir it in. Simmer for a few minutes until the broth thickens.
- No Wine: Use an extra cup of beef broth and add 1 tablespoon of red wine vinegar at the end for acidity.
- Mushroom Version: Sauté 8 oz of cremini mushrooms in a separate pan and add them with the potatoes. My sister-in-law makes it this way and it’s the version my mushroom-loving friends always request.
- Slow Cooker: Do all the stovetop steps (searing, deglazing, caramelizing the tomato paste) and then transfer everything to a slow cooker. Cook on low for 8 hours. Add the potatoes in the last 2 hours.
Questions I Get About This Recipe All the Time
Q: Why did my beef turn out tough instead of tender?
A: I’ve been there and it is frustrating. The most common cause is not cooking it long enough. Chuck roast needs time for the connective tissue to break down — that happens around the 2-hour mark. The second most common cause is boiling the broth instead of simmering it. High heat tightens the muscle fibers. Keep it at a gentle bubble, not a rolling boil.
Q: Can I make this dairy-free or gluten-free?
A: It’s naturally dairy-free as written. For gluten-free, use cornstarch instead of flour for tossing the beef and make the slurry at the end. I have tested both versions and they work perfectly.
Q: How long does this stew last? Can I freeze it?
A: It lasts 4 days in the fridge in an airtight container. Yes, you can freeze it for up to 3 months. Thaw overnight in the fridge and reheat on the stovetop over low heat. If I know I’m freezing it, I add the potatoes fresh when reheating because their texture is better that way.
Q: What do you serve with beef stew?
A: I am a crusty bread person through and through. A thick slice of sourdough toasted in olive oil and rubbed with garlic is my ideal. My kids prefer it over egg noodles, and my husband likes it with a simple side salad dressed in lemon and olive oil to cut the richness.
More Recipes My Family Makes on Repeat
If this stew finds its way into your regular rotation, here are a few others that get the same reaction at our table:
- Best Ever Chicken Pot Pie — The one with the flaky puffed pastry top that my six-year-old calls “the best dinner ever.”
- Slow Braised Short Ribs — For the weekend when you want the same deep flavor with even less effort.
- My Grandmother’s Buttermilk Biscuits — The only acceptable vehicle for leftover stew gravy, in my opinion.
Take the photo before you serve it. The dark broth against the white bowl and the bright green peas at the top is the whole mood of November in a single frame. If you make it, drop a comment below and tell me how it turned out — I genuinely love hearing about it.
📌 This old fashioned beef stew recipe with the deep, rich gravy is the only one you need when the weather turns cold — save it for your first cozy weekend of the season.
Old Fashioned Beef Stew That Tastes Like You Spent All Day (You Mostly Just Need a Good Pot)
Equipment
- 6-quart Dutch oven or heavy-bottomed pot with lid
- Tongs
- Wooden Spoon
Ingredients
- 3 lbs beef chuck, cut into 1.5-2 inch cubes
- 3 tbsp all-purpose flour
- 3 tbsp neutral oil (avocado or canola)
Aromatics
- 1 large yellow onion, diced
- 3 large carrots, peeled and cut into 1-inch pieces (divided)
- 2 stalks celery, diced
- 4 cloves garlic, minced
Liquid & Seasonings
- 1/4 cup tomato paste
- 1 cup dry red wine (Merlot, Cabernet Sauvignon, or red blend)
- 4 cups low-sodium beef broth
- 2 sprigs fresh thyme
- 1 bay leaf
- 1.5 lbs Yukon Gold potatoes, peeled and cut into 1-inch pieces
- 1 cup frozen peas (optional)
For serving
- Fresh parsley, chopped
- Lemon zest (fine grating)
Instructions
- Pat beef cubes dry with paper towels. Season generously with kosher salt and black pepper, then toss with flour. Heat oil in Dutch oven over medium-high heat. Add beef in a single layer (work in batches if needed) and sear undisturbed for 3-4 minutes until deep brown crust forms. Flip and repeat. Transfer seared beef to a plate.
- Reduce heat to medium. Add onion, half the carrots, and celery to the pot. Cook for 5-6 minutes until onion is translucent. Add garlic and cook 30 seconds.
- Push vegetables to sides of pot. Add tomato paste in the center and let it sizzle for 1-2 minutes, stirring constantly, until it darkens and smells slightly sweet.
- Pour in red wine and scrape up browned bits from bottom of pot. Let wine simmer for 2-3 minutes until reduced slightly and alcohol smell dissipates.
- Return beef (and any juices) to pot. Add beef broth, thyme sprigs, and bay leaf. Bring to a gentle simmer (small bubbles, not rolling boil). Cover and transfer to 325°F oven. Cook undisturbed for 1 hour 45 minutes.
- Remove pot from oven. Stir in potatoes and the remaining carrots. Return to oven, uncovered, for 30-35 minutes until potatoes are tender and broth has thickened slightly.
- Remove thyme sprigs and bay leaf. Stir in frozen peas (if using) and let warm through. Taste and adjust salt and pepper. Ladle into bowls and top with fresh parsley and a fine grating of lemon zest.
Notes
Related Recipes:
 Cheesy Hamburger Casserole Bake That’s Ready in 40 Minutes (No Canned Soup Here)
 Creamy Garlic Tagliatelle That Looks Like a Restaurant Dish in 20 Minutes
 Texas Roadhouse Style Baked Salmon with Sweet and Savory Glaze — Ready in Under 30 Minutes
 Easy Italian Meatloaf That’s Actually Juicy (Not Dry) — in 1 Hour
 The Biscuits and Gravy Casserole That’s Actually Crispy on Top (And Ready in 40 Minutes)
 Air Fryer Chicken and Vegetables That Don’t Taste Like a Regret (30 Minutes, One Pan)