
Every batch of refrigerator pickles I made for two summers came out… fine. Edible, sure. But that sad, soft crunch (or lack thereof) was a far cry from the snappy, cold bite I was chasing. The kind you get at a deli counter, where you hear the crack from across the room. I wanted that. After some very specific testing (and one jar that I’m pretty sure spawned a new form of life), this is the formula that finally delivers the crunch.
The short version: A quick salt soak draws out excess moisture, the brine is balanced just right, and you end up with pickles that actually snap when you bite into them.
I’ve made this about 15 times in the last two summers. My neighbor texted me the recipe after I brought a jar to a block party. That’s the real test.
- Serves: Makes 1 quart jar
- Hands-On Time: 15 min | Total Time: 24 hrs (for best flavor)
- Difficulty: Easiest thing you’ll make this week
- Cost per serving: ~$2.50 (depending on cucumber season)
- Calories: ~10 per serving (it’s a pickle!)
- Dietary Notes: Naturally vegan, gluten-free, dairy-free
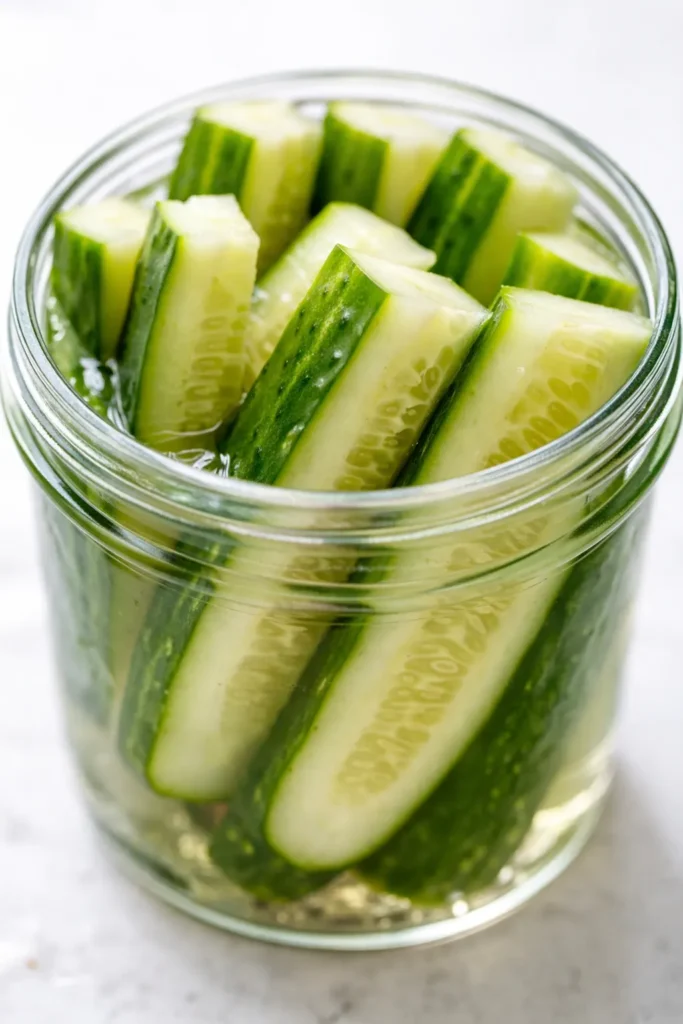
(Photo above: a wide-mouth quart jar packed tight with dill, garlic, and perfectly pebbled pickles, submerged in a clear, peppercorn-studded brine. Shot on a worn wooden countertop, late afternoon light catching the condensation on the glass.)
The Two-Step Trick That Keeps the Crunch
Most recipes skip the most important part: treating the cucumbers before they hit the brine. If you want that snappy, deli-style bite, you need to draw out excess water before sealing the jar. A quick salt soak does exactly that—it pulls out moisture so the cucumbers stay firm and dense instead of diluting the brine and turning soft. I tried skipping this step exactly once. I will not be skipping it again.
The second thing is trimming the blossom end. The blossom end of a cucumber has an enzyme that actively breaks down pectin, which is what gives the veg its structural integrity. Cut it off, and the pickles stay crisp. Leave it on, and they go mushy from the inside out. It’s a tiny knife cut that makes a massive difference.
Together, these two steps transform standard refrigerator pickles into something that actually tastes like it came from a proper deli counter, not just a cucumber that took a bath in vinegar.
What Goes In (Plus a Few Notes From Me)
- 1 lb Kirby cucumbers (or Persian): These are the non-negotiables for crunch. English hothouse or waxed grocery store cucumbers will be disappointingly soft. Kirbys are the pickling standard for a reason. I’ve tested this, and the texture difference is immediate.
- 1 tbsp kosher salt, divided: The first half draws out the water. The second half seasons the brine. Don’t swap in fine table salt here—it dissolves way faster and the timing gets weird.
- 1 cup distilled white vinegar: It’s neutral, sharp, and lets the dill do the talking. Apple cider vinegar works in a pinch but will change the flavor profile entirely.
- 1 cup water: Filtered or tap, just not distilled water with no minerals. You want a bit of character in the brine.
- 1 tbsp sugar: Balances the acid. Not enough to make them sweet, just enough to round the edge off the vinegar.
- Fresh dill (a big handful): Dill is the backbone. If you only have dried, use 1 tbsp but it’s genuinely not the same. The fresh dill makes the jar look better, too.
- 2 cloves garlic, smashed: One clove is a whisper. Two is a statement. Smashing it releases more flavor than slicing.
- 1 tsp black peppercorns: Whole, not ground. Ground pepper makes the brine look muddy. Whole peppercorns look intentional.
- Pinch of red pepper flakes (optional): For the kind of heat that registers as a question, not a demand. My kids tolerate this level of heat just fine.
What to Pull Out Before You Start
- A 1-quart wide-mouth mason jar (wide mouth is key for packing)
- A small bowl or colander for the salt soak
- A saucepan for the brine
- A cutting board and a sharp knife
Let’s Make Them (Step by Step)
This goes fast. The hardest part is waiting 24 hours to open the jar.
- Prep the cucumbers: Wash and dry the cucumbers. Trim off the blossom end (the tip opposite the stem) and discard it. Slice into spears or rounds, depending on your preference. Spears are great for sandwiches, rounds for burgers.
- Salt the cucumbers: Toss the sliced cucumbers with half the kosher salt (1/2 tbsp) in a colander. Let them sit for 30–60 minutes. This is the crunch step. Don’t skip it. You’ll see liquid pooling at the bottom—that’s excess water leaving the cucumbers. (📸 Photo tip: Cucumber spears glistening with salt in a colander, a small puddle of liquid collecting at the bottom.)
- Rinse and dry: Rinse the salt off the cucumbers thoroughly under cold water. Pat them very dry with a clean kitchen towel or paper towels. Even if you’re not sensitive to salt, rinsing is important for the final texture.
- Make the brine: In a small saucepan, combine the distilled white vinegar, water, sugar, and remaining 1/2 tbsp kosher salt. Bring to a simmer over medium heat, stirring until the sugar and salt dissolve completely. Remove from the heat and let it cool for 5 minutes. Warm brine infuses faster than cold brine, but you don’t want it boiling hot when it hits the cucumbers.
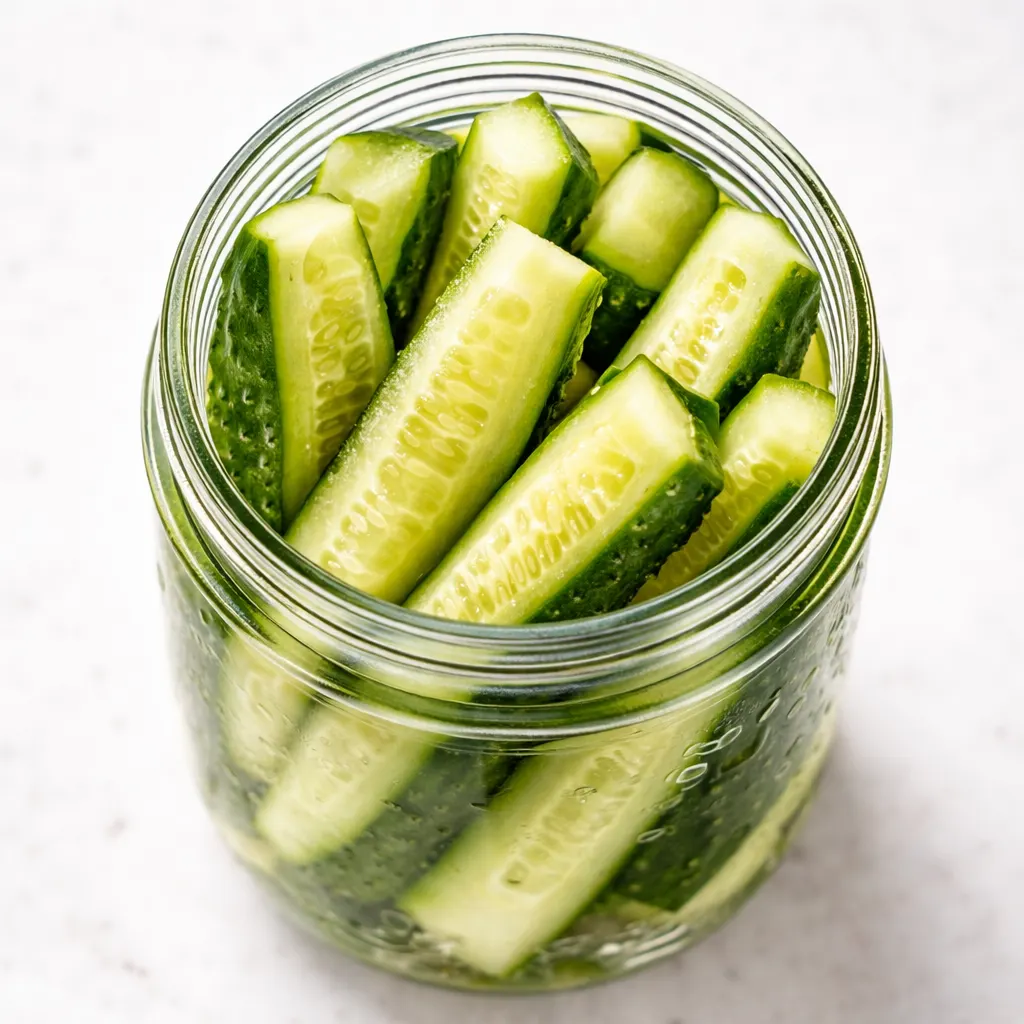
- Pack the jar: Layer the cucumber spears, fresh dill, smashed garlic cloves, black peppercorns, and red pepper flakes (if using) into the quart jar. Pack them vertically for maximum density and to keep them submerged. (📸 Photo tip: Vertical packing of spears in the jar for maximum density, dill tucked down the sides.)
- Pour the brine: Pour the warm brine over the cucumbers, covering them completely. Leave about 1/2 inch of headspace at the top. Use a spoon to tap out any air bubbles.
- Chill: Seal the jar with the lid, let it cool to room temperature on the counter (about 30 minutes), then transfer it to the refrigerator. Wait 24 hours before opening. The longer they sit, the deeper the flavor goes. They’ll keep for 4–6 weeks.
The Batch-Cooking Version
I make a double batch of these every other Sunday during cucumber season. They go fast in my house—on sandwiches, salads, or just eaten straight from the jar as a snack. The hardest part is leaving them alone for a full day.
- Fridge: Store in an airtight jar for 4–6 weeks. Make sure the cucumbers stay fully submerged in the brine.
- Freezer: Not recommended. The brine separates and the cucumbers turn to mush.
- Reheat: These are cold pickles! Straight from the fridge. Don’t heat them.
Things I Wish I’d Known the First Time
- Don’t skip the salt soak. I know it’s an extra step. I know it adds 30 minutes. It is the single difference between a crunchy pickle and a sad, limp one. Even if you mess up the rest of the brine, that salt soak will save you.
- Pack the jar vertically. Standing the spears upright means you can fit more in, and they stay submerged in the brine. Horizontal packing leaves air gaps and floating cucumbers.
- Trim the blossom end. I know I’ve said this twice already. That’s because I forgot to do it once and ended up with a jar of soft pickles. Learn from my mistakes, not your own.
- Taste the brine before pouring. It should taste very pickly—almost too strong on its own. That’s a good sign. Adjust salt, sugar, or acid to your preference before it goes in the jar. You can’t fix it after.
Make It Yours
- Spicy Garlic: Add a sliced serrano or habanero to the jar along with the garlic. This is my preferred version for Bloody Marys.
- Dill + Mustard Seed: Add 1 tsp of mustard seeds and 1/2 tsp of coriander seeds for a more traditional deli-style brine. The mustard seeds add a subtle heat that builds as they sit.
- Bread & Butter Style: Swap the dill for 1 tsp turmeric, increase the sugar to 1/4 cup, and slice cucumbers into thin coins. My kids love this version on burgers.
- Low-Sodium: Use a salt alternative and be more generous with the dill and garlic to compensate for the lower sodium. The texture will still be there.
Questions I Get About Pickles All the Time
Q: Why did my pickles turn out soft?
A: Ugh, I’ve been there. It’s usually one of three things: you skipped the salt soak, you used the wrong type of cucumber (hothouse/English are too watery), or you didn’t cut off the blossom end. That tiny end contains an enzyme that actively breaks down the structure. Trim it next time and I promise you’ll get a better result.
Q: Can I use apple cider vinegar?
A: Yes, but it will change the flavor quite a bit. White vinegar gives you that classic, clean deli taste. ACV adds a fruity, funky note that some people love. I’d stick with white for your first batch and experiment from there.
Q: How long do these last?
A: 4–6 weeks in the fridge, easily. The flavor actually deepens after the first 3 days. Just make sure the cucumbers stay fully submerged in the brine. If they start peeking above the liquid line, push ’em down or eat those first.
Q: What do you eat these with?
A: Everything. Sandwiches, burgers, cheese boards, or straight out of the jar at 11pm. On a hot day, I chop one into a tuna salad. It’s the textural star. My kids love them alongside a grilled cheese.
More Recipes My Family Makes on Repeat
If you liked this one, here are a few others that get the same reaction at our table:
- [INTERNAL LINK PLACEHOLDER: Quick Spicy Kimchi] — Fermented in 3 days, lives on everything from rice bowls to hot dogs.
- [INTERNAL LINK PLACEHOLDER: Perfect Deviled Eggs] — The other essential for picnics, potlucks, and backyard barbecues.
- [INTERNAL LINK PLACEHOLDER: Herby Tzatziki Sauce] — The cooling dip that uses up the rest of that dill bunch you bought for the pickles.
If you’re tired of soft, disappointing pickles, this recipe is your reset. Make a jar this weekend, stick it in the back of the fridge, and forget about it for a day. When you pull it out, that first crunch will tell you everything you need to know.
Drop a comment below if you made them — I love hearing which variation you tried.
📌 This crunchy refrigerator pickles recipe sits overnight and delivers the perfect deli-style bite every time — save it for your next burger night or summer gathering.
Refrigerator Pickles That Stay Crunchy — Finally
Equipment
- Wide-mouth quart mason jar
- saucepan
- Cutting board
- Sharp Knife
- Colander
Ingredients
- 1 lb Kirby cucumbers (or Persian)
- 1 tbsp kosher salt, divided
- 1 cup distilled white vinegar
- 1 cup water
- 1 tbsp sugar
- 1 handful fresh dill
- 2 cloves garlic, smashed
- 1 tsp black peppercorns
- 1 pinch red pepper flakes (optional)
Instructions
- Wash and dry the cucumbers. Trim off the blossom end (the tip opposite the stem) and discard it. Slice into spears or rounds.
- Toss the sliced cucumbers with half the kosher salt (1/2 tbsp) in a colander. Let them sit for 30–60 minutes. You’ll see liquid pooling at the bottom — that’s excess water leaving the cucumbers.
- Rinse the salt off the cucumbers thoroughly under cold water. Pat them very dry with a clean kitchen towel or paper towels.
- In a small saucepan, combine the distilled white vinegar, water, sugar, and remaining 1/2 tbsp kosher salt. Bring to a simmer over medium heat, stirring until the sugar and salt dissolve completely. Remove from the heat and let it cool for 5 minutes.
- Layer the cucumber spears, fresh dill, smashed garlic cloves, black peppercorns, and red pepper flakes (if using) into the quart jar. Pack them vertically for maximum density.
- Pour the warm brine over the cucumbers, covering them completely. Leave about 1/2 inch of headspace. Use a spoon to tap out any air bubbles.
- Seal the jar with the lid, let it cool to room temperature on the counter (about 30 minutes), then transfer to the refrigerator. Wait 24 hours before opening. Store for 4–6 weeks.
Notes
Related Recipes:
 The Perfectly Pillowy Chocolate Chip Milk Buns (Tangzhong Method)
 Cheesy Hamburger Casserole Bake That’s Ready in 40 Minutes (No Canned Soup Here)
 Texas Roadhouse Style Baked Salmon with Sweet and Savory Glaze — Ready in Under 30 Minutes
 Moist Lemon Zucchini Bread with a Crunchy Lemon Sugar Top
 Strawberry Shortcake Rice Krispie Treats That Actually Taste Like Shortcake — Ready in 15 Minutes
 Blueberry Oatmeal Cookies That Stay Soft for Days — in Under 30 Minutes