
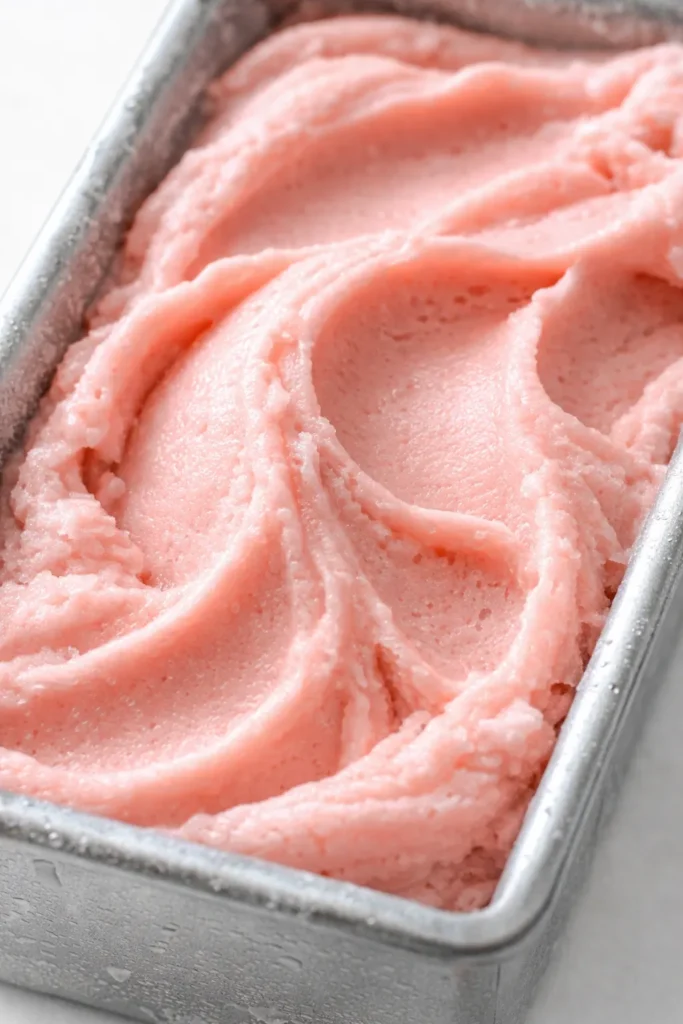
That first spoonful when the ice cream tastes exactly like a perfect slice of watermelon, but it’s creamy instead of icy? That’s the moment I knew I’d cracked the code. For years I made sad, crystalline blocks that looked beautiful in the photo but melted into sad puddles on the tongue. This version changed everything—no ice cream maker required, no weird stabilizers, and it stays scoopable straight from the freezer. It’s the dessert I bring to every July cookout and the one friends text me about weeks later. The secret is a tiny trick that costs nothing and takes thirty seconds. Honestly, I’m a little embarrassed it took me this long to figure out.
The short version: Five ingredients, twenty minutes of work, and the creamiest watermelon ice cream you’ll have this summer.
I’ve made this at least a dozen times across three seasons now, and every batch gets that wait what’s this? reaction. My go-to for backyard dinners when you want a dessert that feels lighter than it actually is.
- Serves: 8 (as a generous scoop) or about 1 quart
- Hands-On Time: 20 min | Total Time: 6 hr (includes freezing)
- Difficulty: So easy you’ll text the recipe to three people before it freezes
- Cost per serving: ~$1.50
- Calories: ~180 per serving
- Dietary Notes: Naturally gluten-free; easily vegan-adaptable
(Photo above: an overhead shot of two scoops of pale pink ice cream in a low white bowl, fresh mint leaves scattered around, a slice of watermelon on the side, morning sunlight hitting the table from the left.)
The Trick That Keeps Watermelon Ice Cream Creamy (Not Icy)
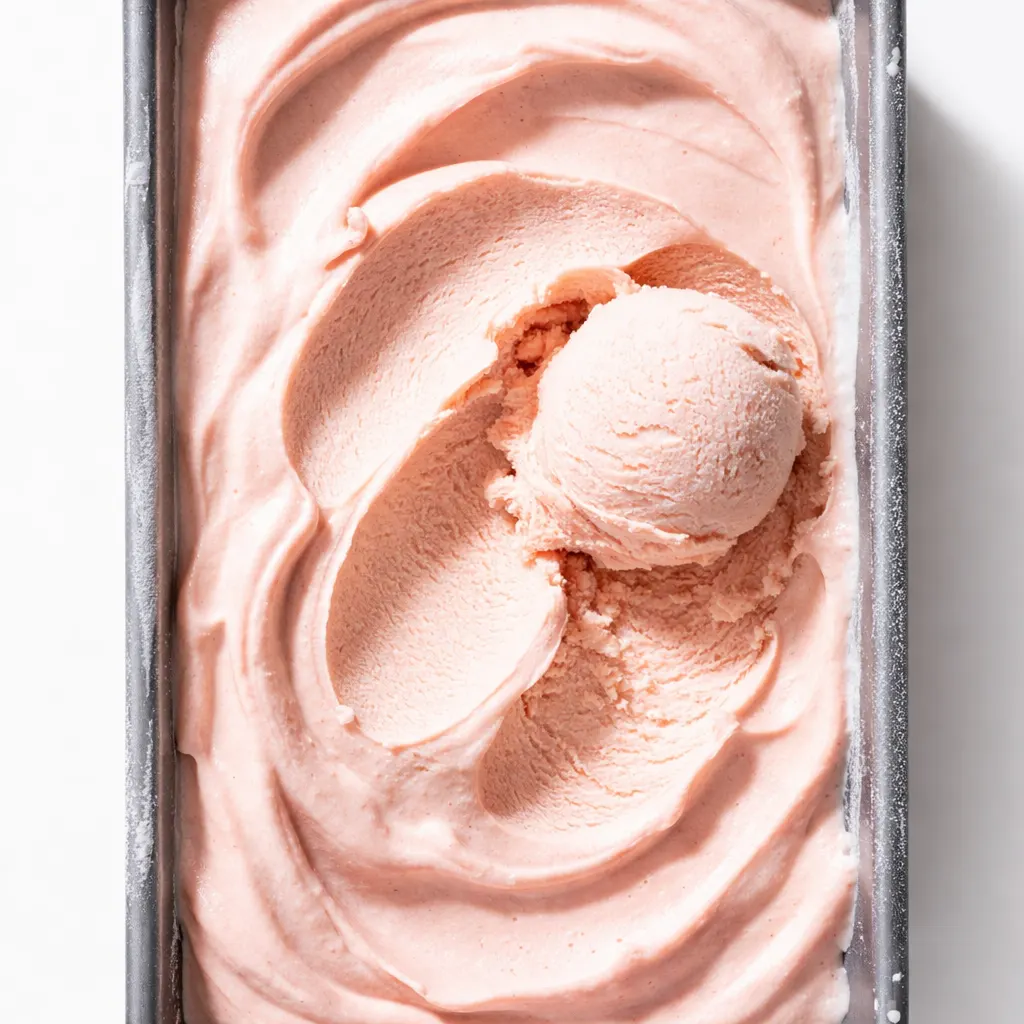
Watermelon is 92% water. Treat it like juice and you end up with a rock-hard block of ice crystals. The fix is two-fold: a fat base that prevents the water from freezing into sharp shards, and a whisper of vodka or corn syrup that lowers the freezing point just enough to keep everything scoopable. The vodka vanishes during freezing—no flavor, just chemistry that works in your favor. I use a can of sweetened condensed milk because it adds both sweetness and that dense, silky texture that makes homemade ice cream feel like a treat. And the heavy cream? It gives you the luscious body that puree alone can’t provide. Skip these and you’ll be disappointed. Follow them and you get that perfect pink spoonful that tastes purely of watermelon but feels like a proper ice cream.
One more thing: don’t drain the watermelon juice off your puree. That vibrant red liquid is where the flavor lives. Keep it.
What Goes In – Plus My Honest Notes
- 3 cups seedless watermelon puree (from about 4–5 cups cubed watermelon): Use a ripe, sweet melon. Taste before you blend – if it’s not sweet enough, add a splash of simple syrup or an extra tablespoon of condensed milk later. I once used a bland watermelon and the ice cream was just… sad. Save yourself the heartache.
- 1 (14-ounce) can sweetened condensed milk: This is your body and sweetness in one. Full-fat is non-negotiable for texture; I’ve tried low-fat and the ice cream gets icy. Trust me on this one.
- 2 cups heavy cream (cold): Whips into soft peaks and then folds in like a cloud. Don’t swap for half-and-half or you’ll lose the creamy payoff.
- 1 tablespoon vodka or light corn syrup: This is the game-changer. Vodka’s alcohol inhibits large ice crystals; corn syrup does something similar with sugar structure. You can’t taste it, I promise. I’ve had the most skeptical friends try it blind.
- Pinch of flaky sea salt (like Maldon): Brightens the watermelon flavor and balances the sweetness. Don’t skip this – salt is not just for savory.
The Tools You’ll Actually Need
- Blender or food processor (for the watermelon puree)
- Large mixing bowl and a hand mixer (or a stand mixer with the whisk attachment)
- Fine-mesh strainer (optional but helpful for a smoother texture – I only bother if I’m serving guests)
- 9×5-inch loaf pan or shallow freezer-safe container (shallow = freezes faster = creamier)
- Plastic wrap and a little patience
Let’s Make It (Step by Step)
This moves quickly once you start, so read through once before you pull out the blender. I like to measure everything first – then it’s just a matter of folding and pouring.
First: Chill your base: Put your loaf pan in the freezer to get cold while you work. Cold metal = faster freezing = less ice.
- Puree the watermelon: Cube about 4 cups of seedless watermelon (rind removed) and blitz in a blender until completely smooth. Strain through a fine-mesh sieve if you want a perfectly silky texture (I usually skip it, but it’s your call). Measure out exactly 3 cups of puree. (📸 Photo tip: You should see a vivid pink liquid with no chunks left – that’s your starting canvas.)
- Mix the base: In a medium bowl, whisk the watermelon puree with the sweetened condensed milk, vodka (or corn syrup), and salt until smooth. It will look like a thin pink milkshake. Set aside.
- Whip the cream: In a large bowl, whip the cold heavy cream to soft peaks – when you lift the beaters, the cream holds a soft bend, not a stiff point. Over-whipping turns it into butter, which sounds fun until you have to redo it. This takes about 2 minutes with a hand mixer. (📸 Photo tip: The cream should look billowy and just barely hold its shape – think clouds, not meringue.)
- Fold them together: Gently fold the watermelon mixture into the whipped cream. Use a spatula and a gentle hand – cut through the center, lift from the bottom, turn the bowl. You want streaks gone but don’t deflate the cream. It should look like a fluffy pink mousse.
- Pour and freeze: Scrape the mixture into your cold loaf pan. Smooth the top. Press a sheet of plastic wrap directly onto the surface (this prevents ice crystals from forming on top). Place in the freezer for at least 6 hours – overnight is better. I’ve been impatient before and it was fine after 5, but 6 is where the texture locks in.
- Serve: Take the pan out about 5–10 minutes before you scoop. Run your scoop under hot water for clean scoops. The texture should be creamy, sliceable, and perfectly scoopable – not rock hard.
How I Meal Prep This for the Week
I make the base and get it in the freezer by lunchtime. By dinner it’s ready, and leftovers keep perfectly for over a week. The only thing I’d warn: don’t let it sit at room temperature too long or it melts fast (watermelon ice cream melts faster than custard-based ones – that’s the nature of the beast).
- Fridge: Not applicable – keep frozen.
- Freezer: Yes. Store covered tightly (plastic wrap + lid or foil). Keeps for up to 2 weeks. After that it starts to ice up slightly, but a quick spin in a food processor can revive it as a soft-serve-ish treat.
- Reheat: Not a thing here. Just let it sit out 5–10 minutes before scooping. If it’s too hard after a week, microwave for 8 seconds – but honestly, the best scoop is after a short rest.
Things I Wish I’d Known the First Time
- Don’t drain the watermelon juice. When you cube the watermelon, the liquid that pools on the cutting board is pure flavor and natural sugar. Throw it in the blender with the cubes. I know it seems watery, but it’s what gives the ice cream that intense melon finish.
- Over-whipping the cream is the only real danger. If it goes stiff, you can still rescue it by adding a tablespoon of unwhipped cream and folding gently. But soft peaks are way safer. Watch it like a hawk after 1.5 minutes.
- Use a shallow pan, not a deep one. Deeper containers freeze slower, which means bigger ice crystals. I use a standard 9×5 loaf pan and it’s perfect. If you use a tall deli container, expect a longer freeze time.
- Taste the puree before adding the condensed milk. Watermelons vary wildly in sweetness. If your melon is stellar, the full can of condensed milk might be too sweet – you can always use 3/4 of the can and top up with a tablespoon of plain yogurt or milk to keep the volume. I’ve done it, works fine.
- Let it sit out before serving. This is the single most important tip for texture. Five minutes on the counter makes the difference between a rock you can’t scoop and a dreamy spoonful. I’ve forgotten and chipped a scoop – learn from me.
Swaps That Actually Work
- Vegan / Dairy-Free: Replace the heavy cream with full-fat coconut cream (chilled overnight, use only the solid part) and use a can of condensed coconut milk (like Nature’s Charm brand). The coconut flavor is subtle and works beautifully with watermelon. I make this version for my lactose-intolerant friend and she brings her own pint to parties now.
- Lower Sugar: Use just 3/4 of the condensed milk and add a teaspoon of vanilla extract to fill out the flavor. The texture may be slightly less creamy, but it’s still good – I’ve tested it for my mom who is diabetic.
- Spicy Kick: Add a pinch of cayenne or Tajín to the puree. That sweet-heat combo with the cold cream is chef’s kiss. I do this when it’s just for adults after the kids are in bed.
- Lime + Mint: Add 2 tablespoons fresh lime juice and 2 tablespoons finely chopped mint to the puree. It brightens everything and makes it taste like a watermelon-lime sorbet hybrid. This version gets requested more than the original in my house, honestly.
- No alcohol version: Substitute the vodka with light corn syrup or honey (if okay with flavor). The corn syrup gives the same anti-freeze effect without changing taste. I’ve done it for kids’ parties and it works perfectly.
Questions I Get About This Recipe All the Time
Q: Why did my ice cream turn out rock hard and icy?
A: Ugh, I’ve been there. Most likely you either didn’t use enough fat (check that you used heavy cream and full condensed milk) or you skipped the vodka/corn syrup. Also, if your freezer is super cold (like below 0°F), the ice cream may freeze harder – just let it sit out 10 minutes instead of 5. Or you might have over-whipped the cream? That one’s rarer, but the fix is the same: give it time to soften.
Q: Can I make this with frozen watermelon?
A: Yes! Thaw the frozen cubes first, then puree. The texture will be a bit more watery, so you might want to reduce the puree to 2 3/4 cups and add 1/4 cup of a thickener like Greek yogurt or extra condensed milk. I’ve done it in winter when local watermelons are sad and it still works, just not quite as bright-tasting.
Q: How long does this ice cream last? Can I freeze it?
A: About 2 weeks in the freezer if well-covered (press plastic wrap directly on the surface and then lid or foil). After that it starts to form ice crystals and loses some creaminess. You can revive the leftovers by letting them soften slightly and then re-whipping with a spoon – but honestly, it never lasts that long in my house. For reheating, just let it sit out 5–10 minutes. Don’t microwave unless you want soup.
Q: What do you serve with watermelon ice cream?
A: I love it three ways: plain with a sprinkle of flaky salt (it’s my go-to), or with a scoop of fresh berries and a shortbread cookie for crunch, or drizzled with a little balsamic reduction if I’m feeling fancy. My friends always ask for a mint leaf on top – it makes the pink pop. And truthfully? A splash of Prosecco poured over the top for a boozy float is insane and I’m not sorry about it.
More Recipes My Friends Request on Repeat
If you loved this one, here are a few others that get the same reaction at our table:
- No-Churn Peach Ice Cream — Creamier than anything you’ll buy, and it uses up those peak-summer peaches.
- Watermelon Lime Agua Fresca — The perfect drink to serve alongside this ice cream – takes 5 minutes and looks gorgeous in a pitcher.
- Easy Berry Sorbet — Another no-churn, no-machine fruit ice cream that tastes like pure summer.
If you try this watermelon ice cream, drop a comment below – I love hearing how it goes for you! And tag me on Pinterest or Instagram so I can see your beautiful scoops.
📌 Watermelon ice cream recipe that stays creamy and never icy – save this for your next backyard barbecue or hot evening when only something cold and pink will do.
No-Churn Watermelon Ice Cream That’s Actually Creamy
Equipment
- Blender or food processor
- Large Mixing Bowl
- Hand mixer or stand mixer with whisk
- Fine-mesh strainer (optional)
- 9×5-inch loaf pan or shallow freezer-safe container
- Plastic wrap
Ingredients
Watermelon Base
- 3 cups seedless watermelon puree (from about 4-5 cups cubed watermelon)
- 1 (14-ounce) can sweetened condensed milk
- 1 tablespoon vodka or light corn syrup
- 1 pinch flaky sea salt (like Maldon)
For Whipping
- 2 cups heavy cream, cold
Instructions
- Chill your loaf pan in the freezer while you prepare the base. Cold metal = faster freezing = less ice.
- Cube about 4 cups of seedless watermelon (rind removed) and blitz in a blender until completely smooth. Strain through a fine-mesh sieve if you want a perfectly silky texture (I usually skip it, but it’s your call). Measure out exactly 3 cups of puree.
- In a medium bowl, whisk the watermelon puree with the sweetened condensed milk, vodka (or corn syrup), and salt until smooth. It will look like a thin pink milkshake. Set aside.
- In a large bowl, whip the cold heavy cream to soft peaks – when you lift the beaters, the cream holds a soft bend, not a stiff point. Over-whipping turns it into butter, which sounds fun until you have to redo it. This takes about 2 minutes with a hand mixer.
- Gently fold the watermelon mixture into the whipped cream. Use a spatula and a gentle hand – cut through the center, lift from the bottom, turn the bowl. You want streaks gone but don’t deflate the cream. It should look like a fluffy pink mousse.
- Scrape the mixture into your cold loaf pan. Smooth the top. Press a sheet of plastic wrap directly onto the surface (this prevents ice crystals from forming on top). Place in the freezer for at least 6 hours – overnight is better. I’ve been impatient before and it was fine after 5, but 6 is where the texture locks in.
- Take the pan out about 5–10 minutes before you scoop. Run your scoop under hot water for clean scoops. The texture should be creamy, sliceable, and perfectly scoopable – not rock hard.
Notes
Related Recipes:
 Cheesy Hamburger Casserole Bake That’s Ready in 40 Minutes (No Canned Soup Here)
 Texas Roadhouse Style Baked Salmon with Sweet and Savory Glaze — Ready in Under 30 Minutes
 Moist Lemon Zucchini Bread with a Crunchy Lemon Sugar Top
 Strawberry Shortcake Rice Krispie Treats That Actually Taste Like Shortcake — Ready in 15 Minutes
 Blueberry Oatmeal Cookies That Stay Soft for Days — in Under 30 Minutes
 Air Fryer Chicken and Vegetables That Don’t Taste Like a Regret (30 Minutes, One Pan)