
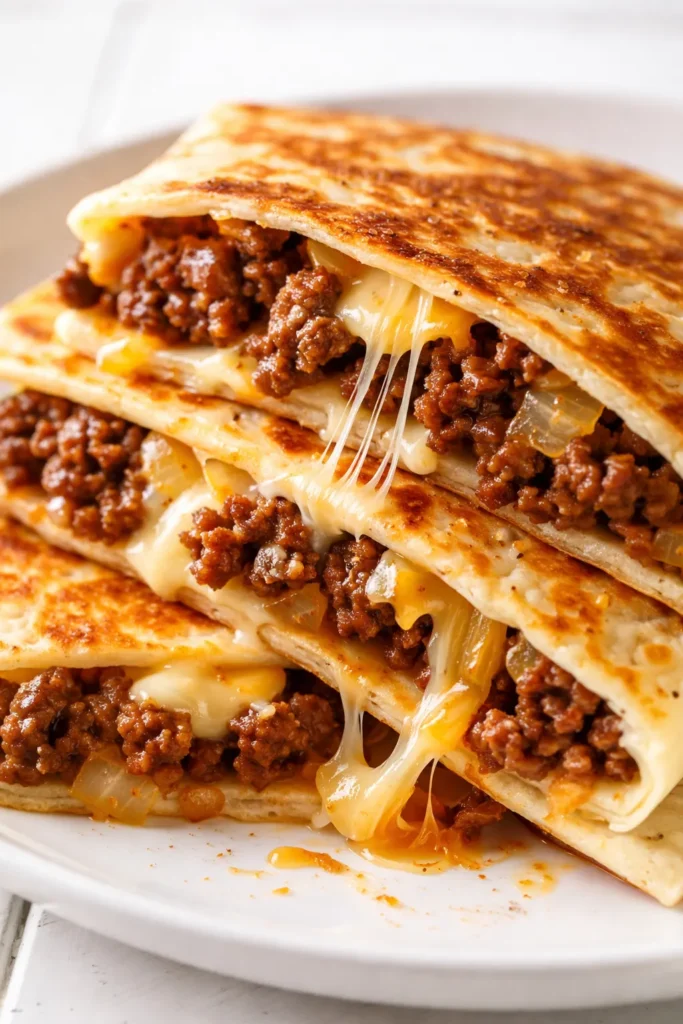
Let me tell you about the quesadilla that changed my mind about quesadillas. I know, it’s just a quesadilla. But most of them are soggy, or the filling slides out in one sad clump, or they’re greasy in a way that sits in your stomach. This one is perfectly crisp, the cheese is actually distributed so every bite has a pull, and the beef is seasoned enough to stand up to the tortillas. It’s the kind of thing I make for a late dinner when I want something fast that still feels like a real meal. Or for my nephew, who’s picky and deserves better than a frozen version.
The short version: These come together in 20 minutes, the beef is smoky and savory, and the cheese pull is genuinely dramatic.
I’ve made this three times in the last two weeks, which is the highest endorsement I can give anything. It’s become my default “I don’t want to think about dinner” dinner.
- Serves: 2 (or 4 as a snack)
- Hands-On Time: 15 min | Total Time: 20 min
- Difficulty: Easy — perfect for a weeknight
- Cost per serving: ~$4.00
- Dietary Notes: Naturally nut-free. Easily made gluten-free with corn tortillas.
(Photo above: a cross-section shot of the quesadilla on a slate board, showing the crispy brown tortilla and the molten cheese pull. A small bowl of salsa verde is on the side. Natural overhead light.)
The Secret to a Quesadilla That’s Actually Crispy (Not Soggy)
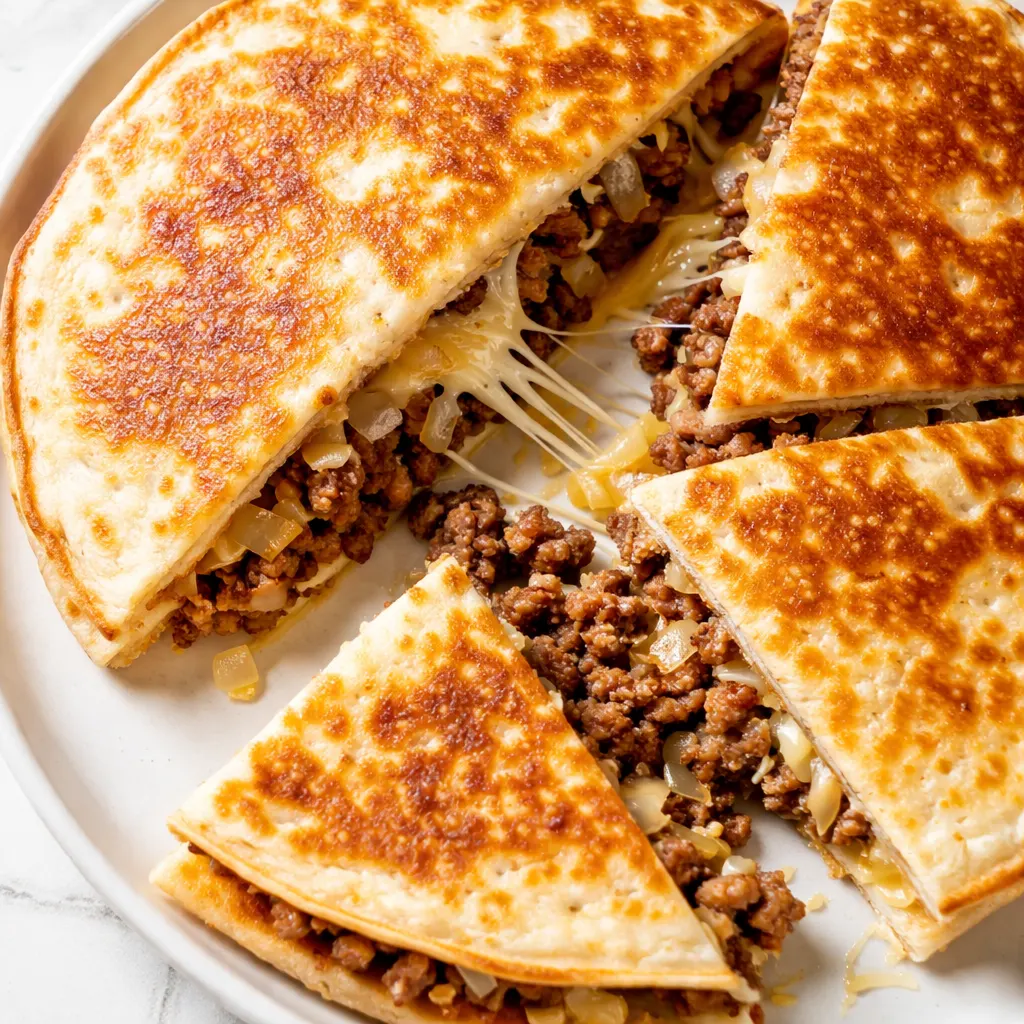
The enemy of a good quesadilla is moisture. Raw tomatoes, un-drained beef, too much cheese — yes, even too much cheese can make it greasy instead of crispy. Here’s what I do differently.
First, I cook the beef until it’s actually browned, not just gray. That browning is flavor, and it evaporates the excess moisture so it doesn’t steam the tortilla.
Second, I use a specific cheese ratio. A mix of a good melting cheese — Oaxaca, low-moisture mozzarella — and a sharp, flavorful cheese like white cheddar. The melt holds everything together. The sharpness makes the beef taste beefier.
Third, I drain the beef. Even after browning, there’s rendered fat. I tip the pan and soak it up with a paper towel. Sounds extra, I know. But it’s the difference between a quesadilla that reads as crisp and one that reads as oily.
Ingredients Worth Talking About
- 1 lb ground beef (85/15 or 80/20): The fat is flavor, but you’ll drain it. Don’t go leaner than 90/10 or it’ll be dry. I usually grab a pound from the butcher counter — the pre-packaged stuff is fine, but fresh tastes noticeably better here.
- 1/2 medium yellow onion, diced: Sautéed until translucent and sweet. My roommate swears she can taste the difference if I skip the onion. She’s right.
- 2 cups shredded Oaxaca or low-moisture mozzarella: The stretch factor. Shred it yourself if you can — pre-shredded has starches that stop it from melting into that single cohesive layer.
- 1 cup shredded sharp white cheddar: The flavor base. Don’t use orange cheddar here — white melts more smoothly and looks prettier against the beef.
- 4 large flour tortillas (burrito size): They hold up better to the filling. If using corn, go with two per quesadilla or they’ll fall apart.
- 2 tbsp butter or neutral oil (for the pan): Butter for flavor, oil for higher smoke point. I use butter. It’s a quesadilla. Live a little.
- Seasonings: 1 tsp cumin, 1 tsp smoked paprika, 1/2 tsp garlic powder, 1/2 tsp salt, 1/4 tsp black pepper. This mix works perfectly — it’s smoky, warm, and deeply savory. Adjust the salt based on your cheese (some cheeses are saltier than others).
For serving (optional, but highly recommended): Salsa verde, crema, pickled jalapeños, a squeeze of lime. The acid cuts the richness.
What to Pull Out Before You Start
- A 12-inch cast iron or non-stick skillet: Cast iron gives you a better sear. Non-stick is easier to clean. Both work.
- A spatula (preferably fish spatula): The thin edge gets under the quesadilla without tearing it.
- A paper towel-lined plate: For draining the beef. This matters more than you think.
- Cutting board and sharp knife: For slicing cleanly so the filling stays put.
Let’s Make It (Step by Step)
This all comes together fast, so have your ingredients prepped before you turn on the heat.
- Cook the aromatics: Heat a drizzle of oil in your skillet over medium heat. Add the diced onion and cook for 3-4 minutes until softened and translucent. Add a pinch of salt. (📸 Photo tip: The onions should look glassy, not browned — we’re building sweetness here, not char.)
- Brown the beef: Add the ground beef to the skillet. Break it up with a spatula. Let it sit undisturbed for 2-3 minutes to get a good sear, then break it apart and cook until no longer pink. This should take about 4-5 minutes total.
- Season & drain: Add the cumin, smoked paprika, and garlic powder. Stir to coat. Cook for 1 minute until fragrant. Tip the skillet and use a paper towel to soak up any excess rendered fat. Trust me on this one. Transfer the beef to a bowl and wipe out the skillet.
- Assemble the quesadillas: Place a tortilla flat on the counter. Sprinkle a thin layer of cheese (about 1/4 cup) on one half. Top with 1/4 of the beef mixture. Sprinkle with more cheese (the glue!). Fold the other half over. Repeat with the remaining tortillas.
- Cook the quesadilla: Return the skillet to medium heat. Add 1/2 tbsp butter. Swirl to coat. Place the quesadilla in the skillet. Cook for 2-3 minutes per side, until golden brown and the cheese is melted. (📸 Photo tip: You’re looking for deep, even brown spots — not pale tan. If it’s browning too fast, lower the heat.)
How I Meal Prep These for the Week
I make a double batch of the beef on Sundays. It keeps beautifully and makes weekday quesadillas a 5-minute assembly job. My secret: I season the beef generously because flavors dull in the fridge.
- Fridge: Cooked beef in an airtight container for up to 4 days.
- Freezer: Yes! Freeze the cooked beef flat in a zip-top bag for up to 3 months. Thaw overnight in the fridge.
- Reheat: Skillet is best for keeping the tortilla crispy. Microwave works in a pinch but the tortilla will be soft (still delicious, just different).
Things I Wish I’d Known the First Time
- Don’t overstuff. It’s tempting, but a too-full quesadilla falls apart in the pan. Stick to about 1/3 cup of filling per tortilla. It’ll feel like not enough. It is enough.
- Low heat is your friend. Medium-low gives the cheese time to melt completely while the tortilla gets golden. Too high and the outside burns before the inside melts.
- Let it rest for 30 seconds before cutting. This lets the cheese set slightly so the filling doesn’t spill out when you cut it. Patience, I know.
- Cut with a sharp knife, not a pizza cutter. Pizza cutters drag the filling out. A sharp knife gives you clean lines.
Swaps That Actually Work
- Dairy-Free: Use a good dairy-free cheddar shreds. Most melt better than they used to. I’ve tested this with my friend who can’t do dairy and it works. Add a tablespoon of nutritional yeast to the beef for that cheesy flavor.
- Gluten-Free: Corn tortillas are naturally gluten-free. Use two per quesadilla (double-stack) to prevent tearing. Or use your favorite GF flour tortilla.
- Spicy: Add 1/2 teaspoon of chipotle powder or ancho chili powder to the beef. Or toss in some pickled jalapeños with the cheese. I do the jalapeño version for the adults after bedtime.
- Black Bean & Corn: Reduce beef to 1/2 lb and add 1 cup drained black beans and 1/2 cup corn kernels. Works great for Meatless Monday.
- Breakfast: Skip the cumin and paprika, add a scrambled egg and some crispy bacon. It’s a weekend thing in my apartment.
Questions I Get About This Recipe All the Time
Q: Why did my tortilla get soggy?
A: Ugh, I’ve been there. Most likely it’s excess moisture from the beef. Make sure you’re draining the fat after browning. Also, don’t add raw tomatoes or salsa inside — serve it on the side for dipping.
Q: Can I make this with ground turkey or chicken?
A: Yes. Use 93/7 ground turkey. Add an extra tablespoon of oil when browning because turkey is leaner and can dry out. I’ve tested this and it works!
Q: How long do leftovers last? Can I freeze assembled quesadillas?
A: Cooked quesadillas last 2 days in the fridge in an airtight container. Reheat in a skillet for best texture. Yes, you can freeze the assembled (uncooked) quesadillas! Stack them with parchment paper between them, wrap tightly, and freeze for up to 2 months. Cook from frozen, adding a few minutes to the pan time.
Q: What do you serve with these?
A: A simple salsa verde and a side of black beans is my go-to. We love it with a crisp green salad dressed with lime vinaigrette. The acid cuts the richness of the cheese perfectly.
More Recipes My Friends Keep Asking For
If you liked this one, here are a few others that get the same reaction at my table:
- Crispy Black Bean Tacos — The oven does all the work, and they’re ready in 25 minutes.
- One-Pan Ground Beef Skillet — The no-fuss dinner that feels like a cozy hug.
- Easy Restaurant-Style Salsa — Skip the jarred stuff. This takes 5 minutes in the blender.
This is the quesadilla I make when I want something fast that doesn’t taste fast. It’s crispy, it’s cheesy, and the beef actually tastes like something. If you try it, drop a comment below — I love hearing how it goes for you!
📌 Cheesy ground beef quesadilla recipe that stays perfectly crispy — save it for your next weeknight dinner win.
Cheesy Ground Beef Quesadillas That Stay Crispy
Equipment
- 12-inch cast-iron or non-stick skillet
- Fish spatula
- Paper towel-lined plate
- Cutting board and sharp knife
Ingredients
For the beef filling
- 1 lb ground beef (85/15 or 80/20)
- 1/2 medium yellow onion, diced
- 1 tsp cumin
- 1 tsp smoked paprika
- 1/2 tsp garlic powder
- 1/2 tsp salt
- 1/4 tsp black pepper
For assembling
- 2 cups shredded Oaxaca or low-moisture mozzarella
- 1 cup shredded sharp white cheddar
- 4 large flour tortillas (burrito size)
- 2 tbsp butter or neutral oil
Instructions
- Cook the aromatics: Heat a drizzle of oil in your skillet over medium heat. Add the diced onion and cook for 3-4 minutes until softened and translucent. Add a pinch of salt.
- Brown the beef: Add the ground beef to the skillet. Break it up with a spatula. Let it sit undisturbed for 2-3 minutes to get a good sear, then break it apart and cook until no longer pink, about 4-5 minutes total.
- Season and drain: Add the cumin, smoked paprika, and garlic powder. Stir to coat. Cook for 1 minute until fragrant. Tip the skillet and use a paper towel to soak up any excess rendered fat. Transfer the beef to a bowl and wipe out the skillet.
- Assemble the quesadillas: Place a tortilla flat on the counter. Sprinkle a thin layer of cheese (about 1/4 cup) on one half. Top with 1/4 of the beef mixture. Sprinkle with more cheese (the glue!). Fold the other half over. Repeat with the remaining tortillas.
- Cook the quesadilla: Return the skillet to medium heat. Add 1/2 tbsp butter. Swirl to coat. Place the quesadilla in the skillet. Cook for 2-3 minutes per side, until golden brown and the cheese is melted. If browning too fast, lower the heat.
- Let the quesadilla rest for 30 seconds before cutting with a sharp knife. Serve immediately with salsa verde, crema, pickled jalapeños, and a squeeze of lime if desired.
Notes
Related Recipes:
 Cheesy Hamburger Casserole Bake That’s Ready in 40 Minutes (No Canned Soup Here)
 Creamy Garlic Tagliatelle That Looks Like a Restaurant Dish in 20 Minutes
 Texas Roadhouse Style Baked Salmon with Sweet and Savory Glaze — Ready in Under 30 Minutes
 Easy Italian Meatloaf That’s Actually Juicy (Not Dry) — in 1 Hour
 The Biscuits and Gravy Casserole That’s Actually Crispy on Top (And Ready in 40 Minutes)
 Creamy Rotel Pasta with Ground Beef That’s Ready in 30 Minutes (No Cans of Soup!)