
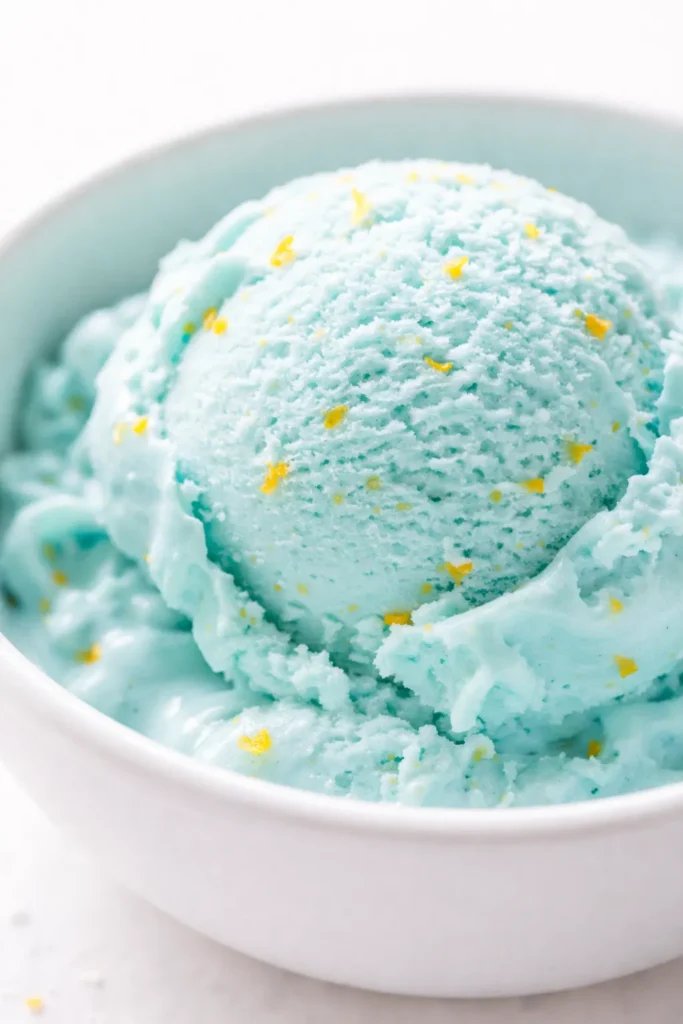
I first had Blue Moon at a tiny scoop shop outside Milwaukee, and I genuinely couldn’t tell if I loved it or was deeply suspicious of it. The color alone — that bright, unnatural cyan — felt like a dare. But the flavor? Sweet, almond-tinged, with this faint citrus thing happening that made me keep going back for another spoonful. It’s a Midwestern cult classic for a reason, and making it at home means you control exactly how that flavor lands. No artificial neon needed unless you want it (I’ll show you the natural version too). This is the only version I’ve made that actually delivers that specific, slightly floral, creamy-sweet nostalgia. My friends have started requesting it for dinner parties — and they’re still confused about what flavor it is. That’s the point.
The short version: This homemade Blue Moon Ice Cream captures that elusive almond-vanilla-citrus flavor without a box mix — in about 20 minutes of hands-on time.
I tested seven versions to get the exact right balance of almond extract and lemon zest. Seven. But now I make it every August.
- Serves: 1 quart (about 8 servings)
- Hands-On Time: 20 min | Total Time: 6 hours 30 min (includes chilling and freezing)
- Difficulty: Easy — no custard base, no eggs
- Cost per serving: ~$1.50
- Calories: ~280 per serving
- Dietary Notes: Vegetarian. Adaptable for gluten-free.
(Photo above: An overhead shot of two scoops of bright blue ice cream in a white ceramic bowl, a single star anise and a strip of lemon zest placed deliberately on the rim. Soft afternoon light from a window, a linen napkin folded underneath.)
What Makes This Blue Moon Ice Cream Taste Like *the* Blue Moon Ice Cream
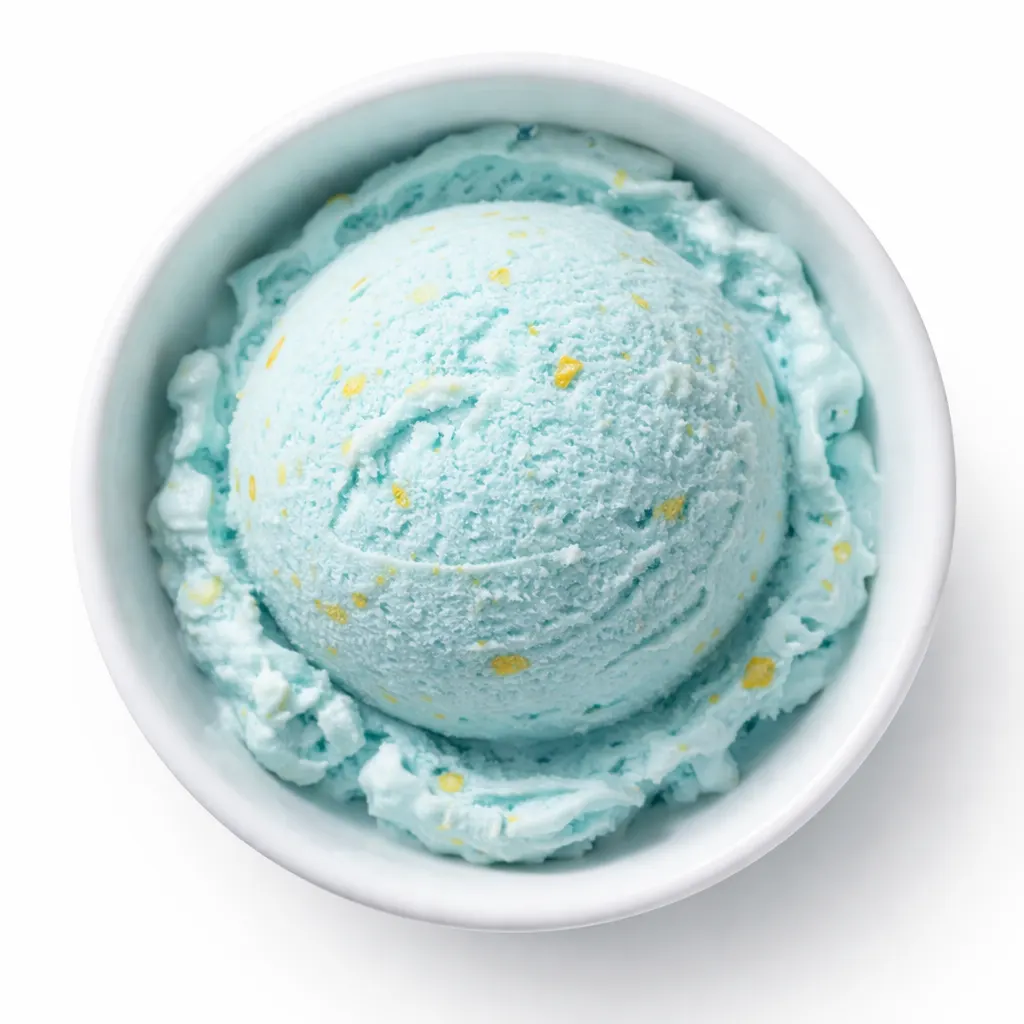
The secret is in the almond extract-to-vanilla ratio. Too much almond and it tastes like marzipan; too little and it’s just vanilla ice cream with food coloring. This version hits the exact point where the almond, vanilla, and citrus all meet and create a single, cohesive “what is that flavor?” vibe.
The second trick is a little lemon and orange zest. It’s not enough to make it taste fruity — it’s enough to make the almond feel bright instead of heavy. This is the difference between a scoop that tastes nostalgic and one that tastes like a grocery store novelty.
And yes, the color matters. I know it’s weird to say that an unnatural color is part of why a flavor works, but there’s something about that specific blue that primes your brain for what’s about to happen on the spoon. I’ll show you how to get it naturally or with a drop of gel food coloring — your call.
The Ingredients That Make This Flavor Hit
- 2 cups heavy cream: Full-fat is non-negotiable here. The richness is what carries the almond extract without making it taste thin.
- 1 cup whole milk: Whole milk gives it the right texture — skim or 2% will make it icy.
- 3/4 cup granulated sugar: Standard white sugar. No substitutes needed.
- 1 tsp pure almond extract: The star. Use a good one — this is not the time for the dusty bottle in the back of your cabinet. I prefer Nielsen-Massey, but any pure almond extract works. Imitation is way too harsh here.
- 1/2 tsp pure vanilla extract: Just enough to round out the almond without competing with it.
- 1 tsp finely grated lemon zest (from about 1 lemon): This is the non-obvious move. The citrus oils bloom in the cream base and give the ice cream that faintly floral, slightly tart finish that makes people say “I can’t put my finger on it.” That’s the whole magic trick.
- 1 tsp finely grated orange zest (from about 1/2 orange): Works with the lemon to build complexity without tasting like fruit.
- Blue food coloring (optional): If you want the classic diner-blue hue, use 2-3 drops of gel coloring. If the idea of that makes you twitch, leave it out or try a natural powder like blue spirulina. I tested both and honestly — the gel is more stable in the freeze.
What to Pull Out Before You Start
- Ice cream maker (bowl frozen for at least 24 hours)
- Large mixing bowl and whisk or hand mixer
- Fine-mesh zester (a microplane works perfectly)
- Airtight freezer container
That’s really it. No candy thermometer, no ice bath, no egg yolks.
Let’s Make It (Step by Step)
This uses a no-egg, no-cook base, which means it comes together in about 20 minutes. The hardest part is waiting for it to freeze.
- Whisk the base: In a large bowl, whisk together the heavy cream, whole milk, and sugar until the sugar is fully dissolved — about 2 minutes. You shouldn’t feel any grit at the bottom of the bowl. (📸 Photo tip: You’re looking for a smooth, slightly thickened liquid with no visible sugar granules.)
- Add the flavor: Whisk in the almond extract, vanilla extract, lemon zest, and orange zest. Taste the base. It should taste slightly stronger than you want the final ice cream to be — freezing dulls the flavor.
- Add the color: If using gel food coloring, add it drop by drop until you reach the desired shade. I find that 2-3 drops of neon blue gives that classic pale-sky blue. Stir well to make sure it’s fully incorporated.
- Chill the base: Cover the bowl and refrigerate for at least 2 hours, or overnight. This step is non-negotiable — a warm base won’t churn properly and will get icy. I usually do this in the morning and churn it in the afternoon.
- Churn: Pour the chilled base into your ice cream maker and churn according to the manufacturer’s instructions — usually about 20-25 minutes, until it resembles soft-serve. (📸 Photo tip: At this stage, it should look like a thick, creamy soft-serve — pale blue, smooth, and slightly mounded up in the center.)
- Freeze: Transfer the soft ice cream to a freezer-safe container. Press a piece of parchment paper directly against the surface to prevent ice crystals — this actually works, don’t skip it. Seal with a lid and freeze for at least 4 hours, or until scoopable.
Make-Ahead Notes (Because We’re All Busy)
The base is the ultimate make-ahead — you can mix it up and keep it in the fridge for up to 3 days before churning. It actually gets better as the flavors meld. I sometimes make a double batch so I can churn one for a dinner party and keep one in the fridge for later in the week.
- Fridge: The base can be made and refrigerated for up to 3 days before churning. Stir it briefly before pouring it into the machine.
- Freezer: The churned ice cream keeps for up to 2 weeks in a sealed container. Press parchment against the surface to prevent ice.
- Reheat: Let it sit at room temperature for 5-10 minutes before scooping. A warm scoop makes all the difference in texture.
Things I Wish I’d Known the First Time
- Don’t over-churn. Stop the machine the moment it hits soft-serve consistency. Over-churning whips too much air into it and the texture gets icy and thin.
- The citrus is the secret. Don’t skip the zest. I tried a batch without it and it just tasted like almond extract in cream — not the complex, “what is that flavor” thing Blue Moon is known for.
- Taste the base. It should taste almost aggressively almond-y and bright before it goes in the machine. If it tastes just right at this stage, it will be too weak after freezing.
- Use a good container. A wide, shallow container freezes faster and scoops more easily than a deep, narrow one. I use a 1-quart deli container and it works perfectly.
- A tiny pinch of flaky salt on top before serving. I know it sounds weird, but try it once. It makes the almond flavor pop even more and gives the first bite a little crunch. That contrast is everything.
Swaps That Actually Work
- No ice cream maker? You can freeze the base in a shallow dish, stirring every 30 minutes for 3-4 hours to break up ice crystals. The texture will be slightly more rustic, but the flavor is still there.
- Natural color only. Use 1/2 tsp blue spirulina powder blended into the base. Heads up: it turns more grey-blue than neon blue, but if that’s your vibe, it’s a good swap.
- Dairy-free version. Swap the heavy cream and whole milk for full-fat coconut cream and oat milk. The texture will be a bit less creamy, but the almond-citrus flavor still shines.
- For a crowd. Make a Blue Moon float with cold root beer or cream soda. It’s ridiculous and wonderful and your friends will be so confused.
Questions I Get About This Recipe All the Time
Q: Why did my ice cream turn out icy?
A: This usually means one of three things: your base wasn’t cold enough before churning, you over-churned it, or it wasn’t sealed tightly enough in the freezer. I’ve made all three mistakes, and the easiest fix is to make sure you refrigerate the base for the full 2 hours and press parchment against the surface in the freezer.
Q: Can I make this without an ice cream maker?
A: Yes, but the texture will be a bit more rustic. See the variation section above for the no-churn method. It’s a good workout for your arm!
Q: How long does this keep in the freezer?
A: Up to 2 weeks in an airtight container. Press plastic wrap or parchment against the surface to prevent ice crystals. After that, it’s still safe to eat but the texture starts to get icy.
Q: What do you serve with Blue Moon Ice Cream?
A: It’s surprisingly good with something that has a little crunch or a contrasting flavor. I love it with a sprinkling of toasted almonds or alongside a warm slice of lemon loaf. My friends swear by it in a root beer float.
More Recipes My Friends Keep Requesting
If this one caught your eye, I bet you’ll love these too:
- [INTERNAL LINK PLACEHOLDER: Brown Butter Peach Galette] — That same nostalgia hit, but with summer fruit
- [INTERNAL LINK PLACEHOLDER: Toasted Almond Olive Oil Cake] — The almond extract twins in this one
- [INTERNAL LINK PLACEHOLDER: Lemon Ricotta Cookies] — Bright, citrusy, and ready in under an hour
This is the ice cream I make every August when I want to feel like I’m at a diner counter somewhere in the Midwest, even though I’m just sitting on my fire escape in Brooklyn. It’s weird, it’s specific, and it’s exactly right. If you make it, tag me on Pinterest — I love seeing your scoops.
📌 Blue Moon Ice Cream recipe that captures that elusive almond-vanilla-citrus flavor — save it for your next nostalgic summer dessert.
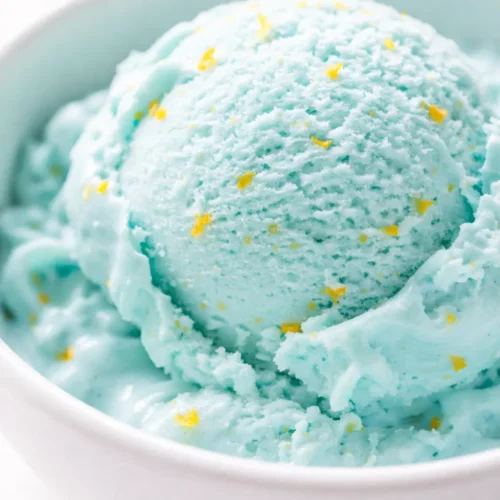
The Blue Moon Ice Cream Recipe That Actually Tastes Like the Midwest Original — Finally
Equipment
- Ice Cream Maker
- Large Mixing Bowl
- Whisk or Hand Mixer
- Fine-mesh Zester
- Airtight Freezer Container
Ingredients
- 2 cups heavy cream
- 1 cup whole milk
- 3/4 cup granulated sugar
- 1 tsp pure almond extract
- 1/2 tsp pure vanilla extract
- 1 tsp finely grated lemon zest
- 1 tsp finely grated orange zest
- Blue food coloring (optional)
Instructions
- Whisk the base: In a large bowl, whisk together the heavy cream, whole milk, and sugar until the sugar is fully dissolved — about 2 minutes. You shouldn’t feel any grit at the bottom of the bowl.
- Add the flavor: Whisk in the almond extract, vanilla extract, lemon zest, and orange zest. Taste the base. It should taste slightly stronger than you want the final ice cream to be — freezing dulls the flavor.
- Add the color: If using gel food coloring, add it drop by drop until you reach the desired shade. I find that 2-3 drops of neon blue gives that classic pale-sky blue. Stir well to make sure it’s fully incorporated.
- Chill the base: Cover the bowl and refrigerate for at least 2 hours, or overnight. This step is non-negotiable — a warm base won’t churn properly and will get icy.
- Churn: Pour the chilled base into your ice cream maker and churn according to the manufacturer’s instructions — usually about 20-25 minutes, until it resembles soft-serve.
- Freeze: Transfer the soft ice cream to a freezer-safe container. Press a piece of parchment paper directly against the surface to prevent ice crystals. Seal with a lid and freeze for at least 4 hours, or until scoopable.
Notes
Related Recipes:
 Apple Rose Pastry Blooms That Look Like a Patisserie Display (With Zero Fancy Skills Needed)
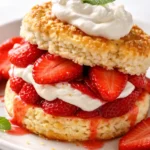 The Only Strawberry Shortcake Recipe That Works Every Time
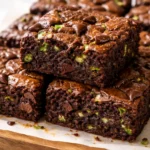 Fudgy Zucchini Brownies You’d Never Guess Are Hiding a Vegetable
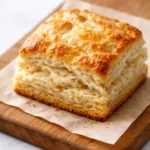 The Buttermilk Scones You’d Never Guess Are This Flaky (and Easy)
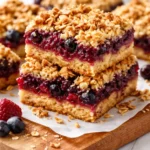 Mixed Berry Crumble Bars That Look Like a Bakery Window (But Cost Pennies)
 The Healthy Breakfast Cookie You’d Never Guess Is Actually Good for You