
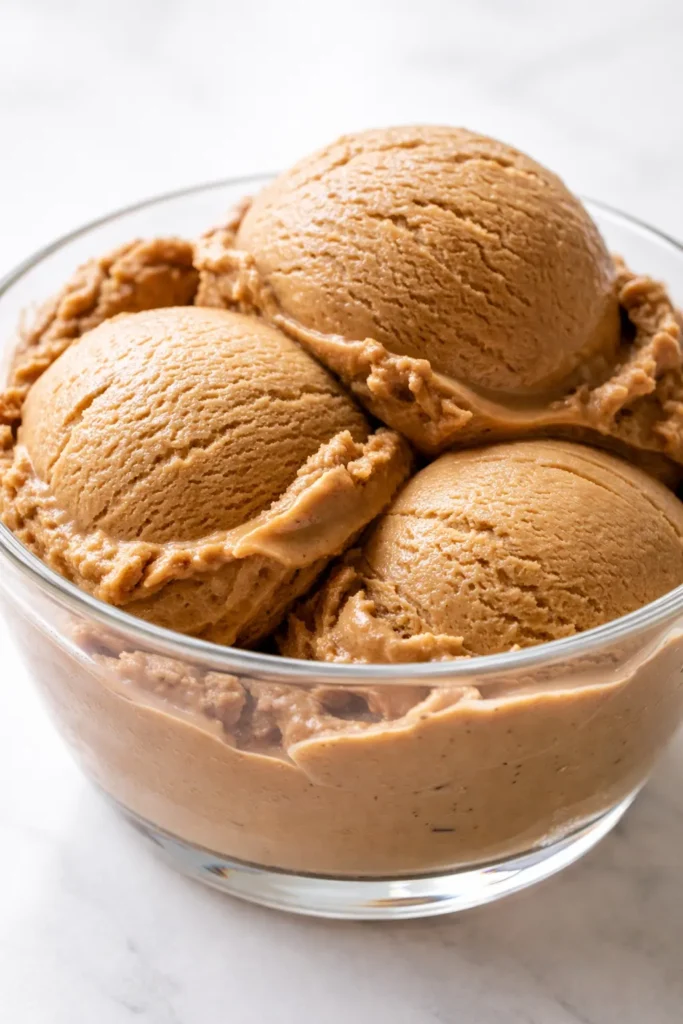
This is the only no-churn ice cream in my freezer that my coffee-snob friends ask to take home. Not because it’s cute — though the deep brown color and complete lack of ice crystals makes it photograph beautifully — but because it actually tastes like a proper espresso shot, not sugary coffee milk. We’re doing two things here: steeping whole beans into the cream base for depth, and adding a concentrated hit of instant espresso powder for that unmistakable roasty punch. No machine. No watery crystals. Just a pint of genuinely bold coffee ice cream that makes you look like you planned ahead.
The short version: Twenty minutes of hands-on work, a few hours in the freezer, and you’ve got a pint of the best coffee ice cream you’ve ever had.
I’ve made about twelve versions of no-churn ice cream trying to crack the coffee code. This one — with the double-coffee technique and a pinch of flaky salt on top — was the one that made me stop trying.
- Serves: Makes ~1 quart (8 generous scoops)
- Hands-On Time: 20 min | Total Time: 6 hours (includes freezing)
- Difficulty: Easy — if you can whip cream, you can do this
- Cost per serving: ~$2.50
- Calories: ~320 per serving
- Dietary Notes: Naturally gluten-free. Can be made dairy-free with canned coconut cream.
(Photo above: An overhead shot of a single scoop of deep-brown ice cream in a simple ceramic bowl, a perfect curl of dark chocolate resting on top, flaky salt scattered lightly, a glass of cold brew in the background on a marble counter. Natural light from the left.)
The Two-Step Coffee Trick That Changes Everything
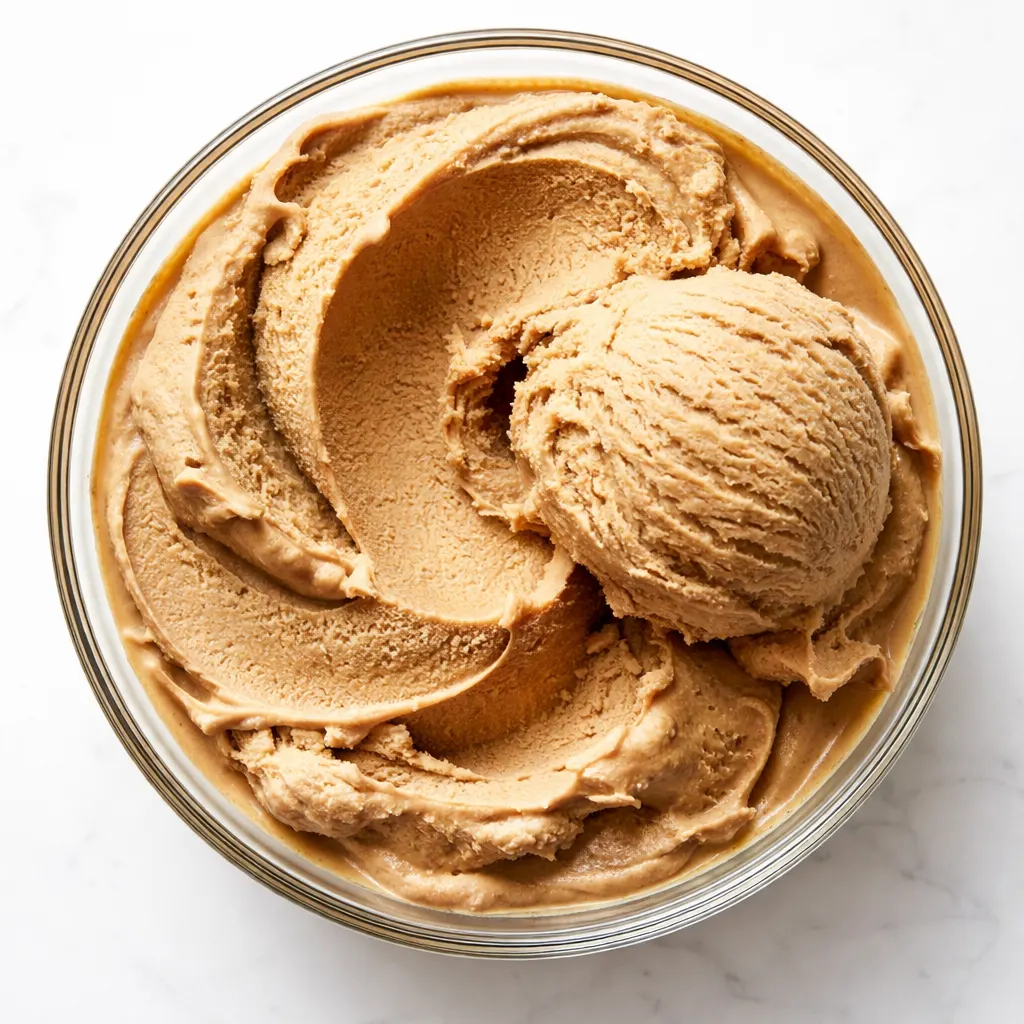
Most no-churn recipes use instant coffee stirred into the cream, and you end up with a faint background note and a freezer full of ice crystals. The problem is water — instant coffee needs liquid to dissolve, and water is the enemy of creamy texture. I get around this by steeping whole coffee beans directly in the heavy cream as it gently warms. That infuses the fat without adding water. Then, I dissolve a small amount of high-quality instant espresso powder in just enough warm water to make a paste. That concentrated shot gets folded in at the end. The result is a deeply layered coffee flavor with zero dilution. It’s the difference between a diner cup and a proper espresso bar. I learned this trick after one too many batches that tasted like coffee-adjacent frozen milk, and I will never go back.
What Goes In — Plus My Honest Notes
- 2 cups heavy cream: Get the good stuff. This is the whole base. Don’t try to substitute half-and-half; it won’t whip properly and you’ll get ice. I use the local brand from the farmers market when I can.
- 1/2 cup whole coffee beans: Use a medium or dark roast. I use my go-to morning beans — something with chocolatey notes. The steeping step is what gives this ice cream its soul. My husband once used a light roast and the flavor was way too subtle. Dark roast is where it’s at for this one.
- 1 (14-oz) can sweetened condensed milk: This is the backbone of no-churn ice cream. It adds sweetness and body. There is no substitute for it in a standard no-churn recipe.
- 2 tablespoons instant espresso powder: NOT regular instant coffee. Espresso powder is darker, richer, and more concentrated. It’s the difference between a diner cup and a proper espresso bar. My kids can smell the difference when I try to use regular instant — I’m not joking.
- 1 teaspoon vanilla extract: It rounds out the coffee’s bitterness and adds a soft floral note. Don’t skip it.
- 1/4 teaspoon flaky salt (plus more for topping): Trust me on this. A pinch in the base and a sprinkle on top makes the coffee taste bolder and more complex. It’s the same principle as salted caramel.
What You’ll Need (It’s a Short List)
- 2-quart saucepan
- Fine-mesh strainer
- Large mixing bowl (metal or glass)
- Hand mixer or stand mixer
- Loaf pan or 1-quart freezer-safe container
- Plastic wrap
Let’s Make It — No Machine, No Stress
This comes together in about 20 minutes. The hardest part is waiting for it to freeze. Don’t let the number of steps fool you — most of these are 30 seconds each.
- Steep the cream: Pour the heavy cream into a saucepan. Add the whole coffee beans. Warm over medium-low heat until it’s steaming — about 5 minutes — but don’t let it boil. You want the cream to absorb the coffee oils, not curdle. Remove from heat, cover, and let it steep for 15 minutes. (📸 Photo tip: You’ll see the cream turn a pale tan color — that’s the good stuff. The darker the cream gets during steeping, the more flavor you’re pulling out.)
- Strain and chill: Pour the cream through a fine-mesh strainer into a bowl. Press on the beans with the back of a spoon to get every last drop of that infused cream. Discard the beans. Cover the bowl and pop it in the fridge until it’s completely cold — about 30 minutes. You can speed this up by setting the bowl in an ice bath.
- Make the coffee paste: In a small bowl, combine the instant espresso powder and 2 teaspoons of warm water. Stir it into a thick, dark paste. Set it aside. This is your flavor insurance.
- Whip the cream: Pour the cold steeped cream into a large mixing bowl. Whip it on medium-high until stiff peaks form — about 3 to 4 minutes. You want it stiff enough that it doesn’t slide around if you tilt the bowl. (📸 Photo tip: The cream should form a stiff peak that stands straight up — not a soft curl that flops over. Stiff peaks = creamy ice cream.)
- Fold it together: In a separate large bowl, whisk together the sweetened condensed milk, the espresso paste, vanilla, and the 1/4 teaspoon flaky salt until smooth. Gently fold in the whipped cream in a few additions. Don’t overmix — a few streaks are fine. This is where patience pays off. Even if you mess this part up a little, it’ll still taste incredible — I’ve done it.
- Freeze: Pour the mixture into your loaf pan or container. Smooth the top, press a piece of plastic wrap directly onto the surface (this prevents ice crystals), and freeze for at least 6 hours, or overnight. The wait is the hardest part.
- Serve: Let it sit at room temperature for 5 minutes before scooping. That brief rest makes all the difference in texture. Sprinkle a few flakes of flaky salt on top. That’s it.
How I Make This for the Week (and the Freezer)
This recipe is perfect for a Sunday afternoon project. I usually make a double batch — one for the week ahead, and one to tuck away for a rainy day. It’s the kind of thing that feels like a treat every single time you open the freezer.
- Fridge: N/A — it lives in the freezer. Store airtight with plastic wrap pressed directly on the surface.
- Freezer: Yes! It keeps beautifully for up to 3 weeks. After that, the texture starts to get a bit icy. It’s never lasted that long in my house, though.
- Reheat: No reheating here. Let it sit at room temp for 5-10 minutes to soften slightly before scooping. It will scoop like a dream and the texture will be significantly better.
Things I Learned the Hard Way So You Don’t Have To
- Don’t skip the steeping step. I know it seems fussy, but it’s the only way to get that deep, roasty flavor without watering down the cream. I tried the “just stir in instant coffee” method once. Once. It was fine, but fine isn’t why we’re here.
- Use a metal or glass loaf pan. Metal conducts cold better than ceramic or plastic, so it freezes faster. Faster freezing means smaller ice crystals, and smaller ice crystals mean creamier texture. It’s a simple physics trick that costs nothing.
- Press the plastic wrap directly onto the surface. If you don’t, ice crystals will form on top and you’ll get a crusty layer. We want smooth, uniform, luscious ice cream. The plastic wrap is your friend here.
- Let it sit before scooping. No matter how good your freezer is, ice cream straight out of the freezer is too hard. That five-minute rest on the counter is the difference between a perfect scoop and a chipped spoon. Trust me on this one.
Make It Your Own (Without Breaking the Recipe)
- Dairy-Free: Substitute the heavy cream with full-fat canned coconut cream (chilled overnight, scoop the solid white part) and use a dairy-free sweetened condensed milk. It works beautifully — the coconut pairs naturally with coffee. My sister-in-law, who is dairy-free, requests this version every time she visits.
- Mocha: Fold in 1/2 cup of finely chopped dark chocolate (or mini chocolate chips) at the very end, right before freezing. It adds little pockets of texture that are absolutely divine.
- Spicy Coffee: Add a pinch of cinnamon and a tiny pinch of cayenne to the cream during the steeping step. It doesn’t make it spicy-hot, just warm and complex. My husband thinks I’m a genius when I do this.
- Spiked: Add 2 tablespoons of bourbon, Kahlúa, or dark rum after folding. The alcohol lowers the freezing point, so it will be slightly softer — in a good way. Perfect for an after-dinner treat.
Questions People Always Ask About This Recipe
Q: Why did my no-churn ice cream turn out icy?
A: Ugh, I’ve been there. A few culprits. Either the cream wasn’t whipped to stiff enough peaks (it needs to be stable, so don’t stop early), or the mixture wasn’t cold enough before freezing, or ice crystals formed on the surface because the plastic wrap wasn’t touching the surface. Try chilling the bowl and beaters before whipping next time — it helps. Either way, you’ve got this. It’ll still taste like coffee.
Q: Can I make this without the whole coffee beans?
A: You can, but it won’t be as bold. If you skip the steeping, increase the instant espresso powder to 1 tablespoon and dissolve it in 1 tablespoon of warm water. It’ll still be good, but the steeping is what makes it great. I’ve tested it both ways, and the steeped version is the one I come back to every time.
Q: How long does this keep in the freezer?
A: It’s best within the first 3 weeks. After that, the texture starts to degrade. I mean, it won’t go bad, but it won’t be as creamy. If you’re making it for a specific occasion, aim for that first week. It never lasts longer than that in my house.
Q: What do you serve with this ice cream?
A: On its own with a sprinkle of flaky salt is my favorite. But it’s also incredible on a warm brownie (the contrast of warm and cold is perfect), or floated in a glass of affogato — just pour a hot espresso shot right over a scoop. My kids love it with a drizzle of chocolate sauce. For a fancier occasion, I serve it alongside a simple almond cookie.
More Recipes My Family Makes on Repeat
If you liked this one, here are a few others that get the same reaction at our table:
- No-Bake Brownies — Rich, deeply chocolate, and makes you look like a pastry chef.
- Vanilla Bean Frappuccino Copycat — The base recipe I use for everything.
- Frozen Whipped Coffee — Fudgy, crinkly-topped, and the perfect partner for this ice cream.
Make a batch this weekend, and thank yourself on Wednesday when you need a proper treat after a long day. It’s the kind of small luxury that makes a regular Tuesday feel a little more intentional.
If you try it, drop a comment below — I love seeing how it turns out in your kitchen. Your coffee, your salt, your perfect scoop.
📌 Bold no-churn coffee ice cream that tastes like a real espresso bar — save this for your next Sunday prep session.
No-Churn Bold Coffee Ice Cream
Equipment
- 2-quart saucepan
- Fine-Mesh Strainer
- Large Mixing Bowl
- Hand mixer or stand mixer
- Loaf pan or 1-quart freezer-safe container
- Plastic wrap
Ingredients
- 2 cups heavy cream
- 1/2 cup whole coffee beans (medium or dark roast)
- 1 can (14 oz) sweetened condensed milk
- 2 tablespoons instant espresso powder
- 1 teaspoon vanilla extract
- 1/4 teaspoon flaky salt (plus more for topping)
Optional Add-Ins
- 1/2 cup finely chopped dark chocolate or mini chocolate chips (for mocha)
- 1 pinch cinnamon (for spicy coffee)
- 1 pinch cayenne pepper (for spicy coffee)
- 2 tablespoons bourbon, Kahlúa, or dark rum (for spiked version)
Instructions
- Steep the cream: Pour the heavy cream into a saucepan. Add the whole coffee beans. Warm over medium-low heat until steaming (about 5 minutes), but do not let it boil. Remove from heat, cover, and let steep for 15 minutes.
- Strain and chill: Pour the cream through a fine-mesh strainer into a bowl. Press on the beans with a spoon to extract all the infused cream. Discard the beans. Cover and refrigerate until completely cold (about 30 minutes, or speed up with an ice bath).
- Make the coffee paste: In a small bowl, combine the instant espresso powder with 2 teaspoons warm water. Stir into a thick, dark paste. Set aside.
- Whip the cream: Pour the cold steeped cream into a large mixing bowl. Whip on medium-high until stiff peaks form (3–4 minutes). The cream should stand straight up when you lift the beater.
- Fold it together: In a separate large bowl, whisk together the sweetened condensed milk, espresso paste, vanilla, and 1/4 teaspoon flaky salt until smooth. Gently fold in the whipped cream in a few additions. Do not overmix; a few streaks are fine.
- Freeze: Pour the mixture into a loaf pan or container. Smooth the top, press plastic wrap directly onto the surface, and freeze for at least 6 hours or overnight.
- Serve: Let sit at room temperature for 5 minutes before scooping. Sprinkle with flaky salt just before serving.
Notes
Related Recipes:
 Cheesy Hamburger Casserole Bake That’s Ready in 40 Minutes (No Canned Soup Here)
 Texas Roadhouse Style Baked Salmon with Sweet and Savory Glaze — Ready in Under 30 Minutes
 Moist Lemon Zucchini Bread with a Crunchy Lemon Sugar Top
 Strawberry Shortcake Rice Krispie Treats That Actually Taste Like Shortcake — Ready in 15 Minutes
 Blueberry Oatmeal Cookies That Stay Soft for Days — in Under 30 Minutes
 Air Fryer Chicken and Vegetables That Don’t Taste Like a Regret (30 Minutes, One Pan)