
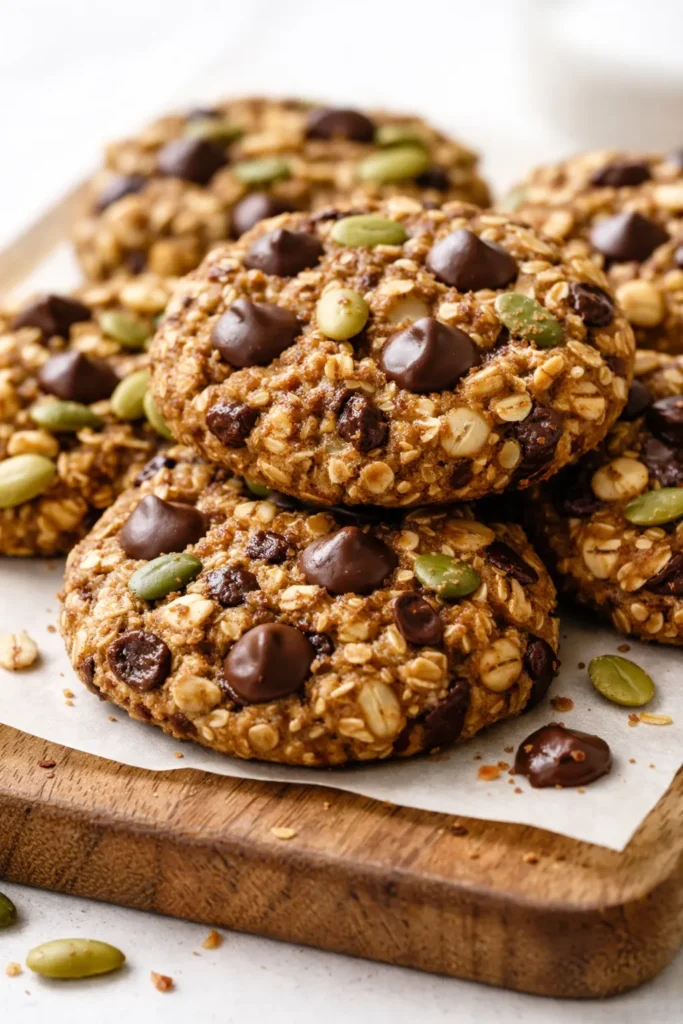
The first batch I made of these tasted exactly like what they were: a well-intentioned Pinterest fail. Dry, dense, and aggressively “healthy.” This batch? My friend texted me at 9pm after finding one in her bag — “I can’t stop thinking about these.” The difference is a little bit of fat and a much shorter bake time. They’re soft. They’re actually satisfying. And yes, they’re packed with enough oats, seeds, and protein to get you through a 10am meeting without your stomach growling.
The short version: Soft, chewy breakfast cookies made with oats, banana, almond butter, and dark chocolate — no refined sugar, no weird ingredients, and they stay good all week.
I’ve made these for back-to-school breakfasts, post-workout snacks, and “I need to eat something in the car” situations. My record is 4 dozen in one Sunday.
- Serves: 12 cookies
- Hands-On Time: 15 min | Total Time: 25 min
- Difficulty: Easier than convincing your kid that cookies are breakfast.
- Cost per serving: ~$0.75
- Calories: ~180 per serving
- Dietary Notes: Naturally vegetarian, gluten-free adaptable, refined sugar-free.
(Photo above: overhead shot of 3 cookies on a vintage plate, one broken open to show the gooey dark chocolate chips and puffed oats, soft morning light from a kitchen window, crumbs scattered intentionally.)
Why These Don’t Taste Like a “Healthy” Cookie
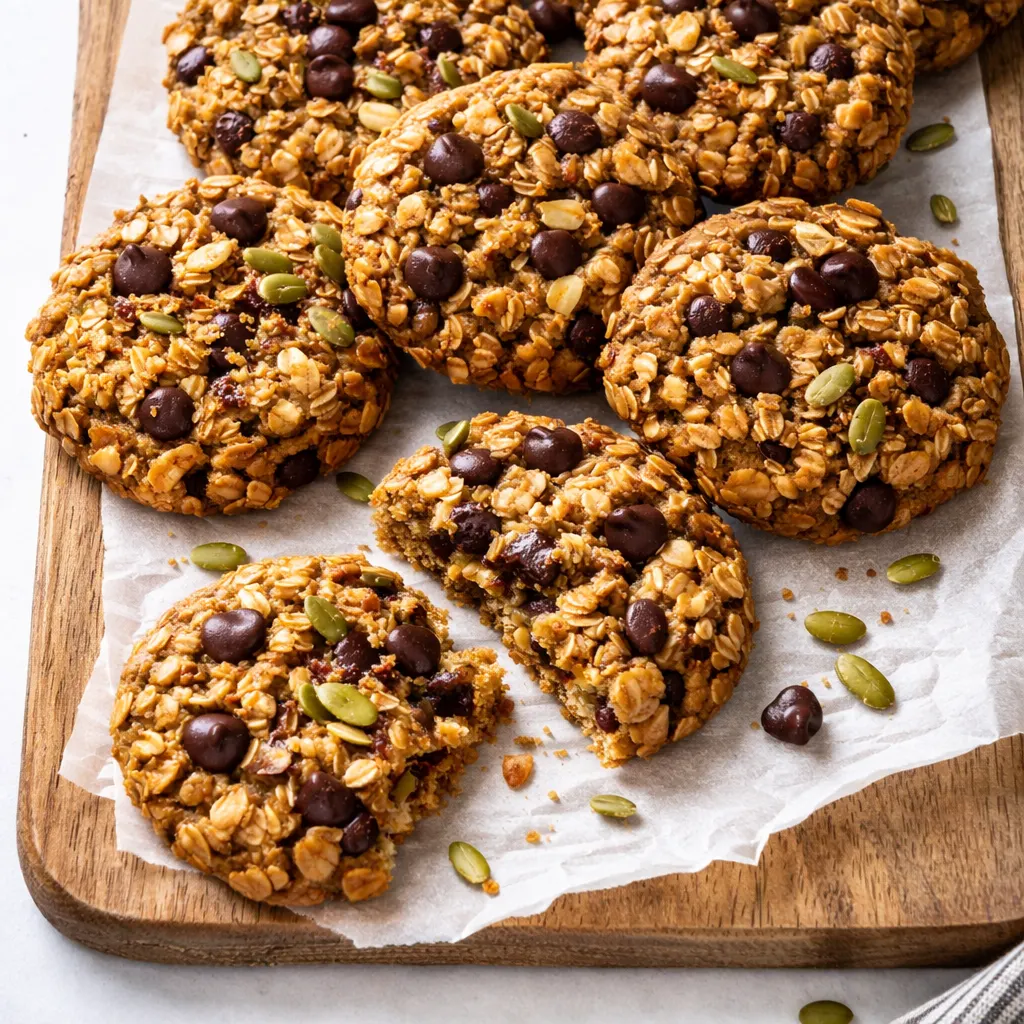
Most healthy cookie recipes are afraid of fat. They sub in applesauce for everything and end up with a texture that’s closer to a rubber eraser. I keep the almond butter AND a splash of coconut oil. The fat carries the flavor and keeps the crumb tender. No dry hockey pucks here.
The other trick? Don’t overbake them. They look slightly underdone when they come out of the oven. That’s the goal. They set up as they cool into a perfect soft-baked texture that lasts for days. I learned this the hard way after way too many crunchy disappointments.
Ingredients Worth Talking About
- Bananas (2 large, very ripe): Not just sweetness — they’re the glue. Spotted bananas are non-negotiable here. The browner, the better.
- Almond butter (1/2 cup): Provides the fat and protein structure. Make sure it’s the creamy, drippy kind — stir it well if there’s oil separation. A dry almond butter will give you crumbly cookies.
- Rolled oats (1 1/2 cups): Not quick oats. Rolled gives you that chewy, hearty texture that actually holds up. Use gluten-free if your household needs it.
- Coconut oil (2 tbsp, melted): The secret to the soft texture. Don’t skip it. It adds a subtle richness without making things greasy.
- Maple syrup (3 tbsp): Just enough to complement the banana sweetness. It helps with the chew too.
- Add-ins (1/2 cup dark chocolate chips + 1/4 cup pepitas): The chocolate is for the morning treat energy. The pepitas add crunch + protein. My kids pick around them, but they’re learning.
What to Pull Out Before You Start
- A sheet pan and some parchment paper
- A large mixing bowl
- A cookie scoop (2 tbsp size is perfect)
That’s it. No mixer needed. This is a one-bowl, ten-spoon-licks situation.
Here’s How I Do It (It’s One Bowl)
This goes fast. Read through once so you know where you’re headed. The rest step is important — don’t skip it.
Preheat & Prep: Set your oven to 350°F. Line a sheet pan with parchment paper.
- Mash the wet ingredients: In a large bowl, mash the bananas until they’re smooth with just a few tiny lumps. Add the almond butter, melted coconut oil, maple syrup, egg, and vanilla. Whisk until everything is smooth and fully combined. (📸 Photo tip: The mixture should look like a glossy, thick batter — not watery. If your almond butter is stiff, this is where you’ll notice.)
- Fold in the dry: Add the rolled oats, cinnamon, baking soda, and salt. Fold gently until just combined. Then stir in the chocolate chips and pepitas. Don’t overmix or the cookies will be tough.
- Rest the batter (the most important step): Let the batter sit for 5 full minutes. This lets the oats hydrate so the cookies are tender and not raw-tasting. You’ll see the mixture thicken slightly. (📸 Photo tip: It should look like a scoopable, chunky dough that holds together when pressed.)
- Scoop and shape: Use your cookie scoop to portion 12 balls onto the prepared sheet pan. Flatten each one slightly with the back of a spoon to about 1/2 inch thick. They don’t spread much on their own, so shape them into nice rounds while you’re at it.
- Bake: Bake for 10 to 12 minutes. At 10 minutes, the edges should look set and lightly golden, but the centers will still look soft and slightly puffed. That’s your cue to pull them out.
- Cool properly: Let the cookies sit on the hot sheet pan for 5 minutes. They’ll firm up as they cool. Move them to a wire rack to cool completely. Try to let them cool all the way before you eat one. Try.
Sunday Prep = Stress-Free Mornings
I make a double batch on Sunday afternoons. By Monday morning, I’m grabbing one out of the container on my way out the door. They’re a total lifesaver for busy weeks.
- At room temp: Store in an airtight container for up to 5 days. They stay soft the whole time.
- Freezer: Yes. Freeze flat in a freezer-safe ziploc bag for up to 2 months. Thaw overnight in the fridge or nuke for 20 seconds.
- Reheat: 10 seconds in the microwave and they taste like they just came out of the oven.
Things I Wish I’d Known the First Time
- Don’t skip the 5-minute rest. I know it’s tempting to just scoop and bake. But that rest is what makes the oats tender instead of chewy and raw. It takes five minutes. Do it.
- Use drippy almond butter. If your almond butter is dry and pasty, your cookies will be crumbly. If all you have is the thick stuff, add an extra tablespoon of coconut oil or maple syrup to compensate.
- Flatten the scoops. These cookies don’t spread in the oven. If you leave them as tall balls, you’ll end up with dense hockey pucks instead of flat, chewy cookies. Press them down.
- Underbake is better than overbake. I’ve ruined batches by being afraid of raw oats and leaving them in for 14 minutes. Trust the 10-minute mark. They set up beautifully as they cool.
Make It Yours: Easy Swaps
- Gluten-Free: Use certified gluten-free rolled oats. Works perfectly — I do this for my friend who’s GF and she can’t tell the difference.
- Nut-Free: Swap the almond butter for tahini or sunflower seed butter. The flavor changes slightly but it’s still delicious.
- Vegan: Use a flax egg (1 tablespoon flaxseed meal + 3 tablespoons water, let sit for 5 minutes). Works beautifully.
- Kid-Friendly / Picky Eater: Skip the pepitas and use 100% chocolate chips. My youngest calls these “breakfast cookies” and has no idea they’re healthy. Some secrets are worth keeping.
Questions People Always Ask About These Cookies
Q: Why did my cookies turn out dry?
A: Ugh, I’ve been there. Two culprits: overbaking or dry almond butter. Make sure your almond butter is runny and take the cookies out right at 10 minutes. Even if they feel slightly underdone, trust the process.
Q: Can I use quick oats?
A: Technically yes, but the texture will be more like a soft granola bar, not a chewy cookie. Rolled oats are really the way to go for that bakery-style texture.
Q: How long do these last? Can I freeze them?
A: Airtight container at room temp for 5 days. Freezer for 2 months. I wrap them individually so the kids can grab one from the freezer on school mornings. They thaw by the time they get to the bus stop.
Q: What do you serve with these?
A: They’re a complete breakfast on their own, honestly. But my kids love them with a glass of milk, and I love them with a cold brew and a side of fruit. For a heartier morning, crumble one over Greek yogurt.
More Recipes My Family Makes on Repeat
If you liked this one, you’re my kind of breakfast prepper:
- Banana Oat Muffins — The muffin version of this cookie, basically. Equally soft and snackable.
- Peanut Butter Protein Balls — No-bake, 10 minutes, dangerously snackable. My go-to for after-school chaos.
- Overnight Oats with Chocolate and Sea Salt — For the mornings you want to sit down for five minutes and eat with a spoon.
These are the cookies that make your coworkers say “wait, these are healthy?” and your kids say “can I have another one for breakfast?” That’s a win in my book.
If you make a batch, tag me on Pinterest or drop a comment below — I love seeing your kitchen wins.
📌 Healthy breakfast cookie recipe that stays soft for days — save it for your next Sunday meal prep session.
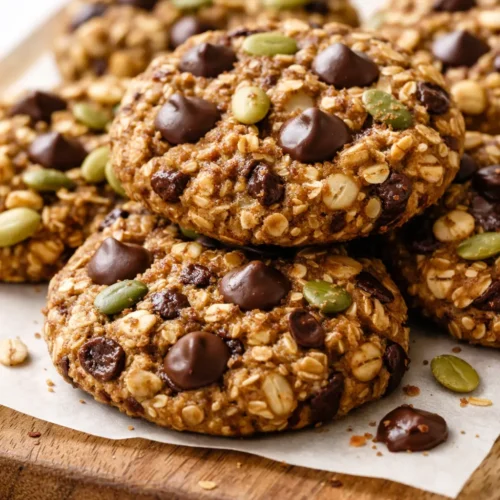
Healthy Breakfast Cookies (Soft & Chewy, No Refined Sugar)
Equipment
- Sheet Pan
- Parchment Paper
- Large Mixing Bowl
- Cookie scoop (2 tbsp size)
Ingredients
Wet Ingredients
- 2 large very ripe bananas, mashed
- 1/2 cup creamy almond butter (drippy kind)
- 2 tbsp coconut oil, melted
- 3 tbsp maple syrup
- 1 large egg
- 1 tsp vanilla extract
Dry Ingredients
- 1 1/2 cups rolled oats (not quick oats)
- 1 tsp cinnamon
- 1/2 tsp baking soda
- 1/4 tsp salt
Add-ins
- 1/2 cup dark chocolate chips
- 1/4 cup pepitas (pumpkin seeds)
Instructions
- Preheat oven to 350°F. Line a sheet pan with parchment paper.
- In a large bowl, mash the bananas until smooth with just a few tiny lumps. Add almond butter, melted coconut oil, maple syrup, egg, and vanilla. Whisk until smooth and fully combined.
- Fold in rolled oats, cinnamon, baking soda, and salt until just combined. Then stir in chocolate chips and pepitas. Do not overmix.
- Let batter rest for 5 minutes. This allows oats to hydrate for a tender texture. The mixture will thicken slightly.
- Using a 2 tbsp cookie scoop, portion 12 balls onto prepared sheet pan. Flatten each to about 1/2 inch thick with the back of a spoon. They don’t spread much, so shape into rounds.
- Bake for 10 to 12 minutes, until edges are set and lightly golden but centers still look soft and slightly puffed. Remove from oven.
- Let cookies cool on hot sheet pan for 5 minutes to firm up, then transfer to a wire rack to cool completely.
Notes
Related Recipes:
 Apple Rose Pastry Blooms That Look Like a Patisserie Display (With Zero Fancy Skills Needed)
 The Only Strawberry Shortcake Recipe That Works Every Time
 Strawberry Shortcake Muffins That Taste Like Summer (With a Crunchy Sugar Lid)
 Fudgy Zucchini Brownies You’d Never Guess Are Hiding a Vegetable
 The Buttermilk Scones You’d Never Guess Are This Flaky (and Easy)
 Mixed Berry Crumble Bars That Look Like a Bakery Window (But Cost Pennies)