
Every no-bake oat cup I tried before landing on these was a flavor negotiation. It’s pretty good… for something healthy. These aren’t. They’re just good. Full stop. The texture is fudgy, not dense-and-sorry. The chocolate stays glossy and doesn’t slide off. And they take exactly fifteen minutes of active work — most of the time is just the fridge doing its thing while you move on with your life.
The short version: These are the snack that sits in the fridge for three days and then vanishes in one afternoon. My kids have never once left the container half-full.
- Serves: 12 (if you use a mini muffin tin — and you should)
- Hands-On Time: 15 min | Total Time: 1 hr 15 min
- Difficulty: Embarrassingly easy. A confident kid could do this.
- Cost per serving: ~$0.45
- Calories: ~210 per cup
- Dietary Notes: Naturally gluten-free (use certified oats), easily made vegan. School-safe if you swap the peanut butter.
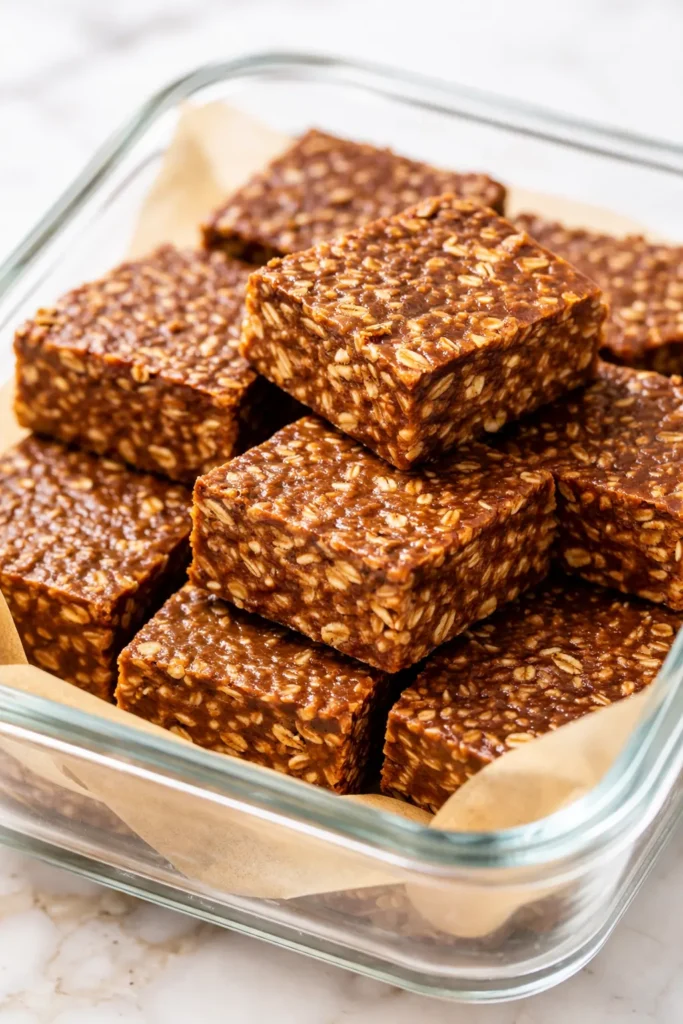
(Photo above: Six perfectly domed oat cups in a white mini muffin tin, a deep well of glossy dark chocolate in the center of each, scattered with flaky salt and a few visible oat flakes on the chocolate surface. The lighting is warm, slightly overhead, making the chocolate look almost liquid. A crumpled linen napkin in the background.)
The Two Things That Make These Different (Since Most No-Bake Snacks Are a Sad Compromise)
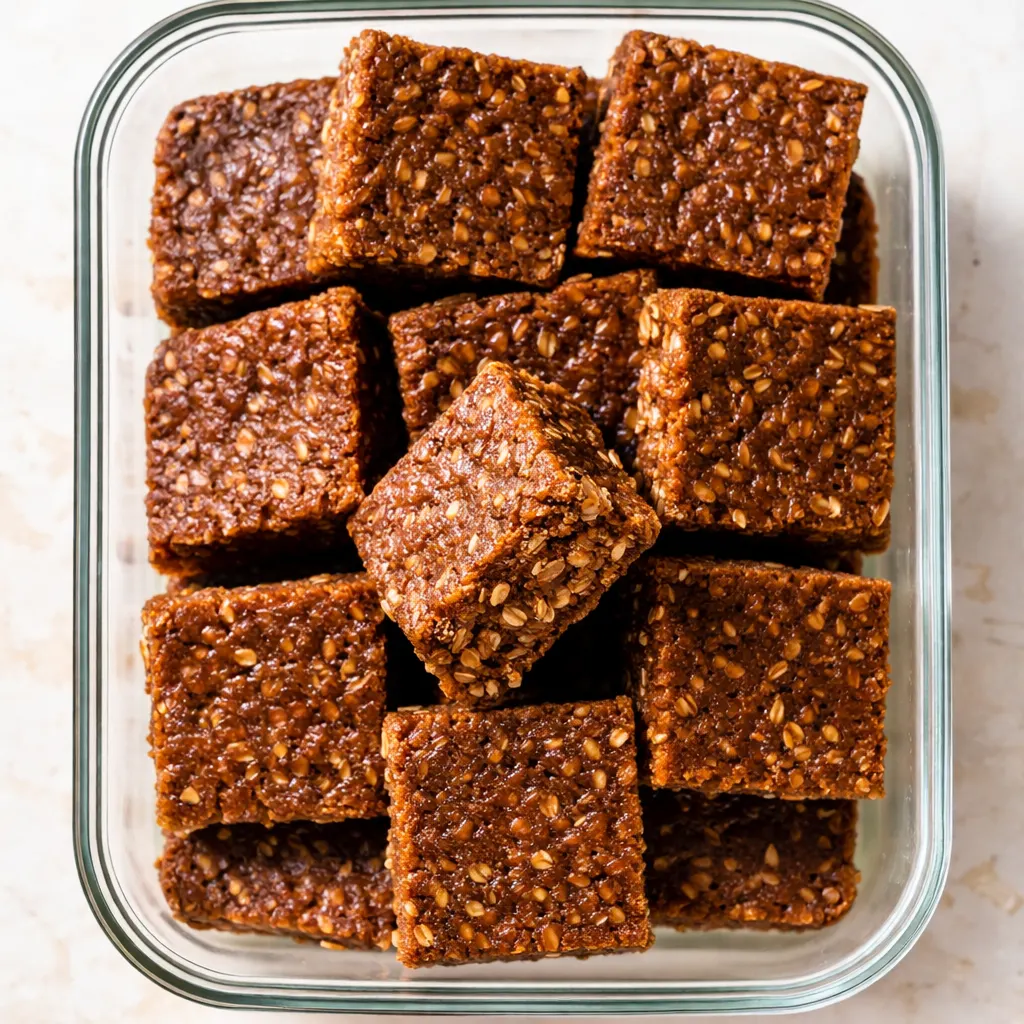
They get toasted. Most recipes skip this because it’s an extra pan. But dry-toasting the oats for three minutes changes them from raw-grain to nutty-warm. It’s the single highest-leverage move in this recipe — more important than the type of chocolate or the brand of peanut butter. The flavor goes from flat to round, and it happens in the time it takes you to rinse one mug.
They have a built-in container for the chocolate. The indent is not decorative. It is structural. If you just press the oat mixture flat and pour chocolate on top, half of it slides off when you take that first bite. The indent holds the chocolate like a little bowl, which means every single bite gets an even ratio of salty oat base to sweet shiny top. This is the kind of design detail that no one will notice consciously and everyone will miss if it’s gone.
The salt does actual work here. Flaky salt on the chocolate is not a garnish. It is an anchor. Without it, the sweetness sits on top of the peanut butter and nothing connects. One pinch of Maldon on each cup, and the whole thing tastes like you bought it from a bakery that charges too much for a good reason.
Everything You Need (And a Few Notes From Me)
- 1 ½ cups old-fashioned rolled oats: Not quick oats, not steel-cut. There is a window, and this is it. Quick oats turn to mush when you pulse them, steel-cut stay too crunchy. Use the standard ones.
My kids will eat these with any oat, but I can tell the difference. That texture matters to me more than I like to admit. - ⅔ cup natural creamy peanut butter: Use a drippy one, but stir it back together in the jar before you measure. If you use Skippy or Jif, add a tiny pinch of salt separately — they are sweeter and less tangy, which changes the balance a little.
This is also fine with almond butter, though the result is slightly less fudgy. - ¼ cup melted coconut oil: The bride’s maid of this recipe. No one sees it, everyone notices if it’s missing. It’s what keeps these soft in the fridge instead of turning into hockey pucks.
Refined coconut oil if you don’t want any coconut taste. Unrefined if you do — I usually use refined. - ¼ cup maple syrup (or honey): Just enough to bind and sweeten. Maple syrup makes them slightly softer at room temperature. Honey makes them a bit chewier. Both work.
For the vegan version: maple syrup all the way. - ½ teaspoon vanilla extract: It’s a background note. You won’t taste it the way you taste the peanut butter, but you would notice if it weren’t there.
I keep a bottle of vanilla in my pantry specifically for recipes like this that need a rounding agent. - ¼ teaspoon fine sea salt: For the base. Don’t skip it even if your peanut butter is salted — the oats need their own seasoning.
- ½ cup dark chocolate chips (or chopped chocolate): 60-70% cacao. Too dark and it fights the oats. Too sweet and you lose the contrast. The middle is the sweet spot.
I use Ghirardelli 60% chips because they melt flat and glossy and don’t need tempering. - 1 teaspoon coconut oil (for the chocolate): This is separate from the ¼ cup in the base. It thins the chocolate just enough to make it pourable and gives it that glossy snap.
- Flaky salt (Maldon or similar): Non-negotiable. This is what makes your brain go “oh, this is from somewhere good.”
I keep a small dish of it on the counter for exactly this purpose.
What to Pull Out Before You Start
- A mini muffin tin — 12 cavities. The ratio of oat base to chocolate topping is mathematically superior in the mini size. I will die on this hill.
- Mini muffin liners — paper or silicone. Silicone is easier to pop out, but paper works fine if you spray them first.
- A food processor — pulsed, not run continuously. If you don’t have one, finely chop the oats with a knife or use oat flour. The texture will be slightly more rustic, which is not a bad thing.
- A small skillet — for toasting the oats. Dry heat, no oil needed.
- A double boiler or microwave-safe bowl — for melting the chocolate.
- A teaspoon or small shot glass — for pressing the indentations. The shot glass makes a perfect deep round well. Save a shot glass. Use it for this.
Let’s Make Them
This goes fast, so read through once before you start. Most of these steps take under a minute each, and the only real time is the hour in the fridge, which is just patience.
Toast the oats: Heat a dry skillet over medium heat. Add the oats and spread them in an even layer. Cook, stirring or shaking the pan every 30 seconds, until they turn a shade darker and smell like a warm bakery. This will take about 3-4 minutes. Pull them off the heat immediately or they will burn.
(📸 Photo tip: You’ll know they’re ready when a few oats start to brown and the smell shifts from raw-grain to nutty. Don’t walk away from the pan — oats go from toasted to scorched fast.)
- Pulse the oats: Transfer the toasted oats to a food processor. Pulse 5–7 times, just until they break down into a mix of coarse crumbs and a few small flakes. Do not run it continuously — you are not making oat flour. You want some texture left.
If you don’t have a food processor, crush the oats with the bottom of a heavy measuring cup until they look like very coarse sand. - Mix the base: In a large bowl, combine the peanut butter, ¼ cup melted coconut oil, maple syrup, vanilla, and fine salt. Stir until completely smooth. It will look like a thin, glossy sauce. Add the pulsed oats and stir until every oat is coated. The mixture should look like a slightly wet, very tightly bound granola.
- Press the cups: Spoon the mixture evenly into the 12 lined mini muffin tins, dividing it so each cup is about two-thirds full. Use the back of a teaspoon or the bottom of a small shot glass to press it down firmly and, crucially, to make a deep, clean well in the center. This well is where the chocolate goes.
(📸 Photo tip: The indent should be deep enough that the chocolate will sit completely inside it, not spill over the edges. You want a little oat wall around the top.) - Melt the chocolate: Combine the chocolate chips and 1 teaspoon of coconut oil in a small microwave-safe bowl. Microwave in 20-second bursts, stirring in between, until smooth and glossy. Alternatively, use a double boiler on the stove — the slow melt gives the glossiest result, but the microwave is fine if you go slow.
- Fill the wells: Using a small spoon or a piping tip, carefully fill each well with melted chocolate. Aim for a slightly domed top that’s flush with the oat rim. Tap the muffin tin gently on the counter to level the chocolate.
- Finish with salt: While the chocolate is still liquid, sprinkle a few flakes of flaky salt over the top of each cup. Not a pile. Just a light, deliberate pinch. This is not decoration — it’s flavor architecture.
- Chill: Place the muffin tin in the refrigerator for at least 1 hour, or until the chocolate is fully set and the oat base is firm. They will look and feel a bit soft straight out of the fridge, which is correct. The texture is fudgy, not hard.
How to Store and Batch Prep These
I make a double batch on Sunday afternoons and we are set through Thursday. They live in a glass container in the fridge and get pulled out one at a time when someone needs a snack that isn’t negotiated.
- Fridge: Keep in an airtight container for up to 2 weeks. They rarely last that long at my house, but they hold the texture perfectly for the whole window.
- Freezer: Yes. Freeze them in a single layer on a baking sheet, then transfer to a freezer bag. Eat them straight from the freezer (they are fudgy and cold, like a frozen bonbon) or let them sit on the counter for 5 minutes to soften slightly.
- Reheat: Do not. Eat them cold or at room temperature. If you want a warm snack, this is not the recipe for that.
Things I Learned the Hard Way
- Don’t over-process the oats. The texture is what separates these from a dry, dusty energy ball. You want visible flakes and a slightly rustic bite. If you turn them to flour, the base becomes dense and one-note.
- Use a mini muffin tin. I know, I keep saying this. But the ratio of oat-to-chocolate in a standard muffin tin is off — too much base, not enough topping. The mini size gives you the perfect two-bite experience. I’ve made both. I’ve measured. Trust me.
- The indent is not optional. The first batch I ever made, I skipped the indent. The chocolate pooled on top and half of it crumbled off when I bit into it. It was fine, but it wasn’t right. The indent is the architecture that makes the whole eating experience work.
- Warm your spoon for the chocolate. If you’re using a spoon to fill the wells, dip it in hot water and dry it first. A warm spoon keeps the chocolate liquid longer, giving you a perfectly flat, glossy surface. It takes two seconds and makes the finished cups look like they came from a display case.
- Freeze them on a sheet pan if you’re stacking. If you’re freezing for later, don’t just toss them in a bag. Freeze them flat first so the chocolate doesn’t touch the liner of the cup next to it. It prevents that weird smudged look.
Swaps That Actually Work
- Nut-free version: Use sunflower seed butter. Add ¼ teaspoon of apple cider vinegar or lemon juice to the sunflower butter first — it keeps it from turning an unappealing green color from a natural chemical reaction. It sounds weird, but it works. I promise.
- Vegan version: Use maple syrup instead of honey. The result is slightly less chewy at cold temperatures, but still excellent. My vegan friends specifically request this one.
- Extra fiber version: Add 1 tablespoon of chia seeds or ground flax to the oat mixture. It doesn’t change the flavor, but it does make the base slightly more tender. My kids have never noticed.
- Birthday party version: Use white chocolate chips instead of dark. Crush some freeze-dried raspberries and sprinkle them on top alongside the flaky salt. It looks like a confetti situation and tastes like a fun party snack that happens to not be terrible for you.
- Spicy version: Add a pinch of cinnamon and a tiny pinch of cayenne pepper to the oat mixture. The warmth plays beautifully with the dark chocolate and peanut butter. It is not for kids, but it is for a specific adult who knows what they like.
Questions I Get About These Oat Cups All the Time
Q: Why did my oat cups turn out rock hard in the fridge?
A: Ugh, I’ve been there. It usually means too many oats or not enough coconut oil. The oil is what keeps them tender at cold temperatures. Next time, measure the oats by spooning them into the cup instead of scooping directly from the bag — it prevents packing. And make sure you’re using exactly ¼ cup of melted coconut oil. It’s the ingredient that does the work.
Q: Can I make these without a food processor?
A: Yes! Finely chop the oats with a chef’s knife or crush them in a ziploc bag with a rolling pin. You won’t get a perfectly uniform crumb, but honestly, the slightly more textured version is charming in its own way. My husband prefers it that way because it feels more like a granola bar.
Q: How long do they last? Can I freeze them?
A: Two weeks in the fridge in an airtight container. In the freezer: up to 3 months. The texture stays fudgy either way. If you’re eating straight from the freezer, let them sit for about 3 minutes before biting in — it makes the chocolate shatter instead of crack.
Q: What do you serve with these?
A: They are a standalone snack in my house, but they are also incredible crumbled over vanilla ice cream (it gives you a salty-sweet, fudgy-crunchy situation). For a lunchbox, I pair them with an apple or some carrot sticks to round out the snack. My kids like them with a glass of cold milk, which is a classic combination for a reason.
More Recipes My Family Makes on Repeat
If you liked these oat cups, here are a few others that get the same reaction at our table:
- Salty-Sweet Tahini Date Bars — A no-bake bar that’s even easier than these. No food processor required. My husband claims they are his favorite pre-run snack.
- The One Banana Bread You’ll Ever Need — A single-banana bread recipe that stays moist for four days. I make it every single week and it never gets old.
- Crispy Quinoa Chocolate Clusters — If you like texture, these are for you. Puffed quinoa, dark chocolate, and a pinch of flaky salt. They look complicated. They are not.
These oat cups are the snack that sits in the fridge for three days looking unassuming and then vanishes in one afternoon. If you make a batch — and you should — drop a comment and tell me how long they lasted at your house. I always love hearing which variation your family reaches for first.
📌 The only No-Bake Peanut Butter Oat Cups recipe you need — fudgy, salty, and done in 15 minutes. Save this for your next healthy snack prep Sunday, when you need something good in the fridge by lunchtime.
No-Bake Peanut Butter Oat Cups: The 15-Minute Version That Actually Stays Soft
Equipment
- Mini Muffin Tin
- Mini Muffin Liners
- Food Processor
- Small skillet
- Double Boiler or Microwave-safe Bowl
- Teaspoon or Shot Glass
Ingredients
Base
- 1 1/2 cups old-fashioned rolled oats
- 2/3 cup natural creamy peanut butter
- 1/4 cup melted coconut oil
- 1/4 cup maple syrup or honey
- 1/2 teaspoon vanilla extract
- 1/4 teaspoon fine sea salt
Topping
- 1/2 cup dark chocolate chips (60-70% cacao)
- 1 teaspoon coconut oil
- Flaky salt (e.g. Maldon)
Instructions
- Toast the oats: Heat a dry skillet over medium heat. Add oats and cook, stirring every 30 seconds, until fragrant and slightly darker, about 3-4 minutes. Remove from heat immediately.
- Pulse the oats: Transfer toasted oats to a food processor. Pulse 5-7 times until broken into coarse crumbs and small flakes. Do not over-process.
- Mix the base: In a large bowl, combine peanut butter, melted coconut oil (1/4 cup), maple syrup, vanilla, and fine salt. Stir until smooth. Add pulsed oats and stir until fully coated.
- Press the cups: Divide mixture evenly among 12 lined mini muffin tins, filling each about two-thirds full. Use a teaspoon or shot glass to press down firmly and create a deep well in the center.
- Melt the chocolate: Combine chocolate chips and 1 teaspoon coconut oil in a microwave-safe bowl. Microwave in 20-second bursts, stirring between, until smooth and glossy.
- Fill the wells: Spoon melted chocolate into each well, doming slightly. Tap the tin gently on the counter to level.
- Finish with salt: While chocolate is still liquid, sprinkle a few flakes of flaky salt over each cup.
- Chill: Refrigerate for at least 1 hour until chocolate is set and base is firm. Serve cold or at room temperature.
Notes
Related Recipes:
 The Perfectly Pillowy Chocolate Chip Milk Buns (Tangzhong Method)
 Bagel Breakfast Sliders That Taste Like a Diner Breakfast — in 25 Minutes
 Cheesy Hamburger Casserole Bake That’s Ready in 40 Minutes (No Canned Soup Here)
 Creamy Garlic Tagliatelle That Looks Like a Restaurant Dish in 20 Minutes
 Easy Shrimp Guacamole Bites That Look Like a Party in 20 Minutes
 Texas Roadhouse Style Baked Salmon with Sweet and Savory Glaze — Ready in Under 30 Minutes