
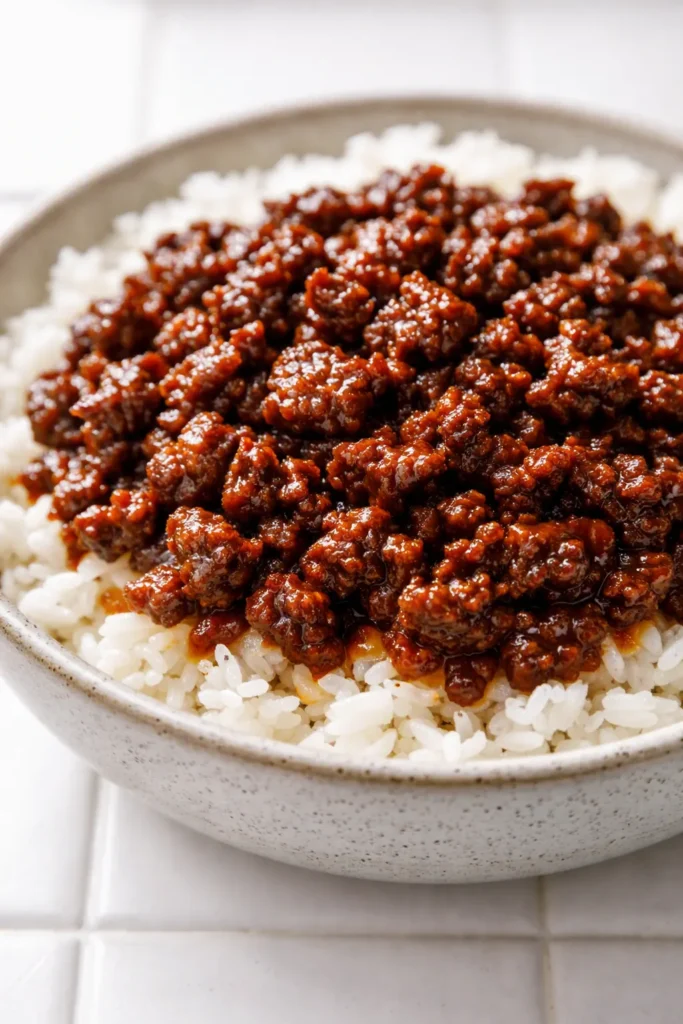
The sizzle hits first. That sound of ground beef hitting a hot skillet, all crackle and pop, and then the smell — garlic, ginger, sesame oil, and something sweet and savory all tangled together — fills the kitchen in about ninety seconds flat. My kids come running every single time. Every. Single. Time. And honestly? That’s the moment I know dinner’s already a win.
The short version: Sweet, savory, and glossy ground beef piled over steamy rice in 20 minutes with zero weird ingredients. Done.
I’ve made this Korean ground beef bowl more times than I can count — through toddler picky-eating phases, busy school nights, and that one month when my son decided he only ate “meat and rice.” It has never failed me.
- Serves: 4 as a main dish
- Hands-On Time: 10 min | Total Time: 20 min
- Difficulty: Easy, even on a school night
- Cost per serving: ~$3.50
- Calories: ~480 per serving
- Dietary Notes: Naturally dairy-free / Adaptable for gluten-free
(Photo above: Overhead shot of a white ceramic bowl piled with glossy, caramel-brown ground beef over a mound of fluffy white rice, scattered with sliced green onions and sesame seeds, natural early evening light hitting from the left, a pair of chopsticks resting on the rim.)
The Thing That Makes This Beef Actually Glossy (Not Watery)
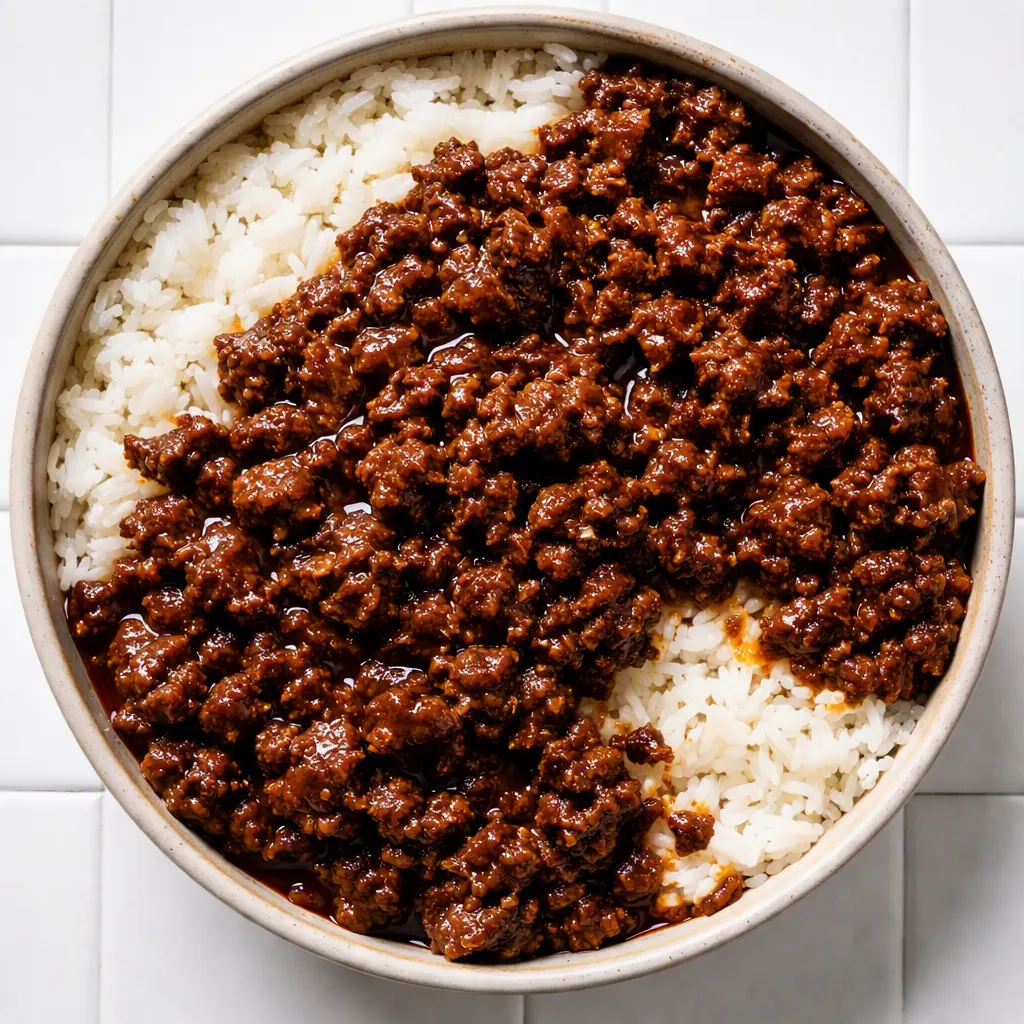
I learned this the hard way after way too many batches that tasted fine but looked sad and pale. The magic isn’t in some complicated marinade or a long slow braise — it’s in cooking the sauce down fast and hot until it clings. That’s it. That’s the whole trick.
When you combine brown sugar with soy sauce and a splash of sesame oil, you get something that wants to turn into a glaze — but only if you let it. Give it high heat for those last two or three minutes and don’t walk away. Stir constantly. Watch it go from soupy to glossy and thick. That’s the moment everything changes.
The other thing nobody mentions about this Korean ground beef bowl? Fresh ginger and fresh garlic. Not the jarred stuff — I’ve tried both, and I’m telling you the difference isn’t subtle. Fresh ginger has this bright, almost peppery kick that the powdered version just can’t touch. I keep a knob of ginger in my freezer and grate it straight from frozen on a microplane. Takes fifteen seconds and it’s a total game-changer.
One more thing: toast the sesame seeds yourself. The pre-toasted ones in a jar are fine in a pinch, but taking thirty seconds to toss raw sesame seeds in a dry pan while the beef rests turns them nutty and golden and so much more fragrant. It’s the kind of tiny extra step that makes people ask “what’s in this?” even when the ingredient list is basically seven things.
This produces beef that’s darker, richer, and infinitely more satisfying than anything from a jar — with a sauce that actually stays on the meat instead of pooling sadly at the bottom of the bowl.
Everything You Need (And a Few Notes From Me)
- 1 pound lean ground beef (90/10): You want lean here — too much fat and the sauce won’t cling right. I’ve used 85/15 in a pinch and just drained it well afterward.
My husband prefers 85/15 for the flavor, so now I split the difference and blot it with paper towels instead of draining. Best of both worlds. - ¼ cup low-sodium soy sauce: Regular works too, but I always keep low-sodium around so I can control the salt. If you use coconut aminos, the flavor gets a little sweeter and the dish becomes gluten-free.
My sister-in-law can’t do soy, and the coconut aminos version is genuinely good — slightly different, but my niece devours it. - 2 tablespoons brown sugar (packed): Dark or light both work. Dark brown sugar gives you a deeper, more molasses-y note. I use whichever is open.
My kids can smell the difference when I skip this. I’m not joking — my seven-year-old once said “this tastes like regular meat” when I forgot the sugar. Lesson learned. - 1 tablespoon sesame oil: Toasted sesame oil, not the pale yellow one. The toasted stuff is dark amber and smells nutty and almost smoky. A little goes a long way, and it’s what gives these bowls that unmistakable Korean-barbecue vibe.
- 3 garlic cloves, minced: Fresh. Please. I’ve tested jarred minced garlic in this recipe and it’s not the same — the sharp, sweet punch of fresh garlic is half the flavor here.
On nights when I truly cannot be bothered to mince garlic, I use a microplane and grate it directly into the pan. No cutting board required. - 1 tablespoon fresh ginger, grated: Keep an unpeeled knob in your freezer — it grates like a dream straight from frozen and lasts for months. Use the same microplane trick as the garlic for a super-fast shortcut.
- 2 cups cooked white rice (jasmine or short-grain): The rice needs to be hot and fresh if possible. Day-old rice works for fried rice, but for these bowls you want that soft, steamy, just-cooked texture. I start the rice cooker before I do anything else.
My rice cooker is the hardest-working appliance in my kitchen. Set it, forget it, perfect rice every time. - 2 green onions, sliced thin: These go on at the very end — they’re not just a garnish, they add a fresh, sharp bite that cuts through all the richness.
- 1 tablespoon sesame seeds, toasted: Toast them yourself in a dry skillet for 30–60 seconds. They go from beige to golden fast, so don’t walk away. Once they’re nutty and fragrant, tip them onto a plate so they don’t burn in the residual heat.
- Optional: ½ teaspoon gochugaru (Korean red pepper flakes) or a drizzle of sriracha: I do a mild version for the kids, then add a generous sprinkle of gochugaru to mine at the table. It’s deeply red and a little smoky, not just spicy.
My kids need the mild version, but I do a spicy bowl for myself after they’re served. Everyone wins.
The Setup (It’s Minimal, I Promise)
- A large skillet — 12 inches is ideal so the beef has room to brown instead of steam. If you only have a 10-inch, work in batches or accept that the browning won’t be as good.
- A rice cooker or a medium saucepan with a tight-fitting lid for the rice.
- A microplane or box grater for the ginger and garlic — totally optional but makes prep stupidly fast.
- Small bowls for prepping the sauce and aromatics. I usually just measure the soy sauce and brown sugar directly into one bowl while the skillet heats up.
If you don’t have a rice cooker, the stovetop method is totally fine — just bring the rice and water to a boil, clap on the lid, drop the heat to low, and set a timer for 15 minutes. Don’t lift the lid. Trust the timer.
Let’s Make It (Step by Step)
This goes fast, so read through once before you start. The rice takes the longest, so get that going first and everything else will be ready by the time it’s done.
Start the rice: Rinse 1 cup of jasmine or short-grain rice under cold water until the water runs mostly clear — this takes about 30 seconds. Cook according to your rice cooker’s instructions or on the stovetop with 1½ cups of water. Bring to a boil, cover, reduce heat to low, and cook for 15 minutes. Fluff with a fork when done.
- Whisk the sauce: In a small bowl, combine the soy sauce, brown sugar, and sesame oil. Whisk until the sugar dissolves — this takes about 30 seconds and makes sure you won’t have grainy sugar in your finished dish. Set it right next to the stove.
(📸 Photo tip: Small glass bowl with the dark amber sauce and a tiny whisk, morning light catching the glossy surface.) - Brown the beef: Heat your largest skillet over medium-high heat. Add the ground beef in a single layer and let it sit undisturbed for 2 minutes — this is the step that gives you those browned, crispy edges instead of gray steamed meat. After 2 minutes, break it apart with a wooden spoon and cook for another 3–4 minutes until no pink remains.
- Drain if needed: If you used 85/15 beef and there’s a lot of fat pooling in the pan, tilt the skillet and spoon out most of it — leave about a tablespoon behind for flavor. If you used lean beef, you can skip this.
(📸 Photo tip: Close-up of the browned, crumbled beef in the skillet with visible crispy edges.) - Add garlic and ginger: Push the beef to one side of the skillet. On the empty side, add the minced garlic and grated ginger directly onto the hot surface. Let them sizzle for 30 seconds — just until fragrant and you can smell them from across the kitchen. Stir into the beef.
- Pour in the sauce and cook it down: Drizzle the sauce mixture over the beef and stir to coat every crumb. Increase the heat to high and cook for 2–3 minutes, stirring constantly. Watch the sauce go from thin and watery to thick and glossy. When it coats the back of your spoon and doesn’t pool on the bottom, it’s done. Pull the pan off the heat immediately — it can go from perfect to burnt in about 20 seconds.
- Toast the sesame seeds: While the beef rests for a minute, toss the sesame seeds into a small dry skillet over medium heat. Shake the pan gently for 30–60 seconds until they’re golden and smell nutty. Immediately transfer to a small plate so they don’t burn.
When I’m really tired, I skip this and just sprinkle them on raw. Still good. Just less nutty. - Assemble the bowls: Scoop hot rice into four bowls. Pile the glossy beef right on top — don’t mix them together, let the beef sit proud so you can see that gorgeous dark glaze against the white rice. Scatter with sliced green onions and toasted sesame seeds.
(📸 Photo tip: Low angle of a single bowl with the beef mounded over rice, green onions vibrant against the dark meat, chopsticks reaching in.)
Sunday Prep = Stress-Free Weeknight Dinners
I make a double batch of the beef on Sundays and we’re set for at least two school nights. The rice, I make fresh — it takes virtually no effort in the rice cooker — but the beef reheats beautifully and honestly might taste even better on day two after the flavors have had time to hang out together.
- Fridge: Store the cooked beef in an airtight container for up to 4 days. Rice separately, always — if you store them together the rice absorbs all the sauce and gets weird.
- Freezer: Yes! Portion the beef into zip-top bags, press out the air, and freeze flat for up to 3 months. Thaw overnight in the fridge. This has saved me on more chaotic weeknights than I can count.
- Reheat: A skillet over medium heat is best — it re-glazes the sauce and keeps everything juicy. The microwave works in a pinch (90 seconds, stirring halfway) but the beef won’t have that same glossy finish. Still tastes great though.
Things I Wish I’d Known the First Time
- Don’t crowd the pan: A 12-inch skillet gives the beef room to actually brown. If you cram it into a smaller pan, the meat steams instead of sears and you lose all those crispy, caramelized bits that make the dish. Even if you mess this part up a little, it’ll still taste good — I’ve done it. But the bigger pan is worth digging out of the cabinet.
- The sauce thickness test: Drag your spoon through the beef and sauce — if the track stays clear for a second before the sauce creeps back in, it’s ready. If it’s swimming, keep cooking. My husband thought I was overthinking it until he tried both versions side by side.
- Fresh ginger freezes forever: I bought fresh ginger once a week for years and half of it shriveled before I used it. Now I keep the whole knob in a zip-top bag in the freezer and grate it straight from frozen. It’s actually easier to grate when frozen — less fibrous — and it lasts for months.
- Serve it right away: These bowls are at their best within five minutes of assembly. If you need to hold the beef, keep it covered in the skillet off the heat and assemble the bowls as you serve. The rice stays hot, the beef stays glossy, and the green onions stay bright and fresh.
Swaps That Actually Work
- Gluten-Free: Use tamari or coconut aminos instead of soy sauce. The coconut aminos version is slightly sweeter and less salty, so you might want to add a pinch of salt. This is the version I make for my nephew who can’t do gluten — he loves it.
- Lower-Sugar: Swap the brown sugar for 1 tablespoon of honey or maple syrup. The glaze won’t be quite as sticky, but the flavor is still sweet and balanced. I’ve also tried it with a mashed medjool date whisked into the sauce, and while it’s not the same, it’s surprisingly good.
- Spicy Version: Add ½ teaspoon of gochugaru to the sauce, or stir in a tablespoon of gochujang (Korean fermented chili paste) for deeper heat. I do this exclusively for the adult portions after the kids are served. A fried egg on top of the spicy version is honestly next-level.
- Ground Turkey or Chicken: Both work great — just add a teaspoon of neutral oil to the pan before browning since they’re leaner. The turkey version has become our go-to when we’re trying to eat a little lighter after the holidays.
- Cauliflower Rice: For a low-carb version, sauté riced cauliflower in a separate skillet with a tiny splash of sesame oil while the beef cooks. It won’t soak up the sauce the same way rice does, but it’s still a solid weeknight option when you’re cutting carbs.
- Veggie-Packed: Toss in a handful of spinach at the very end — it wilts in the residual heat — or serve with quick-pickled cucumbers on the side. My daughter now requests “the green stuff” in her bowl and I’m not mad about it.
Questions I Get About This Recipe All the Time
Q: Why did my beef turn out kind of gray and watery instead of glossy?
A: Ugh, I’ve been there. Two likely culprits: either the pan wasn’t hot enough when you added the beef, or you didn’t cook the sauce down long enough. You need high heat at two points — first when browning the meat so it sears instead of steams, and again at the end when reducing the sauce so it thickens and glazes. Give it an extra minute or two over high heat next time and stir constantly. The sauce should coat the meat and leave a clear trail when you drag your spoon through. You’ve got this next time.
Q: Can I make this with ground chicken or turkey?
A: Absolutely. I’ve tested it with both, and ground turkey is my favorite substitute — it soaks up the sauce beautifully. Just add a drizzle of neutral oil to the skillet before browning since poultry is leaner and can dry out without a little help. The timing stays exactly the same. My whole family gave the turkey version a thumbs up, and that’s saying something.
Q: How long does the beef last in the fridge? Can I freeze it?
A: The cooked beef keeps for 4 days in an airtight container in the fridge — and honestly, it tastes even better on day two when the flavors have melded. For freezing, portion it into zip-top bags, flatten them for quick thawing, and freeze for up to 3 months. Thaw overnight in the fridge and reheat in a skillet over medium heat. The microwave works in a pinch (90 seconds, stir halfway) but you lose that glossy finish.
Q: What do you serve with Korean ground beef bowls?
A: Rice is the obvious answer, but here’s what we actually do at home: my kids love it with steamed broccoli on the side (the sauce drips down and makes the broccoli taste amazing), and I’ll often do a quick cucumber salad — just sliced cucumbers, a splash of rice vinegar, a pinch of sugar, and some sesame seeds. On weekends when we’re feeling it, I’ll add a fried egg on top and some kimchi from the jar. The runny yolk plus the sweet beef is ridiculous.
More Recipes My Family Makes on Repeat
If you liked this one, here are a few others that get the same reaction at our table:
- [INTERNAL LINK PLACEHOLDER: Quick Beef and Broccoli Stir-Fry] — The one that taught my kids to love broccoli, no bribing required.
- [INTERNAL LINK PLACEHOLDER: Easy Homemade Fried Rice] — My fridge-cleanout hero that somehow always tastes better than takeout.
- [INTERNAL LINK PLACEHOLDER: Korean-Style Gochujang Chicken Thighs] — Sticky, spicy, and exactly what I make when I need a dinner that feels like a Friday.
- [INTERNAL LINK PLACEHOLDER: 15-Minute Garlic Noodles] — The side dish that threatens to steal the show every single time.
This Korean ground beef bowl has pulled me through more chaotic weeknights than I can count, and every time it hits the table, my kids act like it’s a special occasion. That’s pretty much the highest praise I can give a recipe — it’s easy enough for a Tuesday and good enough for company. I hope it does the same for you.
If you try it, drop a comment below — I love hearing how it goes for you, and I read every single one. Tag me on Pinterest or Instagram so I can see your bowls! There’s nothing better than seeing that glossy beef on someone else’s dinner table.
📌 Korean ground beef bowl recipe that comes together in 20 minutes with a glossy, sweet-savory glaze — save it for your busiest weeknights when you need a dinner everyone actually cheers for.
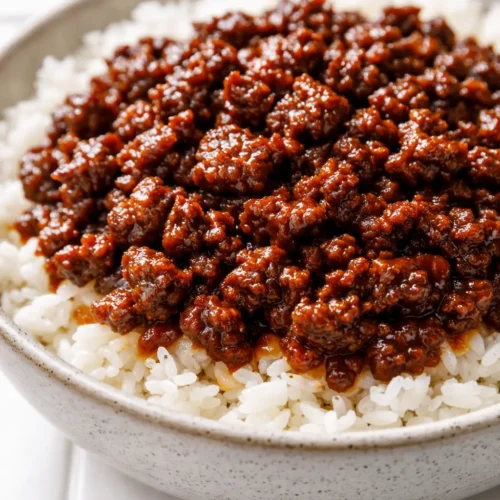
Korean Ground Beef Bowls
Equipment
- Large Skillet (12-inch)
- Rice Cooker or Medium Saucepan
- Microplane or box grater
- Small Bowl
Ingredients
- 1 lb lean ground beef (90/10)
- 1/4 cup low-sodium soy sauce
- 2 tbsp packed brown sugar
- 1 tbsp toasted sesame oil
- 3 cloves garlic, minced
- 1 tbsp fresh ginger, grated
- 1/2 tsp gochugaru (Korean red pepper flakes), optional
For Serving
- 2 cups cooked white rice (jasmine or short-grain)
- 2 green onions, sliced thin
- 1 tbsp sesame seeds, toasted
Instructions
- Whisk the sauce: In a small bowl, combine soy sauce, brown sugar, and sesame oil. Whisk until the sugar dissolves, about 30 seconds. Set near the stove.
- Brown the beef: Heat a large skillet over medium-high heat. Add ground beef in a single layer and let it sit undisturbed for 2 minutes to sear. Break apart with a wooden spoon and cook 3-4 more minutes until no pink remains.
- Drain if needed: If using 85/15 beef and fat pools in the pan, tilt and spoon out most, leaving about 1 tablespoon for flavor. Skip if using lean beef.
- Add garlic and ginger: Push beef to one side of the skillet. Add minced garlic and grated ginger directly onto the hot surface. Let sizzle until fragrant, about 30 seconds, then stir into the beef.
- Pour in the sauce and cook down: Drizzle sauce over beef and stir to coat. Increase heat to high and cook 2-3 minutes, stirring constantly, until sauce thickens and turns glossy. It should coat the back of a spoon and not pool. Remove from heat immediately.
- Toast the sesame seeds (optional but recommended): In a small dry skillet over medium heat, toast sesame seeds for 30-60 seconds, shaking the pan, until golden and nutty. Transfer to a plate so they don’t burn.
- Assemble the bowls: Scoop hot rice into four bowls. Pile glossy beef on top. Scatter with sliced green onions and toasted sesame seeds. Serve immediately.
Notes
Related Recipes:
 Cheesy Hamburger Casserole Bake That’s Ready in 40 Minutes (No Canned Soup Here)
 Creamy Garlic Tagliatelle That Looks Like a Restaurant Dish in 20 Minutes
 Texas Roadhouse Style Baked Salmon with Sweet and Savory Glaze — Ready in Under 30 Minutes
 Easy Italian Meatloaf That’s Actually Juicy (Not Dry) — in 1 Hour
 The Biscuits and Gravy Casserole That’s Actually Crispy on Top (And Ready in 40 Minutes)
 Air Fryer Chicken and Vegetables That Don’t Taste Like a Regret (30 Minutes, One Pan)