
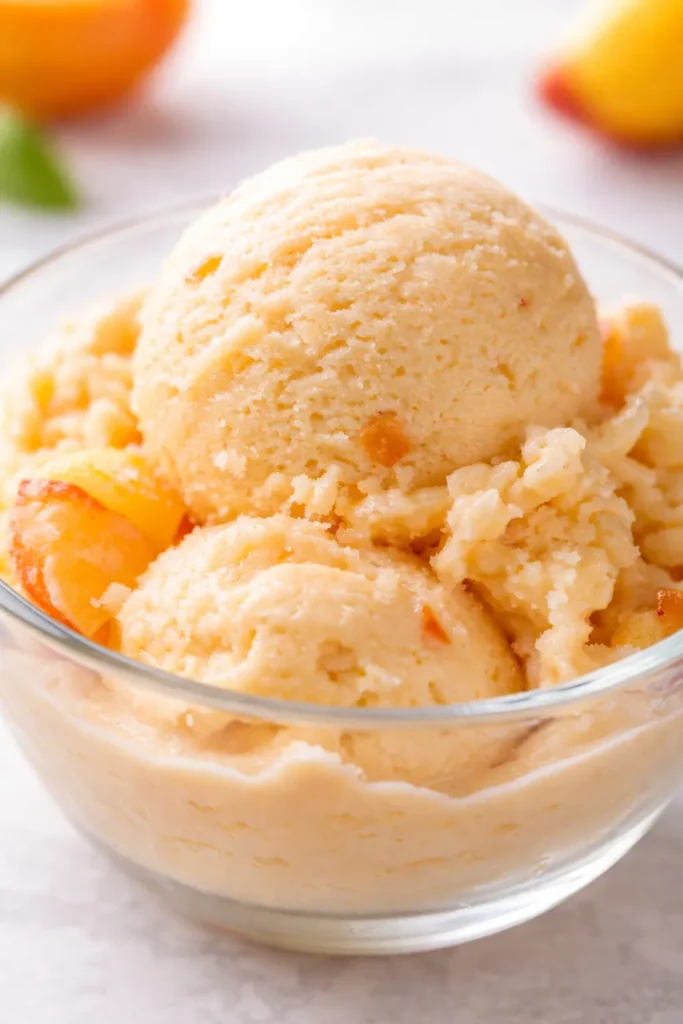
I have a confession: I used to buy store-bought peach ice cream because every homemade batch I tried turned into a solid, icy brick. It was a summer bummer, every single time. This no-churn version? It’s the one that finally changed the game. The secret is roasting the peaches first, which concentrates their flavor and drives off the excess water that causes ice crystals. The result is a creamy, dreamy, intensely peachy ice cream that scoops perfectly straight from the freezer. My kids polish off a whole loaf pan in two days flat.
The short version: Rich, creamy, no-machine-needed peach ice cream that stays scoopable for days — no ice crystals, just pure summer flavor.
I’ve made this every July for the past four years. It’s the one my friends text me about when stone fruit season hits, and it’s the only recipe I trust for our annual fourth of July cookout.
- Serves: 8 as a dessert
- Hands-On Time: 20 min | Total Time: 6 hours 20 min (including freezing)
- Difficulty: Easy — if you can whip cream, you can do this
- Cost per serving: ~$1.50
- Calories: ~280 per serving
- Dietary Notes: Naturally vegetarian. Can be made dairy-free with coconut condensed milk & cream.
(Photo above: A swoop of creamy peach ice cream in a pastel yellow bowl, a few golden peach chunks visible, with a sprig of mint and a vintage ice cream scoop resting on the edge. Soft, warm afternoon light from a kitchen window.)
The Trick That Changes Everything (It’s the Peaches)
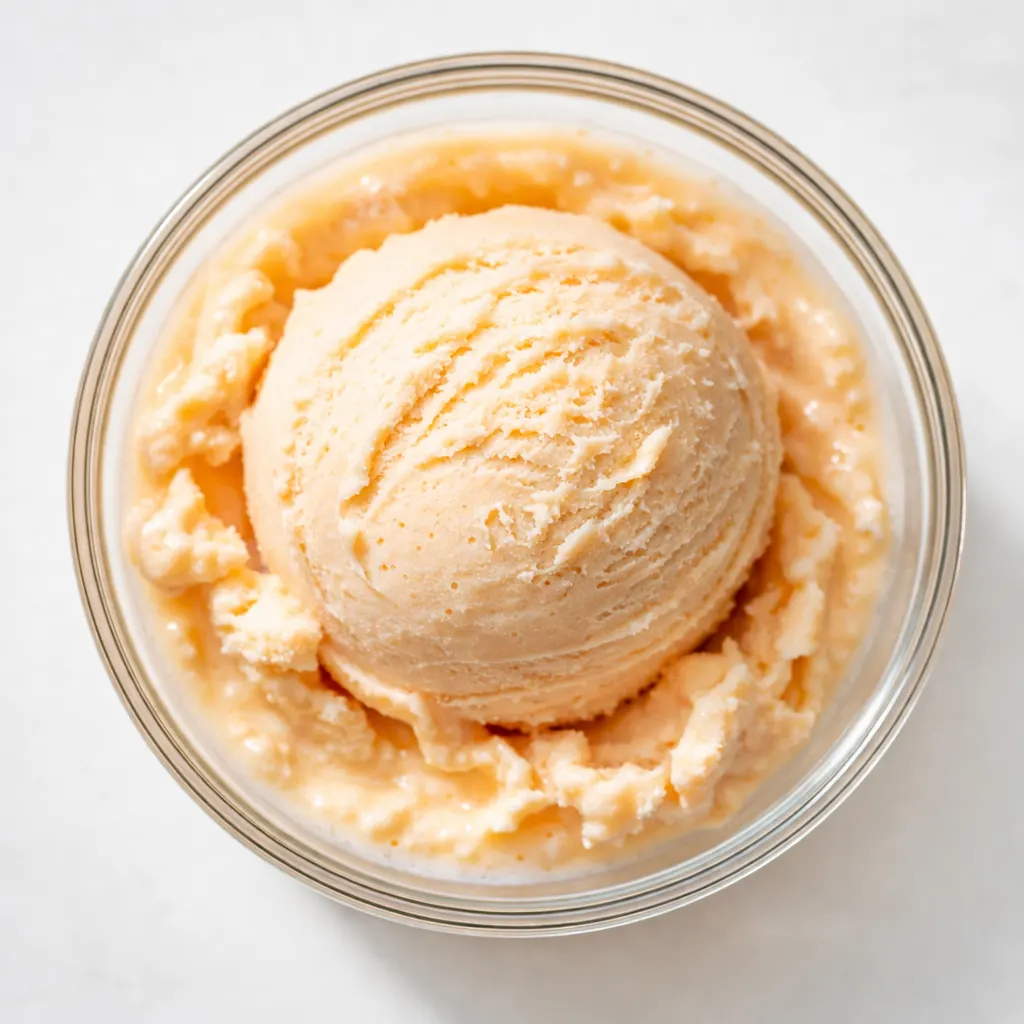
If you skip the roasting step, I promise you’ll be disappointed. Here’s the deal: peaches are basically water balloons. If you blend them raw and freeze them, you’re freezing water. That’s how you get that heartbreaking, crunchy ice texture. By roasting them first, you evaporate that excess water and concentrate the sugars into something that tastes intensely peachy and almost jammy. It also infuses the cream base with a cooked-fruit depth that raw peaches just can’t match. It’s the difference between a popsicle and a scoop of actual, luxurious ice cream. I learned this the hard way after way too many batches that belonged in the trash, not on a cone.
What Goes In — Plus a Few Notes From Me
- 2 lbs ripe peaches (about 5-6 medium): The riper, the better. They bring natural sweetness and deeper flavor. If peaches aren’t in season, frozen unsweetened peaches work! Roast them straight from frozen, just add 5 minutes.
- 1 (14 oz) can sweetened condensed milk: This is the backbone of no-churn ice cream. It keeps the texture soft and scoopable because the sugar content prevents large ice crystals from forming. My kids can smell the difference when I skip this, I’m not joking.
- 2 cups heavy whipping cream: Needs to be COLD. Whip it to stiff peaks so you’re folding air into the base. This is what gives you that light, creamy texture instead of a dense brick.
- 2 tbsp fresh lemon juice: Keeps the peach color vibrant and balances the sweetness so it doesn’t cloy. Bottled lemon juice won’t do it justice here.
- 1 tsp vanilla extract: Rounds out the peachy flavor and makes it taste like a real ice cream parlor scoop.
- Pinch of salt: Makes every flavor pop. Don’t skip it!
The Setup
- Baking sheet & parchment paper (for roasting)
- Loaf pan (9×5) — for freezing. A metal one works best!
- Electric mixer (hand or stand) — for whipping the cream
- Rubber spatula — for folding
Let’s Make It — Start to Finish
This moves fast once the peaches are cool, so lining everything up ahead of time helps.
Roast the Peaches: Start by giving those peaches some love.
- Prep and Roast: Preheat oven to 400°F. Wash and chop the peaches (no need to peel — the skin softens during roasting). Toss them with 2 tbsp white sugar and the lemon juice on a lined baking sheet. Spread in an even layer. Roast for 20-25 minutes until bubbly, juicy, and slightly caramelized around the edges. (📸 Photo tip: The peaches should look shrunken and tender, with sticky, golden juices pooling around them on the pan.)
- Cool Completely: This is the most important step! Let the peaches cool completely on the baking sheet. If they’re even slightly warm, they’ll deflate your whipped cream and ruin the texture. Pop them in the fridge if you’re in a hurry.
- Mash ‘Em Up: Once cool, use a fork to mash the peaches. Leave some good-sized chunks — those little frozen nuggets of fruit are the best part of any peach ice cream.
- Whip the Cream: In a large bowl, beat the heavy cream and vanilla extract until stiff peaks form. Don’t overdo it, or you’ll end up with butter! You want it to hold its shape but still be silky.
- Fold the Base: Pour the sweetened condensed milk over the whipped cream. Gently fold with a rubber spatula until it’s combined and smooth. Be gentle — you want to keep as much air in there as possible.
- Swirl the Peaches: Add the mashed peaches (and any juice from the pan). Fold it in just 3-4 times — you want big, dramatic ribbons of peach running through the white base, not a fully pink mixture. (📸 Photo tip: You want big, fat ribbons of peach running through the white base. Only fold 3-4 times!)
- Freeze: Scrape the mixture into your loaf pan. Smooth the top. Press a piece of plastic wrap directly onto the surface of the ice cream (this prevents freezer burn), then cover tightly with the lid or foil. Freeze for at least 6 hours, preferably overnight.
- Serve: Let it sit on the counter for 10-15 minutes before scooping. This makes all the difference in texture. It goes from rock-hard to perfectly scoopable in about the time it takes to pour a glass of iced tea.
Make-Ahead Magic (For When You’re Planning Ahead)
This is the BEST make-ahead dessert because it just sits in your freezer waiting for you. I make it the day before a cookout so I’m not scrambling for a last-minute dessert.
- Fridge: N/A — straight to the freezer it goes.
- Freezer: YES. Store tightly covered for up to 2 weeks. If it gets too hard, just let it sit out a few extra minutes before scooping.
- Reheat: (Wait, it’s ice cream). Just soften at room temp for 10-15 mins before scooping. The texture comes right back.
Things I Wish I’d Known the First Time
- Don’t skip cooling the peaches. I know it’s tempting, but if they’re even slightly warm, they’ll deflate the whipped cream and you’ll end up with a dense, icy base. Patience, friend. Pop them in the fridge for 20 minutes if you need to speed things up.
- Use a metal loaf pan. Metal conducts cold better than glass, so your ice cream freezes faster and stays at a more consistent temperature. This means fewer and smaller ice crystals. It makes a real difference!
- Press plastic wrap onto the surface. Before you put the lid on, press a piece of plastic wrap directly onto the ice cream mixture. This prevents freezer burn from ruining your beautiful, creamy surface. Your future self will thank you.
- Soften before scooping. Straight out of the freezer, it’ll be rock hard. Give it 10-15 minutes on the counter. Your arm will thank you, and the texture is so much silkier. Trust me on this one — even if you forget, it’s still good, but this step makes it great.
Make It Yours — Swaps That Actually Work
- Dairy-Free: Use full-fat canned coconut cream (chilled overnight) and a dairy-free sweetened condensed coconut milk. It’s a bit denser but still incredibly good. My sister-in-law, who’s dairy-free, says it’s the best ice cream she’s had in years.
- Spiced Peach: Add 1/2 tsp cinnamon + 1/4 tsp nutmeg to the peach mixture before roasting. Tastes like peach cobbler a la mode. I make this version in the fall when I’m craving summer flavors.
- Peach-Berry Swirl: Swirl in 1/2 cup of raspberry or strawberry jam (slightly warmed to loosen) just before freezing. My kids lose their minds over this one. The tart berries cut the sweetness perfectly.
- Bourbon Peach (Adult Version): Add 1 tbsp bourbon to the peach mixture after roasting. The alcohol lowers the freezing point, making it even more scoopable straight from the freezer. This is my go-to for dinner parties.
Questions I Get About This Recipe All the Time
Q: Why did my ice cream turn out icy?
A: Ugh, I’ve been there. Two culprits: either you didn’t roast the peaches long enough to drive off excess water, OR the mixture froze too slowly. Make sure your freezer is at 0°F and use a metal pan. If it’s still icy, your freezer might be too warm, or the peaches were just too watery. Try roasting them a few extra minutes next time.
Q: Can I use frozen peaches?
A: Yes! Roast them straight from frozen. You might need to add 5–10 minutes to the roasting time. The flavor won’t be quite as intense as peak-summer peaches, but it’s a lifesaver in January when you’re craving summer. I’ve tested this and it works!
Q: How long does this last in the freezer?
A: About 2 weeks is the sweet spot. After that, even with the best precautions, it can start to pick up freezer flavors. (If it does, let it soften and blitz it in a blender for a “milkshake” — no waste!)
Q: What do you serve with this?
A: Honestly, it’s perfect on its own. But if I’m feeling extra:
- A warm peach crisp (double the peach goodness)
- Shortbread cookies (for dipping)
- A drizzle of warm salted caramel sauce (my husband’s non-negotiable)
More Recipes My Family Makes on Repeat
If you liked this one, here are a few others that get the same reaction at our table:
- [INTERNAL LINK PLACEHOLDER: No-Churn Blackberry Cheesecake Ice Cream] — Creamy, tangy, and swirled with a berry jam that takes 5 minutes.
- [INTERNAL LINK PLACEHOLDER: Easy Homemade Waffle Cones] — Because homemade ice cream deserves a homemade cone.
- [INTERNAL LINK PLACEHOLDER: Old-Fashioned Peach Cobbler] — The bubbly, buttery skillet version that disappears in 10 minutes.
This peach ice cream is our official end-of-summer tradition, and I hope it becomes one in your kitchen too. It’s the kind of recipe that feels a little bit magic — a few simple ingredients, a little bit of patience, and suddenly you’ve got something better than anything from a store.
If you try it (and you totally should!), drop a comment below and let me know how it turned out. I read every single one, and I love hearing about your summer ice cream adventures!
📌 Homemade Peach Ice Cream recipe that stays creamy (no ice crystals!) — save it for your next summer get-together or lazy Sunday afternoon.
Homemade Peach Ice Cream That Doesn’t Get Icy — Finally (No Machine!)
Equipment
- Baking Sheet
- Parchment Paper
- Loaf Pan (9×5 metal)
- Electric mixer
- Rubber Spatula
- Large Mixing Bowl
Ingredients
- 2 lbs ripe peaches (about 5-6 medium)
- 2 tbsp white sugar
- 1 (14 oz) can sweetened condensed milk
- 2 cups heavy whipping cream
- 2 tbsp fresh lemon juice
- 1 tsp vanilla extract
- 1 pinch salt
Instructions
- Preheat oven to 400°F. Wash and chop the peaches (no need to peel — the skin softens during roasting). Toss them with 2 tbsp white sugar and the lemon juice on a lined baking sheet. Spread in an even layer. Roast for 20-25 minutes until bubbly, juicy, and slightly caramelized around the edges.
- Let the peaches cool completely on the baking sheet. If they’re even slightly warm, they’ll deflate your whipped cream. Pop them in the fridge if you’re in a hurry.
- Once cool, use a fork to mash the peaches. Leave some good-sized chunks — those little frozen nuggets are the best part.
- In a large bowl, beat the heavy cream and vanilla extract until stiff peaks form. Don’t overdo it, or you’ll end up with butter!
- Pour the sweetened condensed milk over the whipped cream. Gently fold with a rubber spatula until combined and smooth. Be gentle to keep as much air in as possible.
- Add the mashed peaches (and any juice from the pan). Fold it in just 3-4 times — you want big, dramatic ribbons of peach running through the white base, not a fully pink mixture.
- Scrape the mixture into your loaf pan. Smooth the top. Press a piece of plastic wrap directly onto the surface of the ice cream, then cover tightly with lid or foil. Freeze for at least 6 hours, preferably overnight.
- Let it sit on the counter for 10-15 minutes before scooping. This makes all the difference in texture.
Notes
Related Recipes:
 Cheesy Hamburger Casserole Bake That’s Ready in 40 Minutes (No Canned Soup Here)
 Texas Roadhouse Style Baked Salmon with Sweet and Savory Glaze — Ready in Under 30 Minutes
 Moist Lemon Zucchini Bread with a Crunchy Lemon Sugar Top
 Strawberry Shortcake Rice Krispie Treats That Actually Taste Like Shortcake — Ready in 15 Minutes
 Blueberry Oatmeal Cookies That Stay Soft for Days — in Under 30 Minutes
 Air Fryer Chicken and Vegetables That Don’t Taste Like a Regret (30 Minutes, One Pan)