
The first time I made this, I brought it to a friend’s barbecue. I walked in, set the cake on the counter, and before I could find a knife, someone had stuck their finger in the crunch topping and walked away eating it like a cookie. That’s when I knew it was a keeper. This is the cheesecake that disappears slice by slice, but honestly? The crunch goes first. It’s creamy, tangy, packed with real strawberry flavor, and has that buttery, salty-sweet crumble on top that makes people stop mid-bite and just look at the cake.
The short version: A dense, no-water-bath cheesecake base, a thick homemade strawberry jam layer, and a nostalgic crunch topping that tastes exactly like the best part of a strawberry shortcake ice cream bar.
I’ve made this for birthdays, potlucks, and random Tuesdays when I just needed a project. My picky nine-year-old, who “doesn’t like cooked fruit,” ate two slices. The crunch is that powerful.
- Serves: 12 as dessert
- Hands-On Time: 45 min | Total Time: 8 hrs 45 min (includes chilling)
- Difficulty: Medium — the steps are easy, the waiting is the hard part
- Cost per serving: ~$2.50
- Calories: ~480 per serving
- Dietary Notes: Contains gluten, dairy, eggs. See variations for GF.
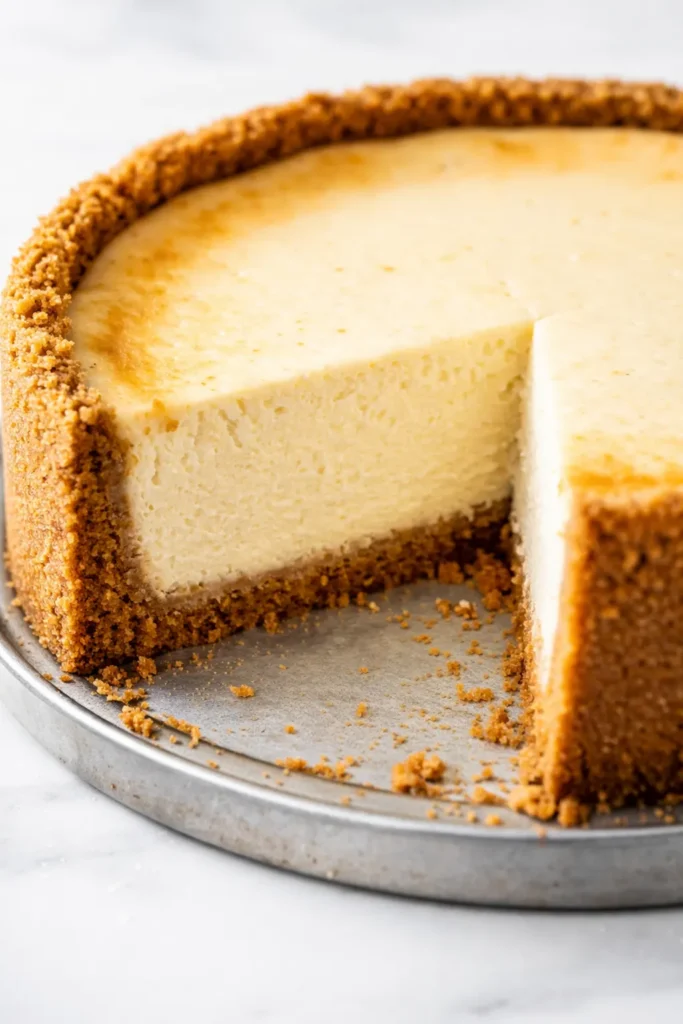
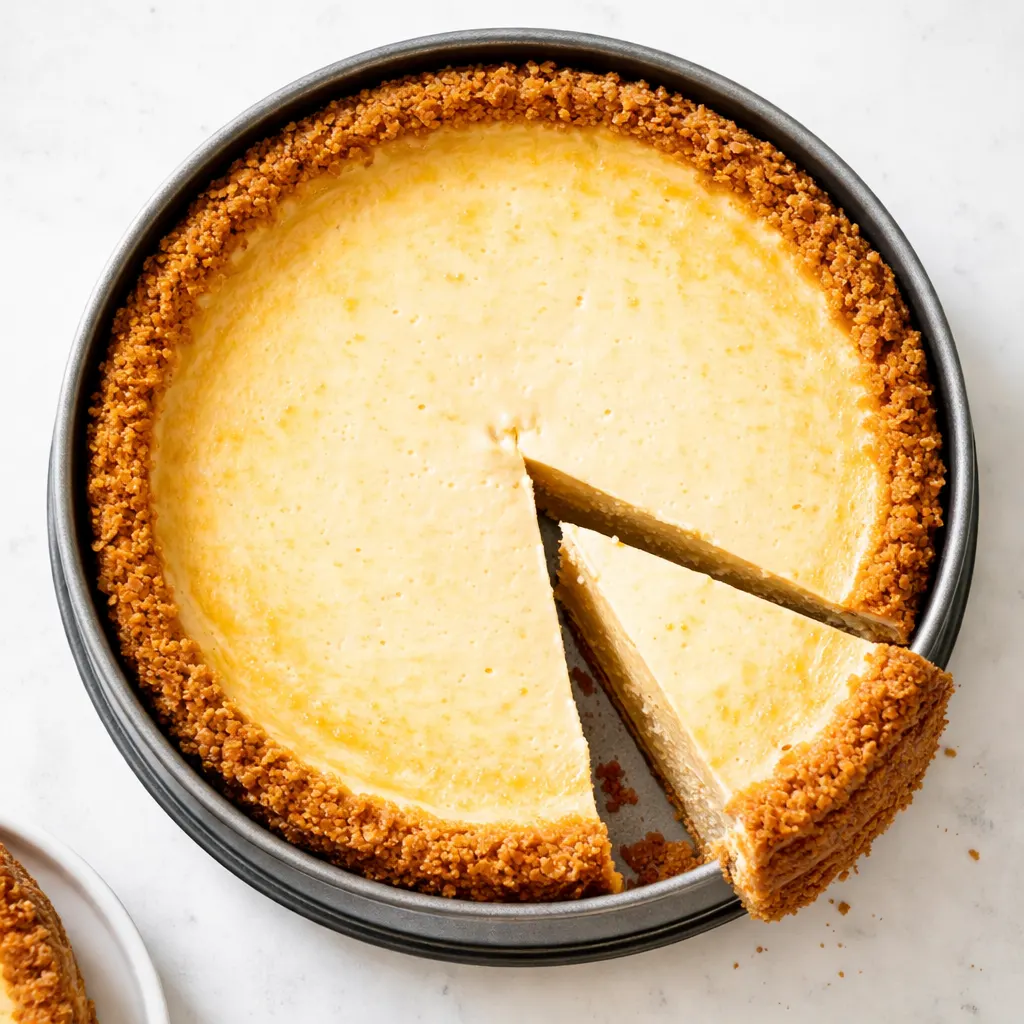
(Photo above: A slice of cheesecake on a simple white plate, angled to show the layers — golden crust, silky cream cheese filling, a thick ruby strawberry jam layer, and a craggy, golden-pink crunch topping. A few fresh strawberry halves are scattered on the plate, clearly not part of the cake but there to tell you what flavor you’re about to enjoy.)
The Three Layers That Earn Their Keep
I tested the crunch topping six times. The first five were either too hard, too soft, or too sweet. The version that finally worked uses a packet of vanilla instant pudding mix. Yes, the boxed kind. It gives the crunch that nostalgic, melt-in-your-mouth quality without tasting artificial. It’s a short-cut that actually makes the final result better, not just easier.
The strawberry layer here is thick — we’re not doing a swirl that disappears into the batter. We’re making a concentrated jam that stays put between the cheesecake and the crunch. This way, every single bite has a clean hit of acid to cut through the richness. It’s the structural and flavor anchor of the whole cake.
And the cheesecake itself? No water bath. No cracked tops. Just a low oven and a slow cool. It’s dense and creamy in the way a proper cheesecake should be — not airy, not soufflé-adjacent. Dense. The way you want it.
The Grocery List (With My Notes)
- 2 lbs (32 oz) full-fat cream cheese: Block form, not whipped. Low-fat has too much water and will break your heart. I’ve cried over this particular mistake. It’s not pretty.
- 1 cup granulated sugar: For the cheesecake base. Adjusts the tang without overpowering it.
- 1/2 cup heavy cream: Adds richness and helps the cheesecake stay creamy without a water bath.
- 1 lb fresh or frozen strawberries: For the jam layer. Frozen work great, just cook them down a little longer.
- 1 box (3.4 oz) vanilla instant pudding mix: The secret ingredient in the crunch. Don’t skip it and don’t substitute cook-and-serve.
- 1/2 cup freeze-dried strawberries: These get crushed up and mixed into the crunch for that pink color and concentrated flavor. My kids love helping crush these — it’s very satisfying and slightly violent.
- 1 1/2 cups graham cracker crumbs: For the crust. About 12 full sheets.
- 5 tbsp unsalted butter: Melted. For the crust.
- 3 large eggs: Room temperature. Set them out with the cream cheese.
- 1 tsp vanilla extract: Pure, not imitation.
- 1 cup all-purpose flour: For the crunch topping.
- 1/2 cup unsalted butter (cold): Cubed. For the crunch topping.
- 1 tbsp lemon juice: For the strawberry jam. Helps set the pectin and brightens the flavor.
What to Pull Out (It’s Mostly Standard)
- A 9-inch springform pan — the kind that doesn’t leak (or wrap the outside in foil just in case).
- A food processor for the crunch — or a rolling pin and a ziplock bag if you want to arm yourself.
- A stand mixer or a hand mixer. Either works.
- A small saucepan for the jam.
Let’s Make It (Step by Step, No Stress)
This goes in stages, but none of them are hard. Read through once so you know where the breaks are.
Prep and Crust:
- Preheat: Oven to 325F. Grease your springform pan and wrap the outside with a double layer of foil (just in case your pan is leaky).
- Make the crust: Combine graham cracker crumbs, 2 tbsp sugar, and 5 tbsp melted butter in a bowl. Mix until it looks like wet sand. Press firmly into the bottom of the pan and about an inch up the sides. Use the bottom of a measuring cup to get it flat.
- Bake the crust: Bake for 10 minutes at 325F. Let it cool while you make the jam and filling. (📸 Photo tip: The crust should be lightly golden at the edges and smell like a graham cracker house.)
The Strawberry Jam Layer:
- Cook the berries: In a small saucepan, combine the strawberries, 1/4 cup sugar, and 1 tbsp lemon juice. Cook over medium heat, stirring occasionally, until the berries break down and the mixture thickens — about 10-15 minutes for fresh, 15-20 for frozen.
- Cool it: Remove from heat and let it cool completely. It will thicken further as it cools. Don’t rush this. Warm jam will melt your cheesecake.
The Cheesecake Filling:
- Beat the cream cheese: In a stand mixer with the paddle attachment (or a large bowl with a hand mixer), beat the 2 lbs of cream cheese and 1 cup sugar on low speed until smooth. Scrape the bowl and the beater. The bottom always hides chunks.
- Add eggs: Add the eggs one at a time, mixing on low after each just until combined. Do not rush this. Room temperature eggs are non-negotiable here.
- Finish the filling: Add the vanilla and heavy cream. Mix on low until just combined. Stop the second it looks smooth. Overmixing incorporates air and causes cracks. (📸 Photo tip: The filling should look like a thick, velvety smoothie — no lumps, no bubbles.)
- Assemble: Pour the filling over the crust. Reserve about 1/3 cup of the strawberry jam. Dollop the remaining jam over the filling and swirl it in gently with a butter knife. Just a few figure-eights — you want ribbons, not a muddy pink mess.
- Bake: Place the springform pan on a baking sheet. Bake at 300F for 55-65 minutes. The edges should be set and the center should jiggle slightly when you gently shake the pan. Like jello, not like soup.
- Cool slowly: Turn off the oven and crack the door open. Let the cheesecake sit in the warm oven for 1 hour. Then remove it, let it cool to room temperature on the counter, and refrigerate for at least 6 hours (overnight is better).
The Crunch Topping (Make This While The Cheesecake Chills):
- Crush the berries: Pulse the freeze-dried strawberries in a food processor until they become a powder. Add the flour, remaining 1/2 cup sugar, vanilla pudding mix, and cold cubed butter. Pulse until the mixture looks like coarse, wet sand with some pea-sized clumps.
- Bake the crunch: Spread the mixture on a lined baking sheet. Bake at 350F for 10-12 minutes, stirring once halfway through. It should be golden and fragrant. Let it cool completely on the sheet. (📸 Photo tip: It will look like a bunch of golden, pink-flecked clumps. If it looks like a solid sheet, you didn’t stir it.)
Finishing the Cake:
- Top the cake: Once the cheesecake is fully chilled and set, remove it from the springform pan. Spread the reserved strawberry jam evenly over the top. Just before serving, pile the crunch on top generously. Add the crunch at the last minute so it stays crispy.
How I Keep This for the Week (If It Lasts)
This is one of those desserts that gets better on day two, flavor-wise. The texture of the crunch is the only thing that fades, so I always store the components separately if I’m planning ahead.
- Fridge: Store the assembled cake (or individual slices) in an airtight container for up to 5 days. The crunch will soften, but it’s still delicious.
- Freezer: Freeze the cheesecake base (without jam or crunch) tightly wrapped for up to 2 months. Thaw overnight in the fridge, then add the jam and crunch before serving. Do not freeze the crunch — it gets sad.
- Reheat: This is a cold dessert. Let it sit at room temperature for 15 minutes before serving if you want it slightly softer.
The Mistakes I Made So You Don’t Have To
- Cold ingredients are the enemy. I know it’s annoying to set cream cheese and eggs on the counter two hours ahead. Do it anyway. Cold cream cheese makes a lumpy filling, and cold eggs can make the emulsion break. Set them out before you start making the crust.
- Don’t overmix the filling. I cannot stress this enough. Mix on low speed and stop the second it’s combined. High speed incorporates air, and air causes cracks. We are not making a sponge cake.
- Hot knife for clean slices. Run your knife under hot water, dry it off, and slice. Clean the blade between each cut. It’s the only way to get those bakery-style edges where the layers stay perfectly separated.
- Add the crunch at the last minute. If you top the cake and refrigerate it overnight, the crunch will absorb moisture and become soft. I add it right before I set the cake on the table.
Make It Yours: Swaps That Actually Work
- Gluten-Free: Use gluten-free graham crackers for the crust and a good 1:1 gluten-free flour blend for the crunch. I’ve tested this with my nephew who has celiac — he said it was the best cheesecake he’d ever had, and he’s brutally honest.
- Raspberry Crunch: Swap the strawberries entirely for raspberries. Use freeze-dried raspberries in the crunch and fresh or frozen for the jam. The color is even more dramatic.
- Chocolate Strawberry: Add a thin layer of melted dark chocolate between the crust and the cheesecake filling. My husband requests this for his birthday every single year.
- Kid-Friendly (Lazy Version): Skip the jam layer on top entirely. Just pile the crunch on top of the plain cheesecake and add a dollop of whipped cream. Sometimes you just need the crunch and the cream.
Questions I Get About This Recipe All the Time
Q: Why did my cheesecake crack?
A: Ugh, I’ve been there. The most common reason is overmixing. If you mix the filling on high speed, you incorporate too much air. It rises in the oven, then collapses and cracks. The fix is to mix on low and stop the second it’s smooth. The second reason is overbaking — it should still jiggle in the center when you pull it out. If you do get a crack, just cover it with the jam and crunch. No one will know.
Q: Can I use frozen strawberries?
A: Yes, absolutely. I use frozen all the time when fresh aren’t in season. They release more water, so just cook them a little longer to let it evaporate. The flavor is actually more consistent since frozen berries are picked at peak ripeness.
Q: Can I make this into mini cheesecakes?
A: Yes! Press the crust into a lined muffin tin, fill with cheesecake batter, and bake at 300F for 18-22 minutes. Top with jam and crunch after they’re chilled. They’re perfect for parties where everyone wants their own.
Q: What do you serve with this?
A: Honestly, nothing. It’s a complete dessert on its own. But if you want to be extra, a dollop of lightly sweetened whipped cream and a few fresh strawberries on the plate makes it look like it cost $14 at a restaurant. My kids love it with a drizzle of strawberry syrup on the plate too.
More Recipes My Family Makes on Repeat
If you liked this one, here are a few others that get the same reaction at our table:
- No-Bake Lemon Cheesecake with Blueberry Swirl — Creamy, tart, and no oven required for those hot summer days.
- Brown Butter Salted Caramel Apple Pie Bars — Tastes like an apple pie, but way less stress and more butter.
- Triple Chocolate Mousse Cake — For when you need something deeply, completely chocolate.
This is the cheesecake I bring to every potluck, every birthday, and every random Wednesday that just needs a little more sugar. The crunch is always the first thing to go, and the recipe request always follows.
If you try it, drop a comment below — I love hearing which layer your family fights over first. Tag me on Pinterest so I can see yours!
📌 Save this strawberry crunch cheesecake recipe for your next baking weekend — it’s the creamy, crunchy, tangy dessert that disappears before anyone asks for the recipe.
The Strawberry Crunch Cheesecake for a Random Wednesday (and Every Birthday After)
Equipment
- 9-inch springform pan
- Food Processor
- Stand mixer or hand mixer
- Small saucepan
- Baking Sheet
Ingredients
Crust
- 1 1/2 cups graham cracker crumbs
- 2 tbsp granulated sugar
- 5 tbsp unsalted butter, melted
Strawberry Jam
- 1 lb fresh or frozen strawberries
- 1/4 cup granulated sugar
- 1 tbsp lemon juice
Cheesecake Filling
- 2 lbs full-fat cream cheese, softened
- 1 cup granulated sugar
- 1/2 cup heavy cream
- 3 large eggs, room temperature
- 1 tsp vanilla extract
Crunch Topping
- 1/2 cup freeze-dried strawberries
- 1 cup all-purpose flour
- 1/2 cup granulated sugar
- 1 box (3.4 oz) vanilla instant pudding mix
- 1/2 cup unsalted butter, cold and cubed
Instructions
- Prep and Crust:
- Preheat: Oven to 325F. Grease your springform pan and wrap the outside with a double layer of foil (just in case your pan is leaky).
- Make the crust: Combine graham cracker crumbs, 2 tbsp sugar, and 5 tbsp melted butter in a bowl. Mix until it looks like wet sand. Press firmly into the bottom of the pan and about an inch up the sides. Use the bottom of a measuring cup to get it flat.
- Bake the crust: Bake for 10 minutes at 325F. Let it cool while you make the jam and filling. The crust should be lightly golden at the edges and smell like a graham cracker house.
- The Strawberry Jam Layer:
- Cook the berries: In a small saucepan, combine the strawberries, 1/4 cup sugar, and 1 tbsp lemon juice. Cook over medium heat, stirring occasionally, until the berries break down and the mixture thickens — about 10-15 minutes for fresh, 15-20 for frozen.
- Cool it: Remove from heat and let it cool completely. It will thicken further as it cools. Don’t rush this. Warm jam will melt your cheesecake.
- The Cheesecake Filling:
- Beat the cream cheese: In a stand mixer with the paddle attachment (or a large bowl with a hand mixer), beat the 2 lbs of cream cheese and 1 cup sugar on low speed until smooth. Scrape the bowl and the beater. The bottom always hides chunks.
- Add eggs: Add the eggs one at a time, mixing on low after each just until combined. Room temperature eggs are non-negotiable here.
- Finish the filling: Add the vanilla and heavy cream. Mix on low until just combined. Stop the second it looks smooth. Overmixing incorporates air and causes cracks. The filling should look like a thick, velvety smoothie — no lumps, no bubbles.
- Assemble: Pour the filling over the crust. Reserve about 1/3 cup of the strawberry jam. Dollop the remaining jam over the filling and swirl it in gently with a butter knife. Just a few figure-eights — you want ribbons, not a muddy pink mess.
- Bake: Place the springform pan on a baking sheet. Bake at 300F for 55-65 minutes. The edges should be set and the center should jiggle slightly when you gently shake the pan. Like jello, not like soup.
- Cool slowly: Turn off the oven and crack the door open. Let the cheesecake sit in the warm oven for 1 hour. Then remove it, let it cool to room temperature on the counter, and refrigerate for at least 6 hours (overnight is better).
- The Crunch Topping (Make This While The Cheesecake Chills):
- Crush the berries: Pulse the freeze-dried strawberries in a food processor until they become a powder. Add the flour, remaining 1/2 cup sugar, vanilla pudding mix, and cold cubed butter. Pulse until the mixture looks like coarse, wet sand with some pea-sized clumps.
- Bake the crunch: Spread the mixture on a lined baking sheet. Bake at 350F for 10-12 minutes, stirring once halfway through. It should be golden and fragrant. Let it cool completely on the sheet. It will look like a bunch of golden, pink-flecked clumps. If it looks like a solid sheet, you didn’t stir it.
- Finishing the Cake:
- Top the cake: Once the cheesecake is fully chilled and set, remove it from the springform pan. Spread the reserved strawberry jam evenly over the top. Just before serving, pile the crunch on top generously. Add the crunch at the last minute so it stays crispy.
Notes
Related Recipes:
 The Perfectly Pillowy Chocolate Chip Milk Buns (Tangzhong Method)
 Cheesy Hamburger Casserole Bake That’s Ready in 40 Minutes (No Canned Soup Here)
 Creamy Garlic Tagliatelle That Looks Like a Restaurant Dish in 20 Minutes
 Texas Roadhouse Style Baked Salmon with Sweet and Savory Glaze — Ready in Under 30 Minutes
 Easy Italian Meatloaf That’s Actually Juicy (Not Dry) — in 1 Hour
 Moist Lemon Zucchini Bread with a Crunchy Lemon Sugar Top