
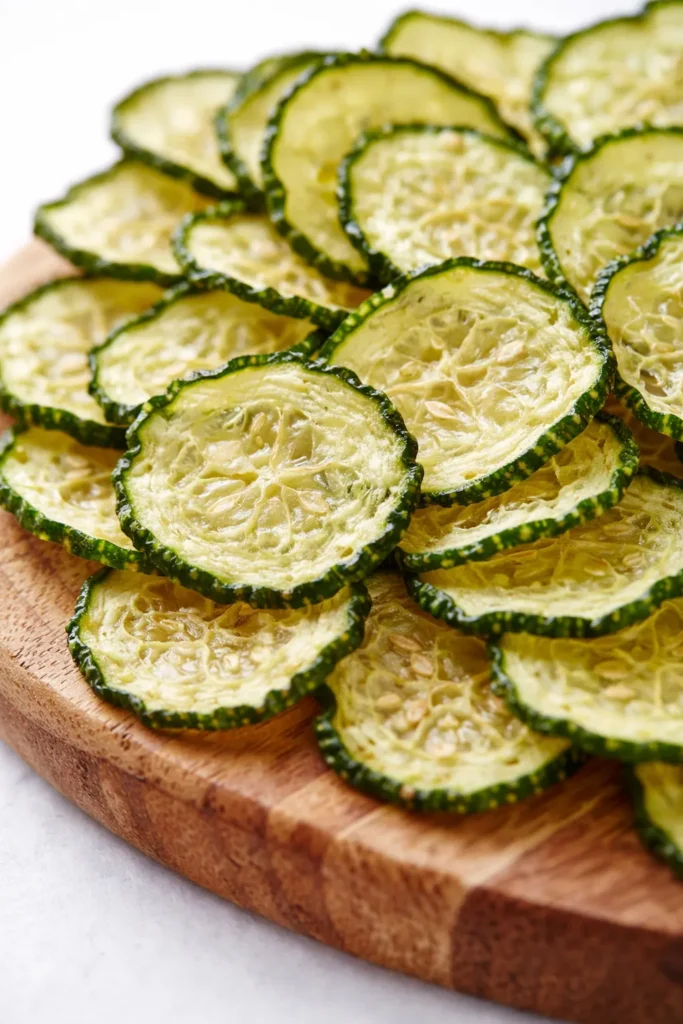
I wasn’t expecting these to actually work the first time. Most “healthy chip” recipes end up chewy or sad. These crack when you bite into them. They taste like the best part of a snack mix. And they’re made from a vegetable that costs about a dollar.
The short version: Cucumber slices, ranch seasoning, low heat. They crunch like a potato chip should.
I’ve made these for girls’ nights, road trips, and afternoons when I needed a crunch and did not want to eat an entire bag of fried potatoes. Every single time, someone asks “Wait, these are cucumbers?” Yes. They are.
- Serves: 4 as a snack
- Hands-On Time: 15 min | Total Time: 2h 40m
- Difficulty: Easy — the hardest part is waiting for them to bake
- Cost per serving: ~$0.75
- Calories: ~120 per serving
- Dietary Notes: Naturally gluten-free, low-carb, vegetarian. Adaptable for vegan.
(Photo above: overhead shot of a simple white bowl filled with pale green, ridged cucumber chips dusted with ranch seasoning, resting on a beige linen napkin, soft window light from the left.)
Why These Crack Instead of Going Limp
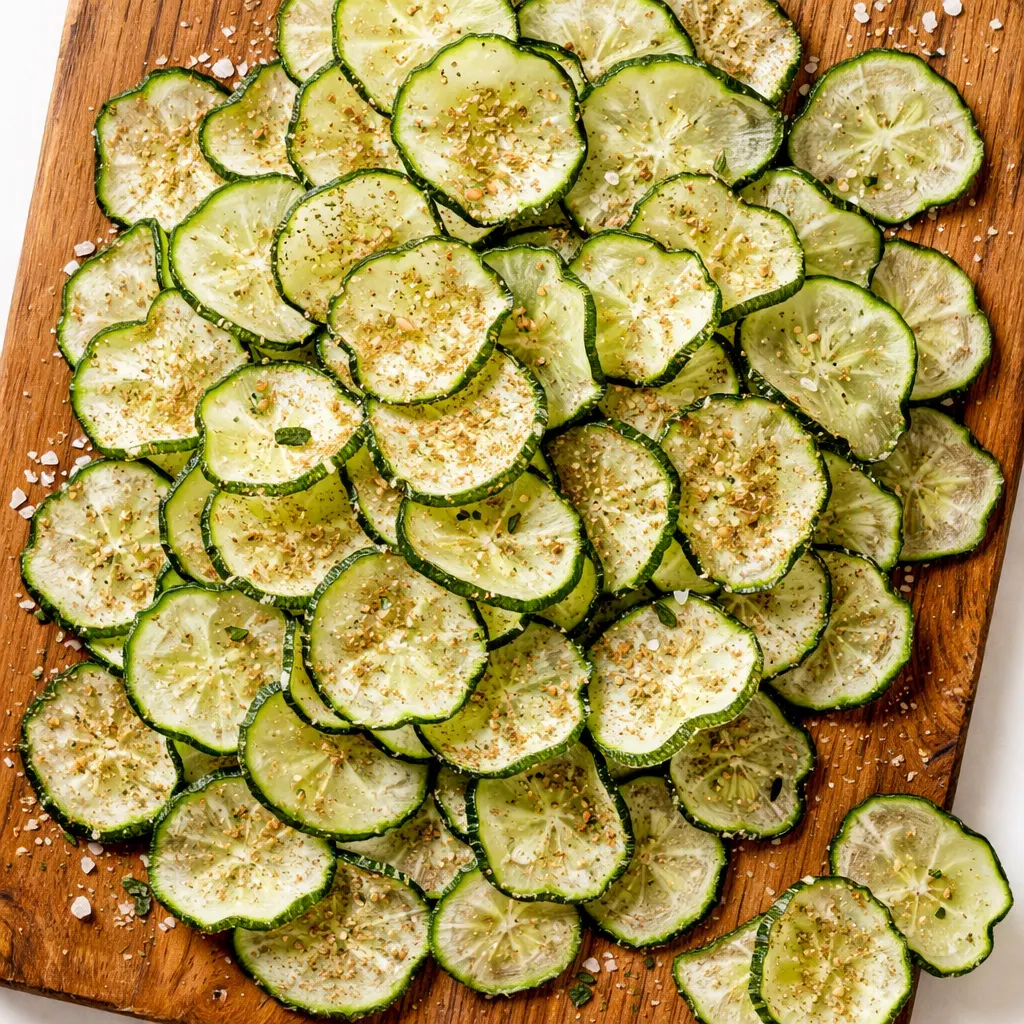
The enemy of a homemade vegetable chip is water. Cucumbers are basically water with a little green crunch floating in it. If you skip the step where you draw the water out, you end up with sad, steamed, chewy disks. Not chips.
The technique here is simple: salt the slices, let them sweat, then pat them completely dry before the ranch seasoning goes on. It takes an extra ten minutes of hands-off time and it changes everything about the final texture. The chips come out light, brittle, and satisfying in a way that doesn’t require you to pretend you’re enjoying them.
Low and slow baking does the rest. High heat would brown the outside before the inside dries out. 225°F gives the moisture time to escape without browning the delicate green color. You want pale, crispy, and intensely flavored — not brown and bitter.
Everything You Need (Plus a Note on the Ranch Packet)
- 1 large English cucumber (or 2 standard cucumbers): English cucumbers are my go-to here — they have fewer seeds and a more uniform shape, which means every slice is a similar size and thickness. Standard cucumbers work too, just scoop out the watery seed core before slicing. (I learned this the hard way after a batch that turned into soggy islands.)
- 1 packet (1 oz) ranch seasoning mix: This is doing all the heavy lifting flavor-wise, so use one you actually like. I’m a Hidden Valley purist for this specific application — the buttermilk tang just hits right. (Aldi’s generic version is also very good and about half the price.)
- 1 tablespoon olive oil or avocado oil spray: Just enough to help the seasoning stick. A spray makes it easier to coat evenly without drenching them.
- Kosher salt: For the sweating step. Don’t use table salt — it’s too fine and will make the slices taste aggressively salty even after you pat them dry.
The Setup (It’s Minimal, I Promise)
- Mandoline slicer — the single best tool for getting even, thin slices. If you don’t have one, a very sharp knife and a steady hand work, just try to keep the slices around 1/8-inch thick.
- 2 sheet pans — standard half-sheet size. If they don’t fit in your oven at the same time, bake in batches or use one pan and work in shifts.
- Parchment paper or silicone baking mats — non-stick is essential here, especially if you’re as impatient as I am about flipping them.
- Paper towels or a clean kitchen towel — for blotting the salt and water off after the cucumbers have sweated.
Let’s Make Them (Start to Finish)
The timing is mostly hands-off. The actual work takes about 15 minutes. The rest is salt water and warm air doing their jobs.
- Preheat and prep: Heat your oven to 225°F (107°C). Line two sheet pans with parchment paper. Wash and dry your cucumbers — no need to peel them, the skin adds a nice color contrast and a little extra structure.
- Slice them thin: Using a mandoline or knife, slice the cucumbers into even rounds, about 1/8-inch thick. Thinner than that and they’ll burn in spots. Thicker and they won’t crisp up properly. (📸 Photo tip: The slices should be thin enough to see light through at the edges, but thick enough that they don’t crumble in your hand.)
- Salt and sweat: Lay the slices in a single layer on a clean kitchen towel or paper towels. Sprinkle them lightly with kosher salt. Let them sit for 15 minutes. You’ll see beads of water form on the surface — that’s the extra moisture leaving. (This is the step I used to skip. I don’t skip it anymore.)
- Pat them completely dry: After 15 minutes, use another paper towel to blot both sides of every slice until they feel dry to the touch. This is the most important step for crunch. Be thorough.
- Season them: In a large bowl, toss the dried cucumber slices with the olive oil spray (or a tiny drizzle of oil) and the ranch seasoning packet. Use your hands to gently coat every slice. The seasoning will stick better to the lightly oiled surface.
- Arrange on pans: Lay the seasoned slices in a single layer on the prepared sheet pans. Do not overlap them — overlapping means steaming, and steaming means soft spots. It’s okay if they touch slightly, just no shingling. (📸 Photo tip: The single layer looks sparse, but I promise they shrink. Trust the single layer.)
- Bake low and slow: Bake for 1 hour. Rotate the pans top to bottom halfway through. After 1 hour, check them. They should be dry but not yet crispy. Flip each slice over and continue baking for another 60–90 minutes, depending on your oven and the thickness of your slices.
- The cooling crunch: Here’s the part that’s hard to believe: they won’t feel fully crispy when they come out of the oven. They’ll be warm and pliable. Let them cool completely on the pans — about 30 minutes. As they cool, they’ll turn into actual, crackling chips. Patience here is rewarded. (I’ve burned my tongue rushing this step. It’s not worth it.)
How to Keep Them Crunchy After Baking
These are best the day you make them, but they can hold for 2–3 days if you store them right. The secret is airflow. A sealed container traps moisture and turns your beautiful chips into damp coins.
- Fridge: Store in a paper-towel lined container with the lid slightly cracked. They’ll stay crunchy for about 2 days. After that, they start to soften.
- Freezer: I don’t recommend freezing these. Cucumber chips have such high water content that freezing and thawing turns them to mush. Make a fresh batch when you need it.
- Reheat: If they do soften, spread them back on a sheet pan and bake at 300°F for 5 minutes. Let them cool on the pan before eating. It revives the crunch about 80% of the way.
Things I Wish I’d Known Before My First Batch
- Don’t skip the sweat: I know it seems like an extra fussy step. It’s not. It’s the difference between a chip and a chewy disk. The salt draws out the water so that water doesn’t turn into steam in the oven.
- Uniformity matters: If your slices aren’t the same thickness, the thin ones will burn and the thick ones will stay soft. A mandoline fixes this. Your knife skills might not. Use the tool.
- Cool completely before touching: I know they smell amazing coming out of the oven. Let them sit. The crunch happens during cooling. If you eat them warm, you’ll think they failed. They didn’t. They just need a minute.
- Double-check your ranch: Some store-brand ranch packets are much saltier than others. If you’re sensitive to salt, split one packet between two batches, or use a homemade ranch blend. I’ve done both and they’re good.
Swaps That Actually Work
- Spicy Chili Lime: Replace the ranch packet with 1 teaspoon chili powder, 1 teaspoon lime zest, and 1/2 teaspoon salt. The lime zest does something magical with the cucumber.
- Everything Bagel: After the salt sweat and oil, sprinkle with everything bagel seasoning instead of ranch. My friends request this version more than the original.
- Dill Pickle: Add 1 tablespoon dried dill and 1 teaspoon garlic powder to the ranch seasoning. It tastes exactly like the brine from a good dill pickle.
- Vegan/Paleo: Most ranch packets contain buttermilk powder. Primal Kitchen makes a paleo-friendly ranch seasoning that works beautifully here. The texture is slightly less tangy but still very good.
The Cucumber Chip Questions I Get All the Time
Q: Why are my cucumber chips still soft after baking?
A: Two most common reasons: they weren’t dried enough after the salt sweat, or they didn’t cool completely on the pan. The cooling step is non-negotiable for crunch. If you did both and they’re still soft, they might have been cut too thick. Aim for 1/8-inch.
Q: Can I make these in an air fryer?
A: Yes, but the timing is different. Air fry at 300°F for 8-10 minutes, shaking the basket halfway through. Watch them closely — they go from pale to burnt very fast in an air fryer. Work in small batches for the best results.
Q: How long do these last? Can I make them ahead for a party?
A: They’re best within 24 hours. Store them in a paper-towel lined container with the lid cracked. I wouldn’t make them more than 2 days ahead for a party. Day-of is ideal and the texture will be perfect.
Q: What do you serve with cucumber chips?
A: They’re great on their own, but I love them with a side of creamy Greek yogurt dip (just plain yogurt + a pinch more ranch seasoning). They’re also incredible crushed over a salad for crunch, or served alongside a sandwich instead of potato chips.
More Recipes My Friends Request on Repeat
If you liked this one, here are a few others that get the same reaction at my table:
- Crispy Baked Zucchini Sticks with Spicy Mayo — “The zucchini version of this chip craving, with a dip that makes it disappear.”
- Everything Bagel Seasoned Air Fryer Chickpeas — “Another crunchy, savory snack that takes 20 minutes and zero patience to cool.”
- Cold Sesame Noodles with Cucumber Ribbons — “For the days when you want the cucumber flavor but can’t wait two hours for chips.”
These hit every single craving I have for a crunchy, salty snack without the mid-afternoon slump that usually follows the real thing. I make a batch on Sunday and pick at them all week — if they last that long. Usually, they don’t.
If you try them, come back and tell me how they turned out. I’m always curious which version wins at your table — the classic ranch or the everything bagel.
📌 Crunchy ranch cucumber chips recipe that actually gets crisp — save it for your next healthy snack prep Sunday.
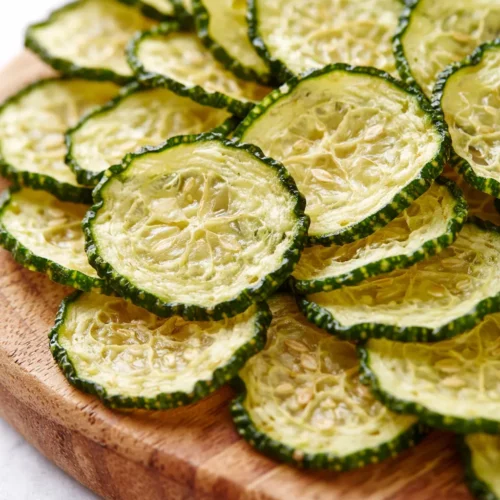
Crunchy Ranch Cucumber Chips
Equipment
- Mandoline slicer
- Baking sheet (2)
- Parchment Paper or Silicone Mat
- Paper towels or clean kitchen towel
Ingredients
- 1 large English cucumber (or 2 standard cucumbers, seeded)
- 1 oz ranch seasoning mix (1 packet)
- 1 tablespoon olive oil or avocado oil spray
- Kosher salt (for sweating)
Instructions
- Preheat and prep: Heat oven to 225°F (107°C). Line two sheet pans with parchment paper. Wash and dry cucumbers (no need to peel).
- Slice them thin: Using a mandoline, slice cucumbers into even rounds, about 1/8-inch thick. Thinner than that and they burn; thicker and they won’t crisp.
- Salt and sweat: Lay slices in a single layer on a clean kitchen towel or paper towels. Sprinkle lightly with kosher salt. Let sit 15 minutes until beads of water form.
- Pat completely dry: After 15 minutes, blot both sides of every slice with a paper towel until dry to the touch. This is the most important step for crunch.
- Season them: In a large bowl, toss dried slices with oil spray and ranch seasoning. Use hands to coat every slice evenly.
- Arrange on pans: Lay seasoned slices in a single layer on prepared sheet pans. Do not overlap — overlapping causes steaming. They can touch slightly.
- Bake low and slow: Bake 1 hour, rotating pans halfway. Flip each slice and continue baking 60-90 minutes more, until dry but not yet crispy.
- The cooling crunch: Let chips cool completely on the pans — about 30 minutes. They will become brittle and crackling as they cool. Do not rush this step.
Notes
Related Recipes:
 Cheesy Hamburger Casserole Bake That’s Ready in 40 Minutes (No Canned Soup Here)
 Texas Roadhouse Style Baked Salmon with Sweet and Savory Glaze — Ready in Under 30 Minutes
 Moist Lemon Zucchini Bread with a Crunchy Lemon Sugar Top
 Strawberry Shortcake Rice Krispie Treats That Actually Taste Like Shortcake — Ready in 15 Minutes
 Blueberry Oatmeal Cookies That Stay Soft for Days — in Under 30 Minutes
 Air Fryer Chicken and Vegetables That Don’t Taste Like a Regret (30 Minutes, One Pan)