
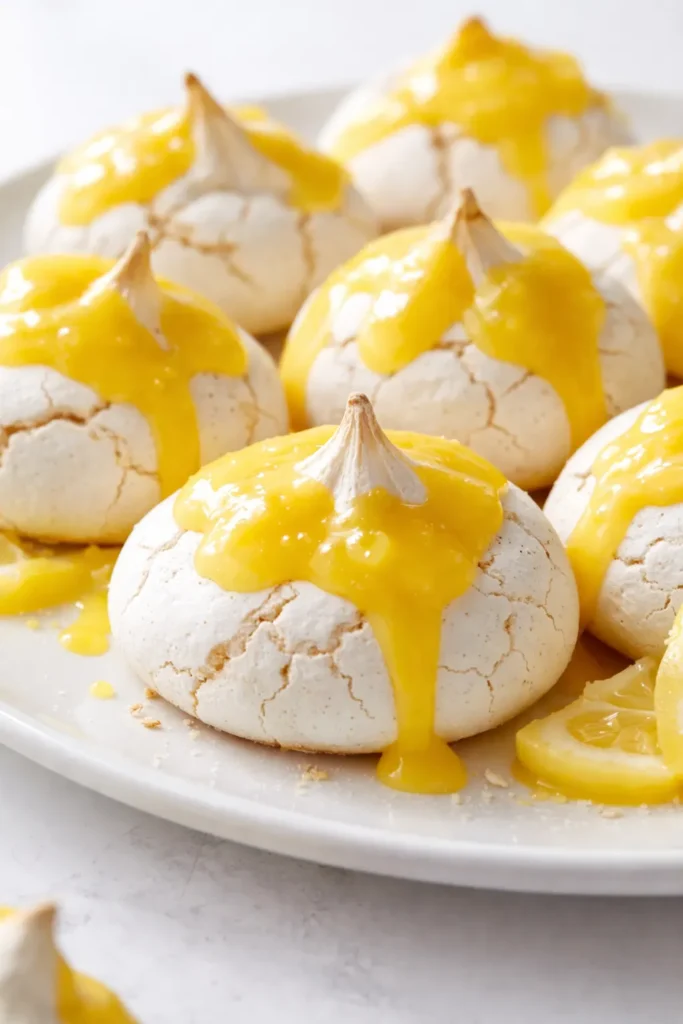
The first time I made meringues that didn’t weep or crack into a million sad pieces, I actually took a photo and texted it to my sister. She responded with “okay, show-off,” which, coming from her, is basically a five-star review. These mini meringues are exactly what you want a dessert to be: light enough that you don’t feel terrible eating three, and impressive enough that people assume you spent way more time on them than you actually did.
The short version: Crisp shells, marshmallowy centers, and a lemon curd that cuts through the sweetness like a knife.
I’ve made these for Easter brunch, summer birthdays, and quiet Tuesday nights when I need a little win. They work every single time, and the only hard part is waiting for them to bake.
- Serves: Makes 30-36 mini meringues
- Hands-On Time: 25 min | Total Time: 2 hrs 25 min
- Difficulty: Medium — but mostly waiting, not working
- Cost per serving: ~$0.75
- Calories: ~45 per meringue with curd
- Dietary Notes: Naturally gluten-free. Can be dairy-free with a swap.
(Photo above: Overhead shot of a white platter piled high with mini meringues, a small ramekin of bright yellow lemon curd in the center, one meringue broken in half to show the airy interior, soft window light from the right.)
The Trick to Getting That Perfect Shatter (Without the Drama)
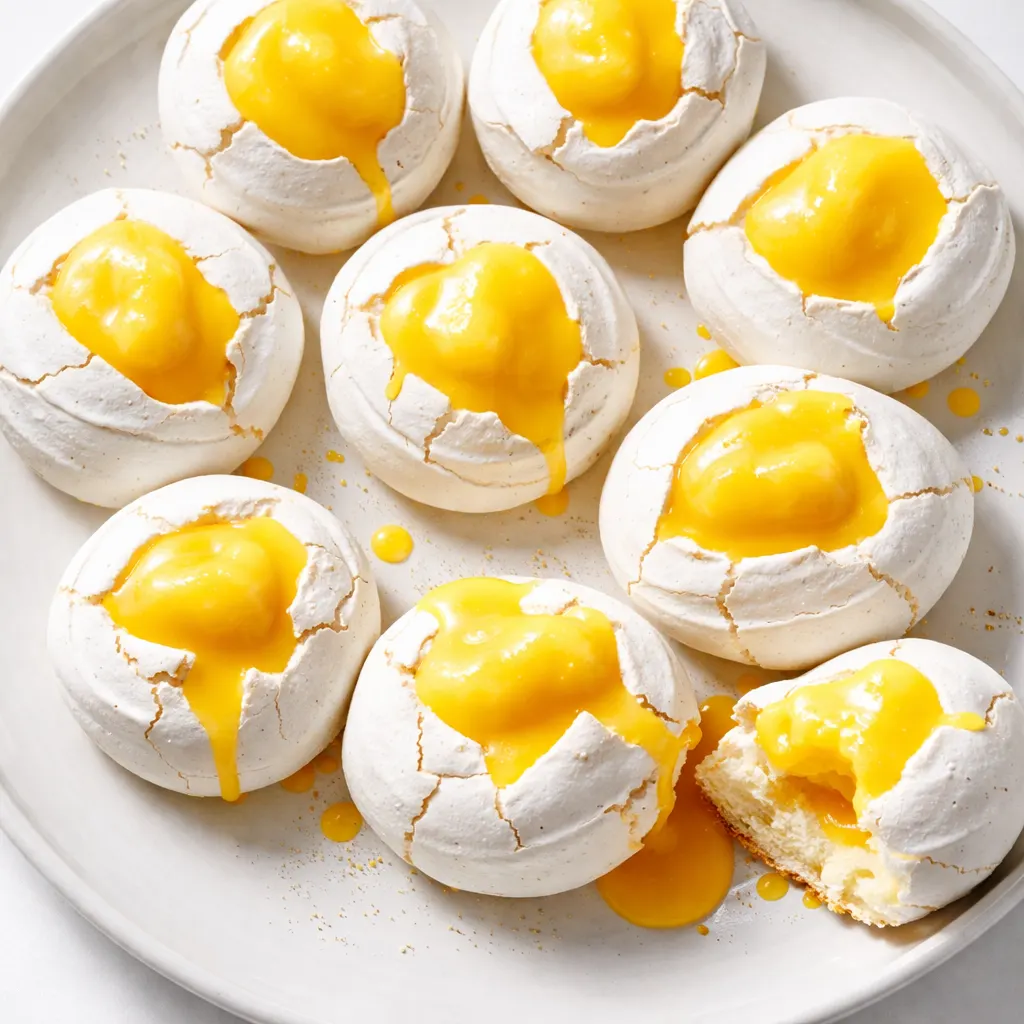
The enemy of a good meringue is moisture. Fat, humidity, a slightly damp bowl — any of it will turn your stiff peaks into a flat puddle. The trick I swear by is wiping your mixing bowl and whisk attachment with a little white vinegar before you start. It cuts any trace of grease that could sabotage your egg whites. I know it sounds fussy, but it takes five seconds and saves you from starting over.
The other non-negotiable is low and slow baking. These aren’t cookies. You’re drying them out, not baking them through. That’s what gives you the crisp shell and the soft, marshmallowy center that keeps everyone reaching for another one.
Everything You Need (And What Actually Matters)
- 4 large egg whites, at room temperature: Cold eggs don’t whip as high. Leave them out for 30 minutes or set them in a bowl of warm water for 5. Room temp makes a genuinely noticeable difference.
- 1 cup (200g) granulated sugar: Superfine is ideal, but regular works too. Blitz it in a food processor for 10 seconds if you want to be extra. Fine sugar dissolves faster, which means a smoother meringue.
- 1/4 tsp cream of tartar: This is your insurance policy. It stabilizes the egg whites and helps them hold their shape. Don’t skip it.
- 1 tsp vanilla extract: Or vanilla bean paste for those gorgeous little black specks. My kids notice when I use the fake stuff, so I spring for real here.
- Pinch of flaky salt: For contrast. It balances the sweetness and makes the lemon curd taste brighter.
- For the Lemon Curd: 3 large eggs, 1/2 cup (100g) granulated sugar, 1/2 cup fresh lemon juice (about 3 lemons), 1 tbsp lemon zest, 4 tbsp (56g) cold butter, cubed. Do not use bottled lemon juice. I’m begging you. It tastes flat and makes your curd taste sour instead of bright.
The Setup (It’s Surprisingly Simple)
- Stand mixer or hand mixer — you need the power for proper volume. A whisk and a strong arm will also work, but I value my time.
- Large glass or metal mixing bowl — plastic can hold onto grease, and grease is the enemy.
- Piping bag with a star tip — or a zip-top bag with the corner snipped off. Star tip gives you the pretty ridges, but swirls work too.
- Baking sheet lined with parchment paper
- Small saucepan for the curd
- Fine-mesh sieve — for the silkiest curd texture
Making Mini Meringues: My Exact Process
Read through once before you start. The meringue moves fast, and you don’t want to be hunting for the cream of tartar mid-whip.
Preheat & Prep: Preheat your oven to 200°F and line a baking sheet with parchment paper.
- Whip the egg whites: Add the room-temperature egg whites and cream of tartar to the bowl of your stand mixer. Whip on medium speed until frothy, about 1 minute.
- Add the sugar slowly: With the mixer running on medium-high, add the sugar, one tablespoon at a time. This takes patience, but it’s the key to a stable meringue. Don’t dump it all in at once.
- Whip to stiff peaks: Continue whipping on high until the meringue is glossy and holds a stiff peak when you lift the whisk. This takes 5-7 minutes. Rub a little between your fingers — if it feels gritty, keep whipping.
- Add vanilla and salt: Beat in the vanilla and salt just until combined. Don’t overmix or you’ll lose volume.
- Pipe the meringues: Transfer the meringue to a piping bag fitted with a star tip. Pipe small rosettes or swirls onto the prepared baking sheet, spacing them about an inch apart.
- Bake low and slow: Bake for 60-75 minutes, until the meringues are dry to the touch and lift easily off the parchment. (📸 Photo tip: The meringues should look dry and matte, not shiny. They should lift off the parchment without sticking.) Turn the oven off and leave the meringues inside to cool completely — this prevents cracking.
- Make the lemon curd: While the meringues bake, whisk together the eggs, sugar, lemon juice, and zest in a small saucepan. Cook over medium-low heat, stirring constantly, until thickened, 5-7 minutes. It should coat the back of a spoon. (📸 Photo tip: The curd should be thick enough that it leaves a clear trail when you drag a finger across the back of the spoon.)
- Finish the curd: Remove from heat and whisk in the cold butter, one cube at a time, until smooth. Strain through a fine-mesh sieve for the silkiest texture. Chill completely before serving.
How I Prep These for a Party (It’s the Easiest Part)
The beauty of these mini meringues is that they’re almost entirely make-ahead. I bake the meringues on a Saturday and store them in an airtight container at room temperature. The curd I make the night before and keep in the fridge. Assembly takes two minutes — I just pile them on a platter and put the curd in a small bowl for dipping.
- Fridge: Lemon curd keeps in an airtight container for up to a week.
- Freezer: Meringues freeze beautifully for up to 3 months. Thaw at room temperature for 30 minutes before serving.
- Reheat: Don’t. Serve at room temperature. The texture is perfect as-is.
Things I Learned the Hard Way (So You Don’t Have To)
- Humidity is the enemy. Don’t make meringues on a rainy day. They’ll absorb moisture from the air and get sticky. Check your weather forecast before you start.
- A pinch of salt makes a difference. It balances the sweetness and brings out the flavor of the lemon curd. Even the pickiest eaters won’t notice it, but they’ll notice something tastes better.
- Use fresh lemon juice. The bottled stuff tastes flat and can make your curd taste sour instead of bright. Three lemons, one quick squeeze — it’s worth it.
- Strain the curd for the silkiest texture. It’s an extra step, but it removes any bits of cooked egg white and gives you that gorgeous, glossy finish. Even if you mess this part up a little, it’ll still taste amazing — I’ve done it.
Swaps and Twists That Actually Work
- Dairy-Free Lemon Curd: Use vegan butter or coconut oil. The texture will be slightly different but still delicious. I’ve tested it and it works.
- Different Citrus: Try lime or grapefruit instead of lemon. Adjust the sugar to taste. My sister loves the grapefruit version.
- Flavored Meringues: Add a teaspoon of rose water or orange blossom water with the vanilla for a floral twist. It’s my go-to for spring brunches.
- Chocolate Version: Dip the finished meringues in melted dark chocolate and let them set. My kids go absolutely crazy for this version.
Questions People Always Ask Me About Meringues
Q: Why did my meringues turn out sticky?
A: Humidity or under-baking. Make sure they’re completely dry before you turn off the oven. If they’re still tacky, give them another 10-15 minutes. You’ve got this next time.
Q: Can I use liquid egg whites from a carton?
A: I don’t recommend it. They often have stabilizers added that can prevent them from whipping up properly. Stick with fresh eggs.
Q: How long do they last?
A: In an airtight container at room temperature, they’ll stay crisp for 3-4 days. The lemon curd lasts a full week in the fridge.
Q: What do you serve with them?
A: Aside from the lemon curd, they’re amazing with fresh berries, a dollop of whipped cream, or a scoop of sorbet. My kids love them with a handful of raspberries and nothing else.
More Desserts My Family Begs For
If you liked this one, here are a few others that get the same reaction at our table:
- Brown Butter Peach Galette — Flaky, jammy, and surprisingly easy.
- Chocolate Lava Cake for Two — The one that makes everyone feel fancy.
- No-Churn Passionfruit Ice Cream — Tart, creamy, and needs zero special equipment.
These mini meringues are the kind of dessert that makes you look like you have your life together, even if you’re eating them in your sweatpants on a Tuesday. That’s the whole point.
If you make them, tag me on Pinterest or Instagram — I love seeing your kitchen wins.
📌 Save this mini meringues recipe for your next spring brunch or Easter gathering — they’re the light, impressive dessert everyone will ask about.
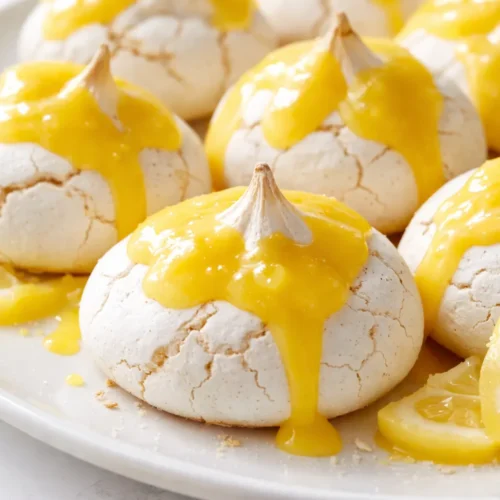
Shatteringly Crisp Mini Meringues with Silky Lemon Curd
Equipment
- Stand Mixer
- Piping Bag with Star Tip
- Baking Sheet
- Parchment Paper
- Small saucepan
- Fine-Mesh Sieve
Ingredients
For the Meringues
- 4 large egg whites, at room temperature
- 1 cup granulated sugar (200g)
- 1/4 tsp cream of tartar
- 1 tsp vanilla extract or vanilla bean paste
- pinch of flaky salt
For the Lemon Curd
- 3 large eggs
- 1/2 cup granulated sugar (100g)
- 1/2 cup fresh lemon juice (about 3 lemons)
- 1 tbsp lemon zest
- 4 tbsp cold butter, cubed (56g)
Instructions
- Preheat oven to 200°F and line a baking sheet with parchment paper. Wipe your mixing bowl and whisk attachment with a little white vinegar to remove any grease.
- Add room-temperature egg whites and cream of tartar to the bowl. Whip on medium speed until frothy, about 1 minute.
- With mixer running on medium-high, add sugar one tablespoon at a time, allowing each addition to dissolve before adding the next. This takes patience but is key for stability.
- Increase speed to high and whip until meringue is glossy and holds stiff peaks, 5-7 minutes. Rub a bit between your fingers – if it feels gritty, keep whipping.
- Beat in vanilla and salt just until combined. Don’t overmix or you’ll lose volume.
- Transfer meringue to a piping bag fitted with a star tip. Pipe small rosettes or swirls onto the prepared sheet, spacing them about an inch apart.
- Bake for 60-75 minutes, until meringues are dry to the touch and lift easily off the parchment. Turn off the oven and leave them inside to cool completely – this prevents cracking.
- While meringues bake, make the lemon curd: In a small saucepan, whisk together eggs, sugar, lemon juice, and zest. Cook over medium-low heat, stirring constantly, until thickened, 5-7 minutes. It should coat the back of a spoon.
- Remove from heat and whisk in cold butter, one cube at a time, until smooth. Strain through a fine-mesh sieve for silkiest texture. Chill completely before serving.
Notes
Related Recipes:
 The Perfectly Pillowy Chocolate Chip Milk Buns (Tangzhong Method)
 Bagel Breakfast Sliders That Taste Like a Diner Breakfast — in 25 Minutes
 Cheesy Hamburger Casserole Bake That’s Ready in 40 Minutes (No Canned Soup Here)
 Creamy Garlic Tagliatelle That Looks Like a Restaurant Dish in 20 Minutes
 Texas Roadhouse Style Baked Salmon with Sweet and Savory Glaze — Ready in Under 30 Minutes
 Easy Italian Meatloaf That’s Actually Juicy (Not Dry) — in 1 Hour