
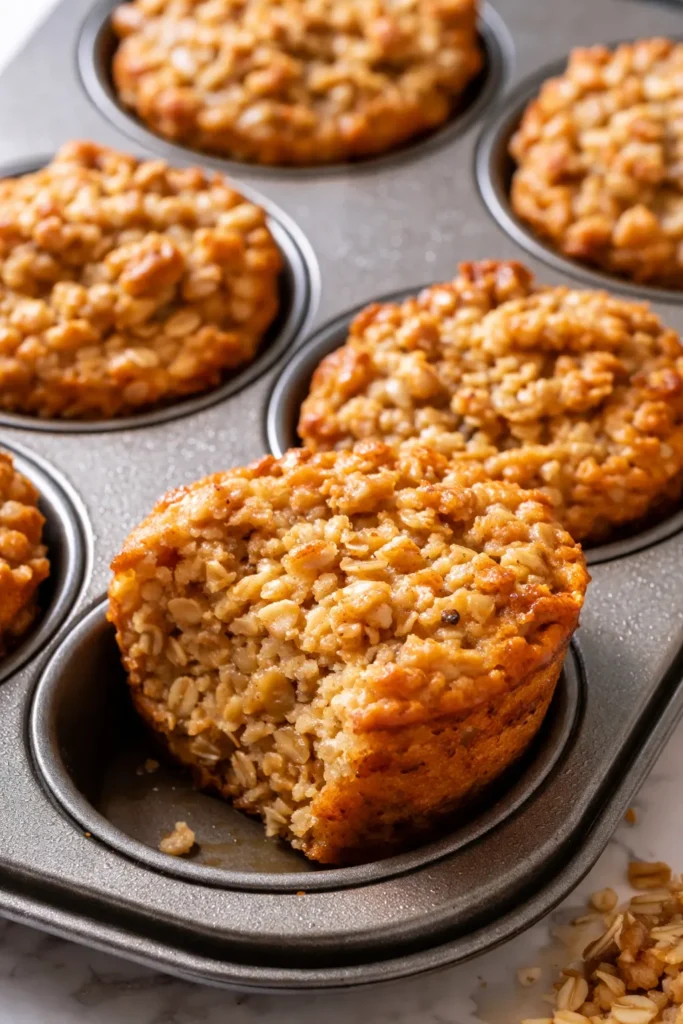
Pull one of these apart and watch the steam rise. The edges are a deep, toasty gold — crisp enough to hold in your hand without falling apart, soft enough in the center to feel like a proper breakfast. Not bad for four ingredients and exactly five minutes of active work. I make these every single Sunday, and by Wednesday, my kids have finished them off before I can even think about packing one for myself.
The short version: Four ingredients, one bowl, 25 minutes total. They freeze beautifully, pack perfectly for school or work, and make your kitchen smell like a bakery without any of the fuss.
I’ve tested this ratio more times than I care to count — too many oats and they’re dry, not enough and they collapse. This version has been through the wringer of my own picky mornings and come out golden every time.
- Serves: 6 cups (easily doubled)
- Hands-On Time: 5 min | Total Time: 25 min
- Difficulty: Easy enough for a Tuesday morning scramble
- Cost per serving: ~$0.35
- Calories: ~180 per cup
- Dietary Notes: Naturally dairy-free & refined sugar-free
(Photo above: Overhead shot of six baked oatmeal cups in a standard muffin tin, edges deeply golden, one cup lifted out to show the tender, moist interior. A few oats scattered casually on the dark countertop. Morning light from the side.)
The Ratio That Finally Worked (And Why It Stays Tender)
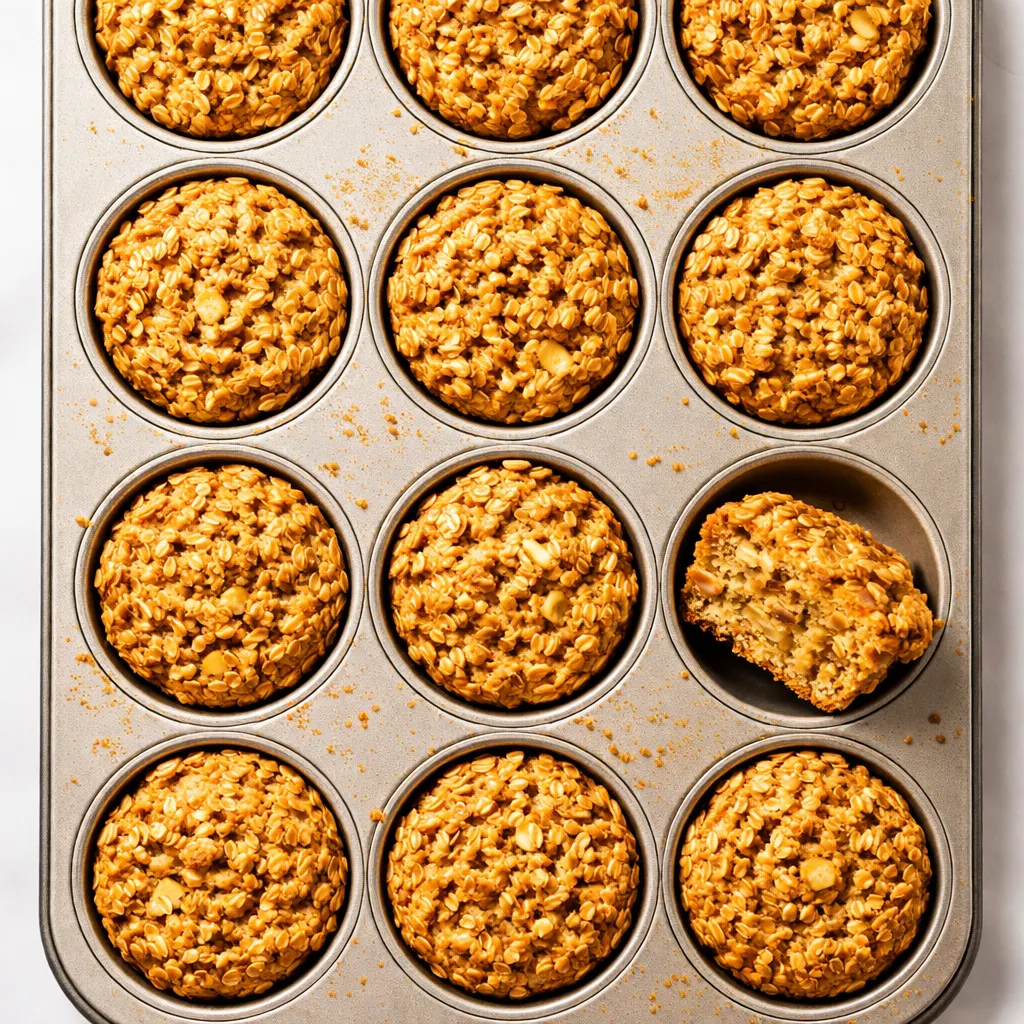
The secret to a baked oatmeal cup that isn’t dry or dense is the ratio of wet to dry. This one uses exactly one very ripe banana per cup of oats. The banana provides the sweetness, the moisture, and the binding power — no eggs needed unless you specifically want them.
The second trick is letting the batter rest for five minutes before baking. It gives the oats time to absorb some of the liquid, which means they bake up tender instead of chewy. I know it feels like an extra step, but it’s a five-minute pause while you wipe down the counter or pour your coffee. Worth it every time.
Everything You Need (Plus My Honest Notes)
- 3 large very ripe bananas (about 1 1/2 cups mashed): The riper the better — those brown spots mean maximum sweetness and binding power. My kids refuse to eat bananas past a certain point of speckled-ness, but those are exactly the ones I save for these cups. Don’t tell them.
- 2 cups old-fashioned rolled oats: Not instant, not steel-cut. Old-fashioned gives you that soft, chewy texture that holds its shape without turning mushy. Gluten-free certified oats work perfectly here if that’s your thing.
- 1/4 cup maple syrup or honey: Just enough to nudge the sweetness into breakfast territory without overwhelming the banana. I use maple syrup for the flavor, but honey works beautifully too.
- 1 tsp baking powder: The lift. Without it, you get dense, flat pucks. Not what we’re going for.
- Pinch of salt: Pantry staple, but essential — it makes the sweetness taste like itself.
What to Pull Out Before You Start
- Standard 12-cup muffin tin: You’ll only need 6 cups, or you can fill all 12 for smaller portions. I grease mine well, even if it’s nonstick. Trust me on this one.
- Large mixing bowl and fork: That’s it. No mixer, no food processor. One bowl, one fork, zero cleanup drama.
- 1/4 cup measuring scoop or cookie scoop: For even, uniform cups that bake at the same rate. My cookie scoop gets used more for these than it ever did for cookies.
Let’s Make It (Step by Step)
This is the kind of recipe that feels almost too simple to work — and then it does. Read through once, then let’s go.
Prep: Preheat your oven to 375°F. Grease 6 cups of a standard muffin tin generously with butter or oil spray. I use a paper towel to rub it into every groove — ensures zero sticking.
- Mash the bananas: In a large bowl, mash the bananas with a fork until mostly smooth with a few small lumps for texture. My kids like to do this part — it’s the one step that’s impossible to mess up.
- Mix the batter: Add the oats, maple syrup, baking powder, and a pinch of salt. Stir until everything is well combined — about 30 seconds. If you’re adding cinnamon or vanilla, now’s the time.
- Rest the batter: Let it sit for 5 minutes. This is the most important step you’ll be tempted to skip. Don’t skip it. It’s what makes the oats tender instead of chewy. Go pour your coffee. Reset your morning.
(📸 Photo tip: After resting, the batter should look slightly thicker and almost creamy. A spoonful should hold its shape a little.) - Fill the cups: Divide the batter evenly among the 6 greased muffin cups. A 1/4-cup scoop is perfect for this. Top with anything you want — a few blueberries, a slice of banana, a sprinkle of coconut sugar for extra crunch.
(📸 Photo tip: Fill the cups to the top. These don’t rise much, so a full cup gives you that nice domed top.) - Bake: Bake for 18–22 minutes, until the edges are deep golden brown and a toothpick inserted in the center comes out clean. Mine are always perfect at 20 minutes, but ovens vary. Trust the toothpick.
- Cool: Let them cool in the pan for 5 minutes, then transfer to a wire rack. They’re fragile when hot, so patience here pays off. I’ve burned my tongue on these more times than I care to admit because they smell too good to wait.
How I Meal Prep These for the Week
This is the breakfast recipe I count on for zero-decide mornings. I make a batch on Sunday, and we’re set through Wednesday at minimum.
- Fridge: Store in an airtight container for up to 5 days. I pop one in my bag on the way out the door, and it’s still perfect at 10am.
- Freezer: Yes! Wrap individually in plastic wrap, then store in a freezer bag for up to 3 months. My kids grab one from the freezer and it thaws by the time they get to school.
- Reheat: Microwave for 20–30 seconds if you want it warm. Toaster oven for 5 minutes at 300°F if you want the crispy edges back. Room temperature is great too — honestly.
Things I Wish I’d Known the First Time
- Use the ripest bananas you have: If they’re not spotty, they won’t be sweet enough, and the texture will be gummy instead of tender. I’ve made this mistake exactly once. Never again.
- Don’t skip the rest time: I know it feels like a weird unnecessary pause, but it’s the difference between a cup that holds together and one that crumbles in your hand. Set a timer. Walk away.
- Fill the cups to the brim: These don’t puff up like muffins, so a full cup gives you a nice domed top. A generous fill reads as abundance, even if it’s just well-distributed batter.
- One add-in rule: A handful of chocolate chips, blueberries, or chopped nuts changes the whole vibe. My favorite is a few dark chocolate chips on top — it melts into little pockets of richness.
Swaps That Actually Work
- Gluten-Free: Use certified gluten-free rolled oats. The recipe otherwise stays exactly the same. I’ve tested this for friends, and nobody can tell the difference.
- Egg boost: Add 1 beaten egg for extra protein and a cakier texture. This is my husband’s preferred version — he claims it’s “more breakfast-like.”
- Nutty version: Swap 1/4 cup of the oats for finely chopped pecans or walnuts. Adds a lovely crunch and a little healthy fat that keeps you full longer.
- Vegan: Already vegan if you use maple syrup! Just make sure your oats are certified vegan if that matters to you.
Questions I Get About These Oatmeal Cups All the Time
Q: Why did my oatmeal cups turn out dry?
A: Ugh, the worst! Most likely the bananas weren’t ripe enough, or they were slightly smaller than 3 large. If your bananas are on the smaller side, add 1/4 cup of milk (dairy or non-dairy) or an extra tablespoon of maple syrup. You’ve got this next time — it’s a super forgiving ratio.
Q: Can I make these without bananas?
A: Bananas are doing a lot of heavy lifting here — moisture, sweetness, binding. You can swap in 1 cup of unsweetened applesauce or 2 mashed persimmons when they’re in season, but the texture will be different (more cake-like, less chewy). I haven’t tested this exact swap extensively, but readers have reported good results!
Q: How long do these last? Can I freeze them?
A: Airtight container in the fridge, they’re good for 5 days. In the freezer, 3 months easy. I wrap each one individually in plastic wrap and toss them in a freezer bag. To reheat, 20 seconds in the microwave or 5 minutes in the toaster oven. My kids eat them frozen in their lunchboxes — thaws by snack time.
Q: What do you serve with these?
A: Most mornings, just a cup of coffee and a piece of fruit. If I’m feeling fancy, a dollop of Greek yogurt with a drizzle of honey on the side. For my kids, a handful of berries and a glass of milk is the classic combination. We also love them crumbled over a bowl of yogurt and granola for a lazy Sunday breakfast.
More Recipes My Family Makes on Repeat
If these oatmeal cups are in your rotation now, you might want to save these too:
- Peanut Butter Banana Baked Oats — Like a warm, fudgy brownie for breakfast, and it somehow has protein.
- 3-Ingredient Date and Nut Energy Balls — No-bake, no-wait, disappear-in-our-house-within-48-hours energy balls.
- Overnight Oats with Chia and Berries — The version my husband actually eats. Creamy, sweet, and ready when you open the fridge in the morning.
These oatmeal cups are proof that a good breakfast doesn’t need a grocery list, a spreadsheet, or an hour of your time. Just four ingredients, one bowl, and the knowledge that you’ve got tomorrow morning handled.
If you give them a try, tag me on Pinterest or drop a comment below — I genuinely love seeing your versions show up in my feed.
📌 4-ingredient baked oatmeal cups for busy mornings — save this recipe for your next Sunday meal prep, and you’ll have breakfast sorted all week long.
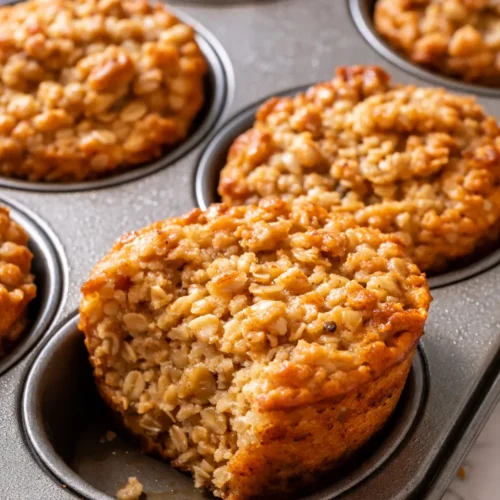
4-Ingredient Baked Oatmeal Cups
Equipment
- Standard 12-cup Muffin Tin
- Large Mixing Bowl
- Fork
- 1/4-cup Measuring Scoop or Cookie Scoop
Ingredients
- 3 large very ripe bananas (about 1 1/2 cups mashed)
- 2 cups old-fashioned rolled oats
- 1/4 cup maple syrup or honey
- 1 tsp baking powder
- Pinch of salt
Instructions
- Preheat your oven to 375°F. Grease 6 cups of a standard muffin tin generously with butter or oil spray.
- In a large bowl, mash the bananas with a fork until mostly smooth with a few small lumps.
- Add the oats, maple syrup, baking powder, and a pinch of salt. Stir until well combined, about 30 seconds.
- Let the batter rest for 5 minutes. This is the most important step—do not skip it.
- Divide the batter evenly among the greased muffin cups using a 1/4-cup scoop. Fill to the top for a domed top.
- Bake for 18–22 minutes, until the edges are deep golden brown and a toothpick inserted in the center comes out clean.
- Let them cool in the pan for 5 minutes, then transfer to a wire rack. They are fragile when hot, so be patient.
Notes
Related Recipes:
 The Perfectly Pillowy Chocolate Chip Milk Buns (Tangzhong Method)
 Cheesy Hamburger Casserole Bake That’s Ready in 40 Minutes (No Canned Soup Here)
 Creamy Garlic Tagliatelle That Looks Like a Restaurant Dish in 20 Minutes
 Texas Roadhouse Style Baked Salmon with Sweet and Savory Glaze — Ready in Under 30 Minutes
 Easy Italian Meatloaf That’s Actually Juicy (Not Dry) — in 1 Hour
 Moist Lemon Zucchini Bread with a Crunchy Lemon Sugar Top